
Let’s Get Down to Base-ics!
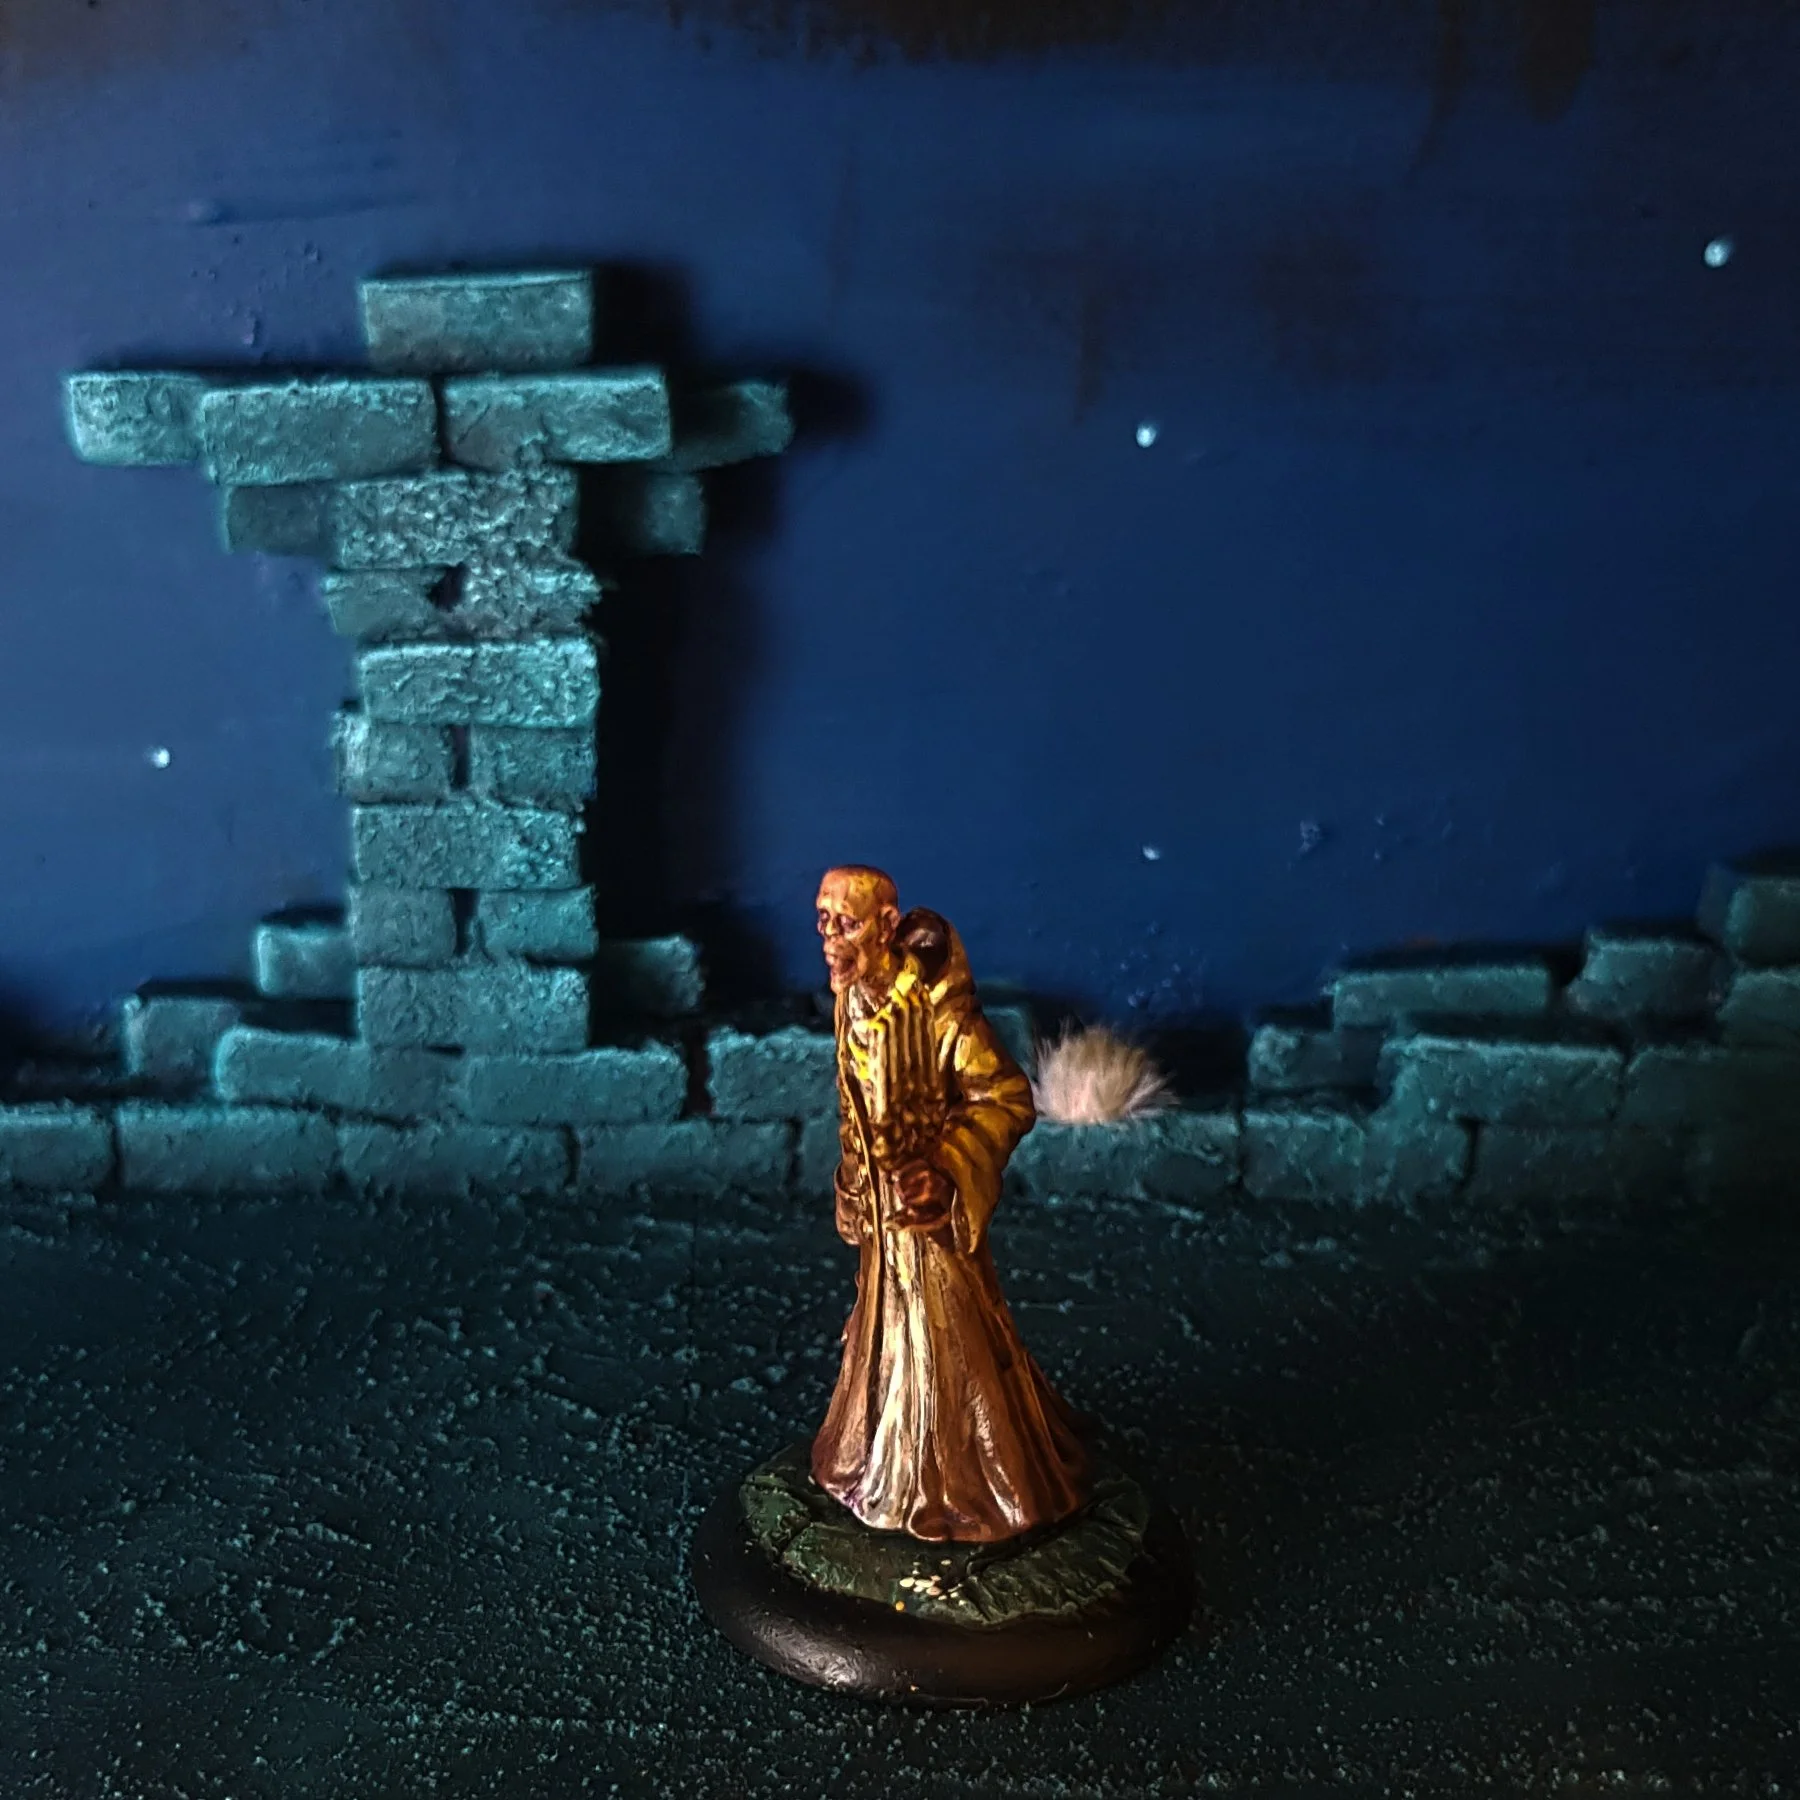
Hello! Mick the Goblin Dogsbody here! Today I’m going to talk about basing your miniatures.
Often the final step in miniature painting, there are so many amazing bases out there in our community and across the vastness of the internet, it can be a little intimidating to start. But fear not! I am a basic b***h and I have a collection of basic bases for you to base your own bases on.
(As a quick aside - I painted the Igor used as my lovely assistant in this article in 20 minutes, so no judging his looks!)
My Shades Troupe all have rocky cork bases in a Deadlands theme, which isn’t in this article because I forgot!
Some Basics Before Basing
First things first: Why base your models? Basing miniatures can seem like an extra step after you’ve spent time painting them, but by adding a little extra texture and colour to a base you can really make a model look amazing! By sticking to a common theme you can give a group of models a cohesive and aligned look, and with a little extra effort you can make one mini look like a whole diorama.
Our bases are all 30mm or 40mm round lipped slot bases, this means there will usually be a gap either side of the miniature’s feet where the tab doesn’t extend, or just a big empty slot in the case of some larger models. You can either fill this with putty, or use card and glue/tape to cover over it - once the base is textured it won’t matter. (I’ve use plasters/band-aids recently as they have a nice texture for paint to stick to).
Basing Styles
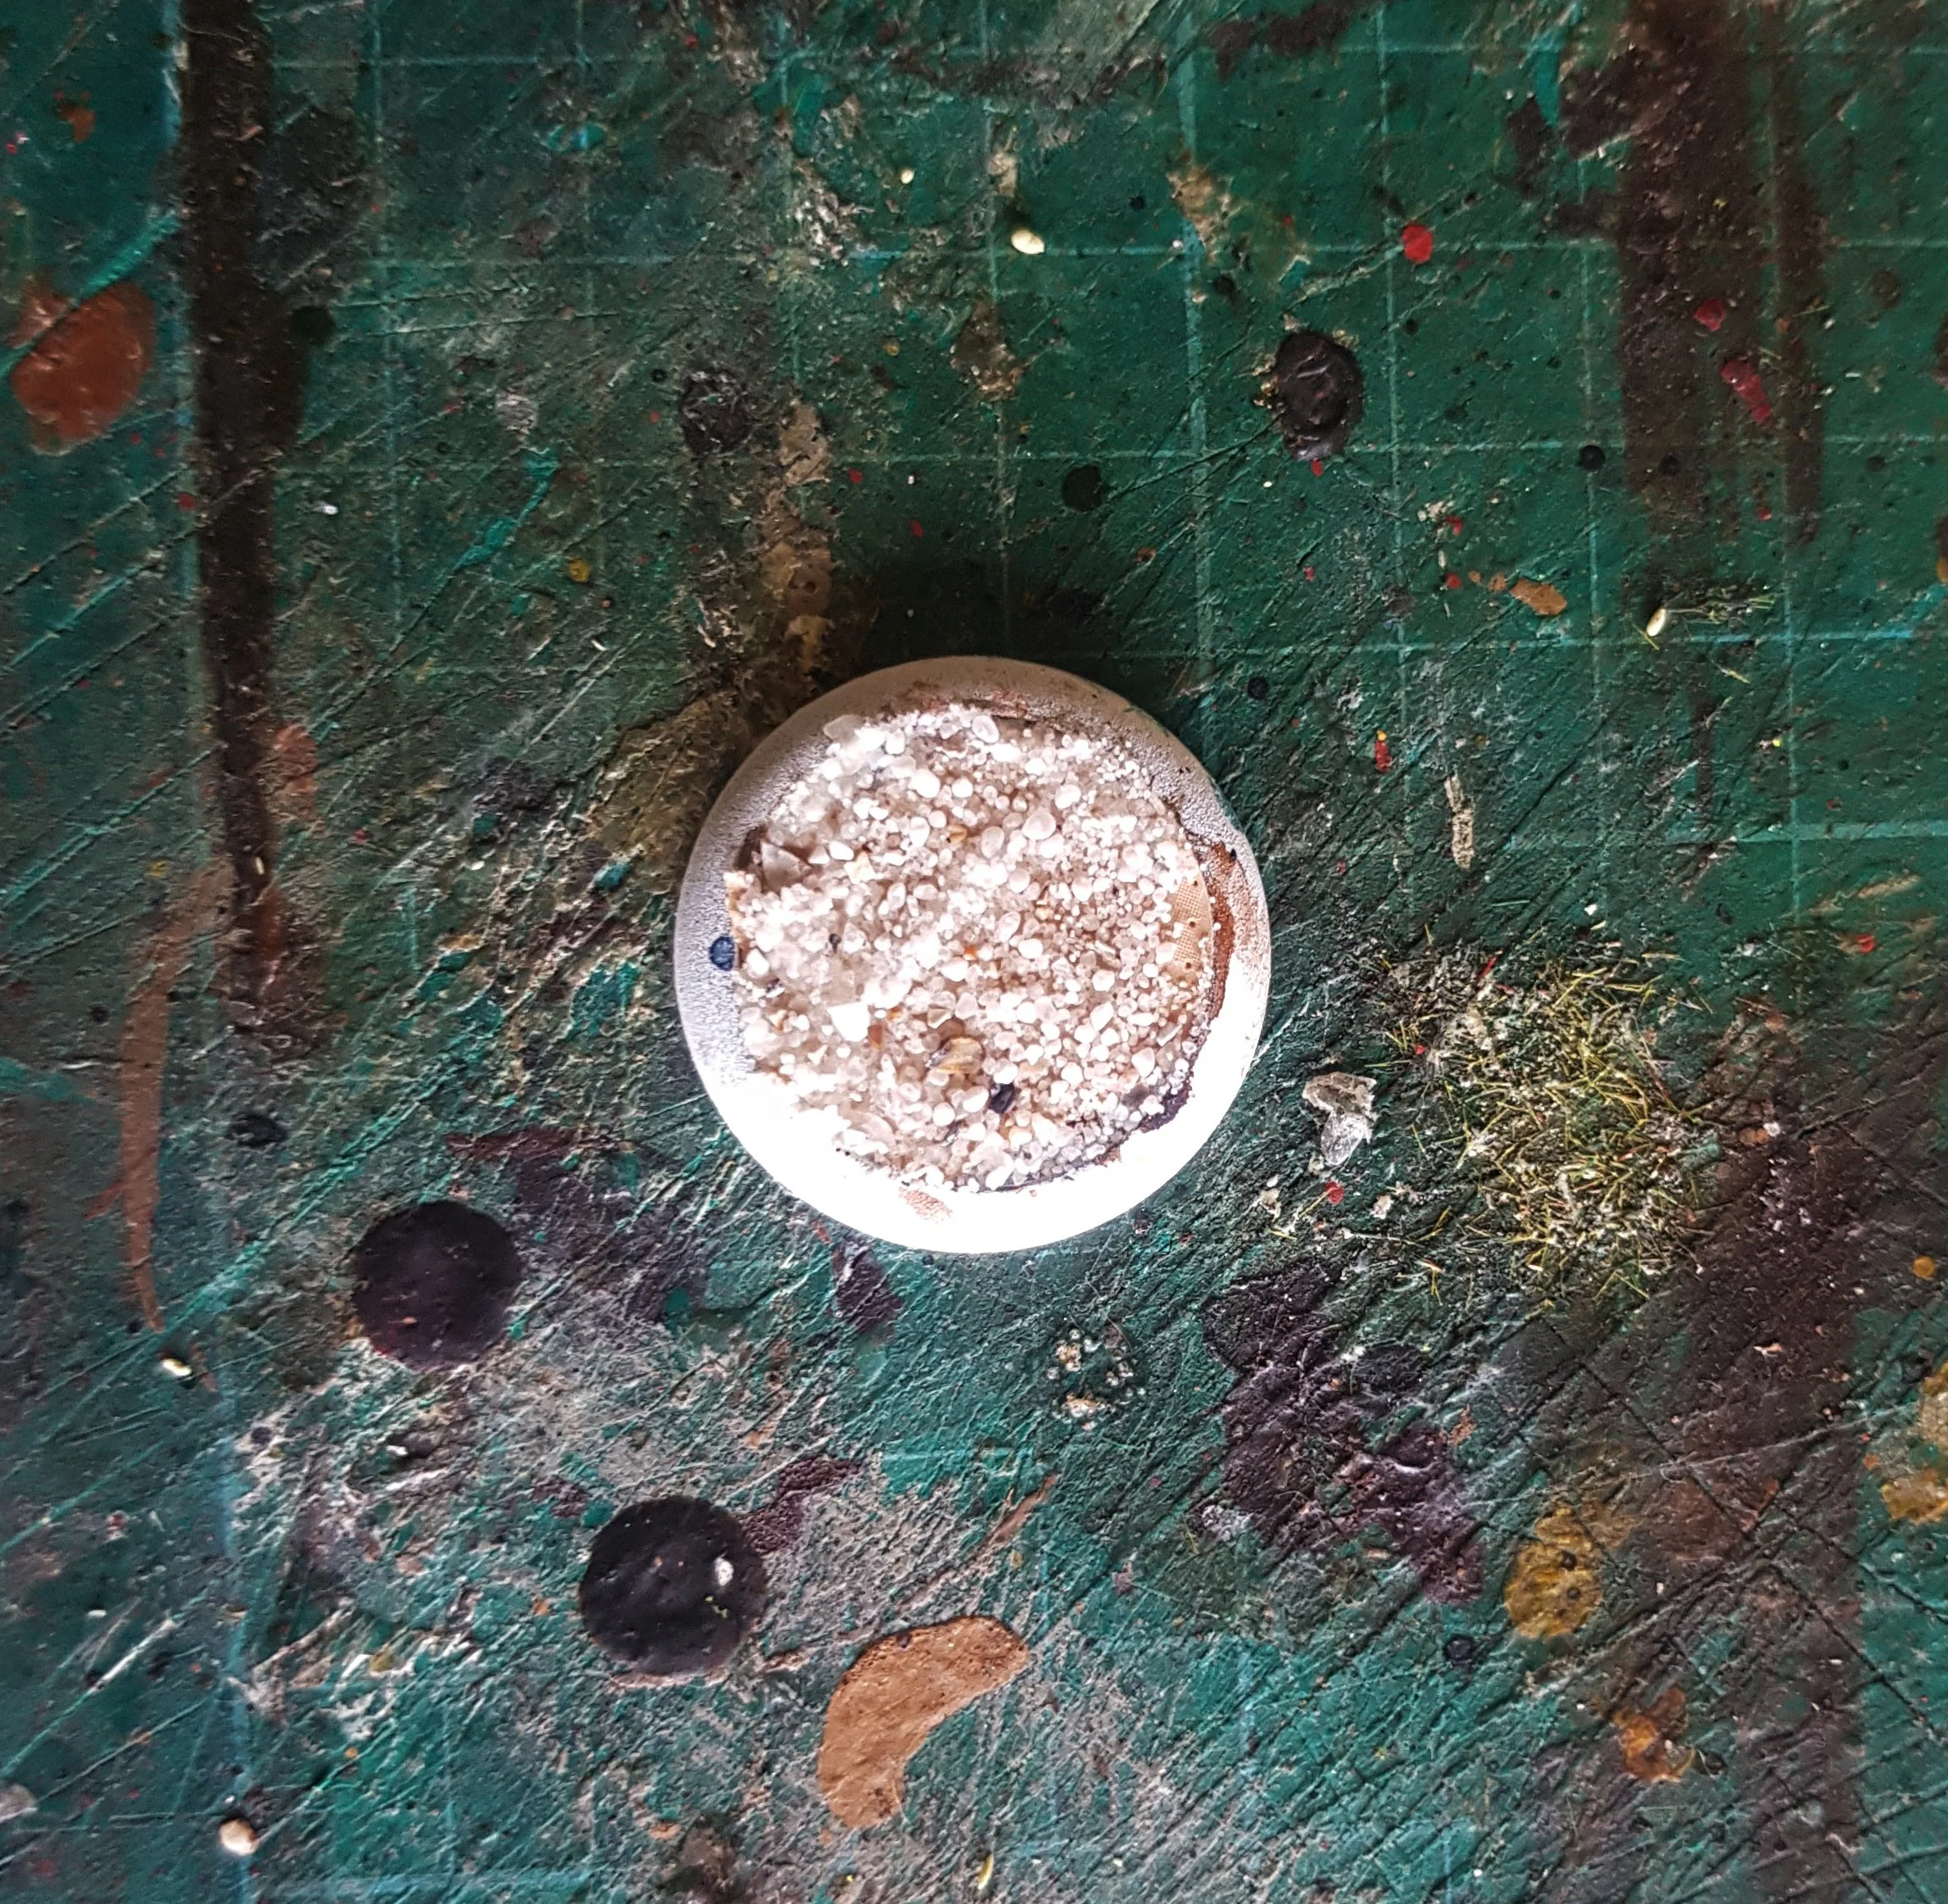
Simple: Sand and Tufts
Considered the ‘standard’ base for most players, this base requires PVA glue (wood glue/white glue), some sand (I use bird sand as it has mixed textures in and is cheap, or should I say… cheep...) and paints, plus tufts if you have them.
Spread PVA glue evenly across the top of the base, and dunk it in sand. Wipe any excess off the rim.
Once properly dry, paint in the colour of your choice (mud, stone, sand, snow, earwax - this is so simple it can be anything really).
Drybrush a lighter shade of your chosen colour over the base.
Paint the rim black (or whatever colour you feel like really, this is true for every time I say this in the whole article).
Add one or two tufts of appropriate foliage.


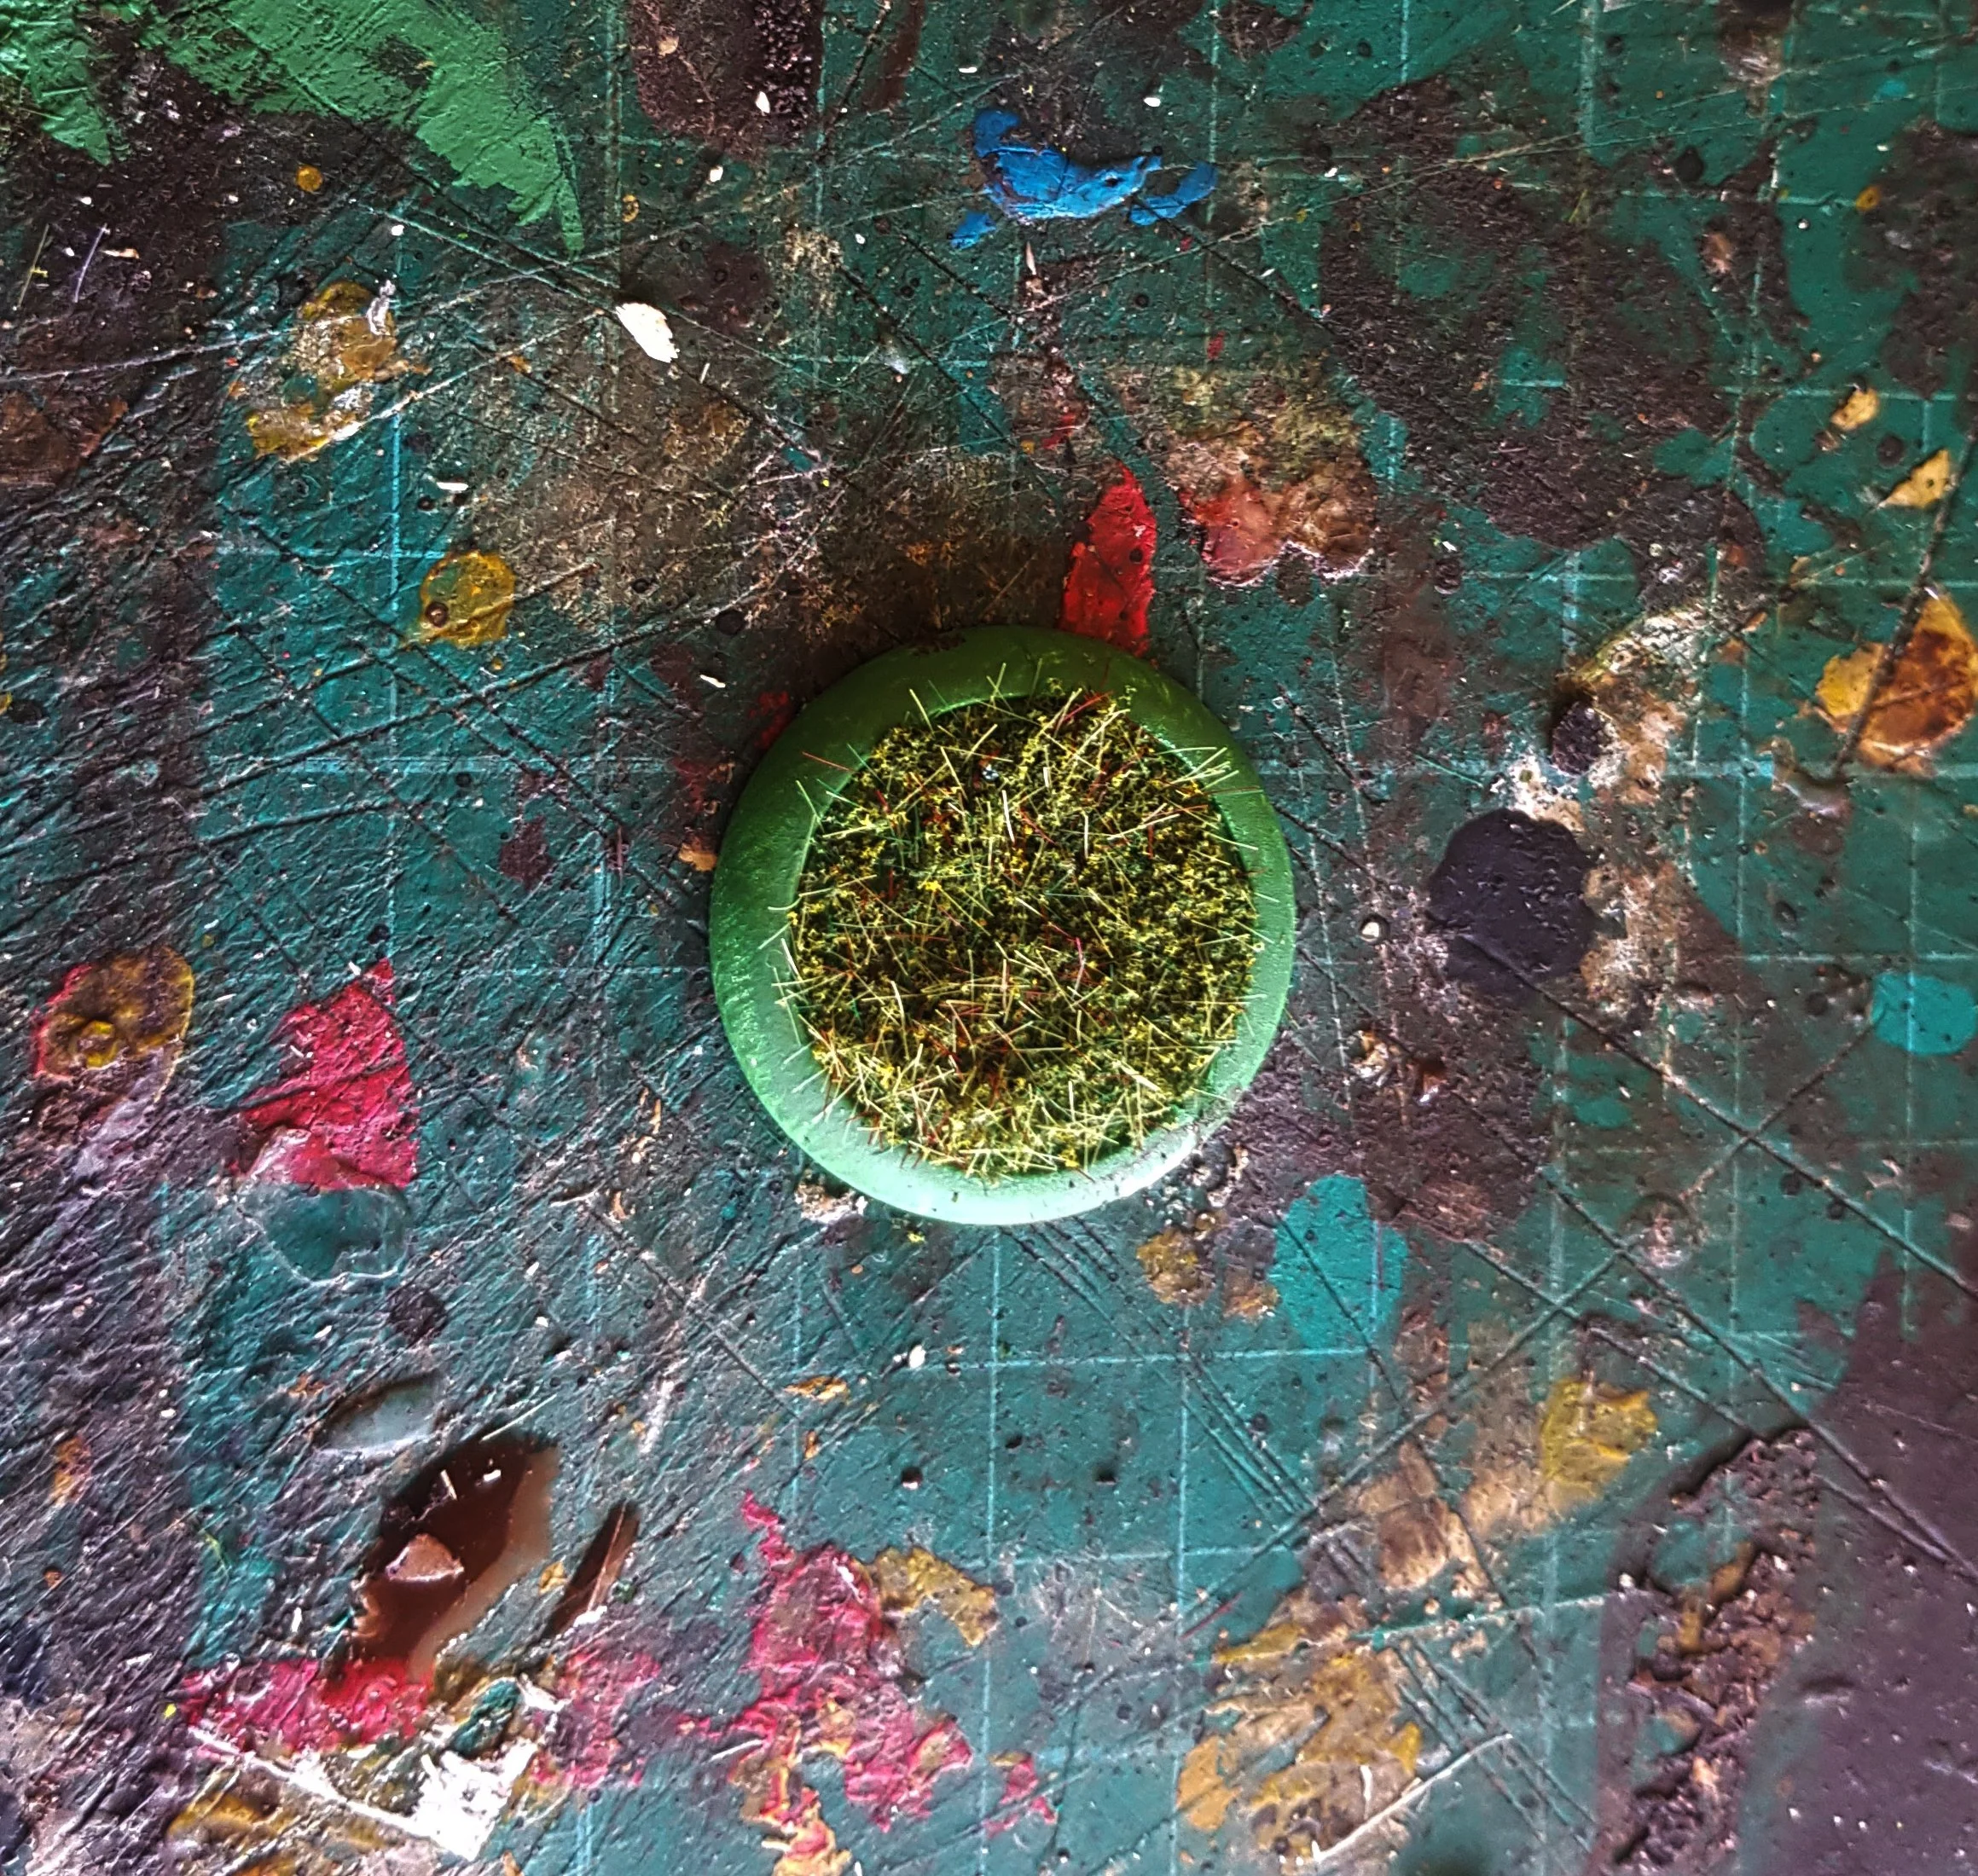
Simple(st): Flock
I think I put this in to make older players chuckle really, but this is the absolute simplest base you can do! All you need is PVA glue, green paint and flock from a model shop. This is old school ‘Warhammer in the 90s’ green, but the technique works just as well with any colour flock.
Paint base green (I used Goblin Green obviously).
Spread a thin layer of PVA glue on the top and dunk in flock.
Wipe off the excess and boom! Done!


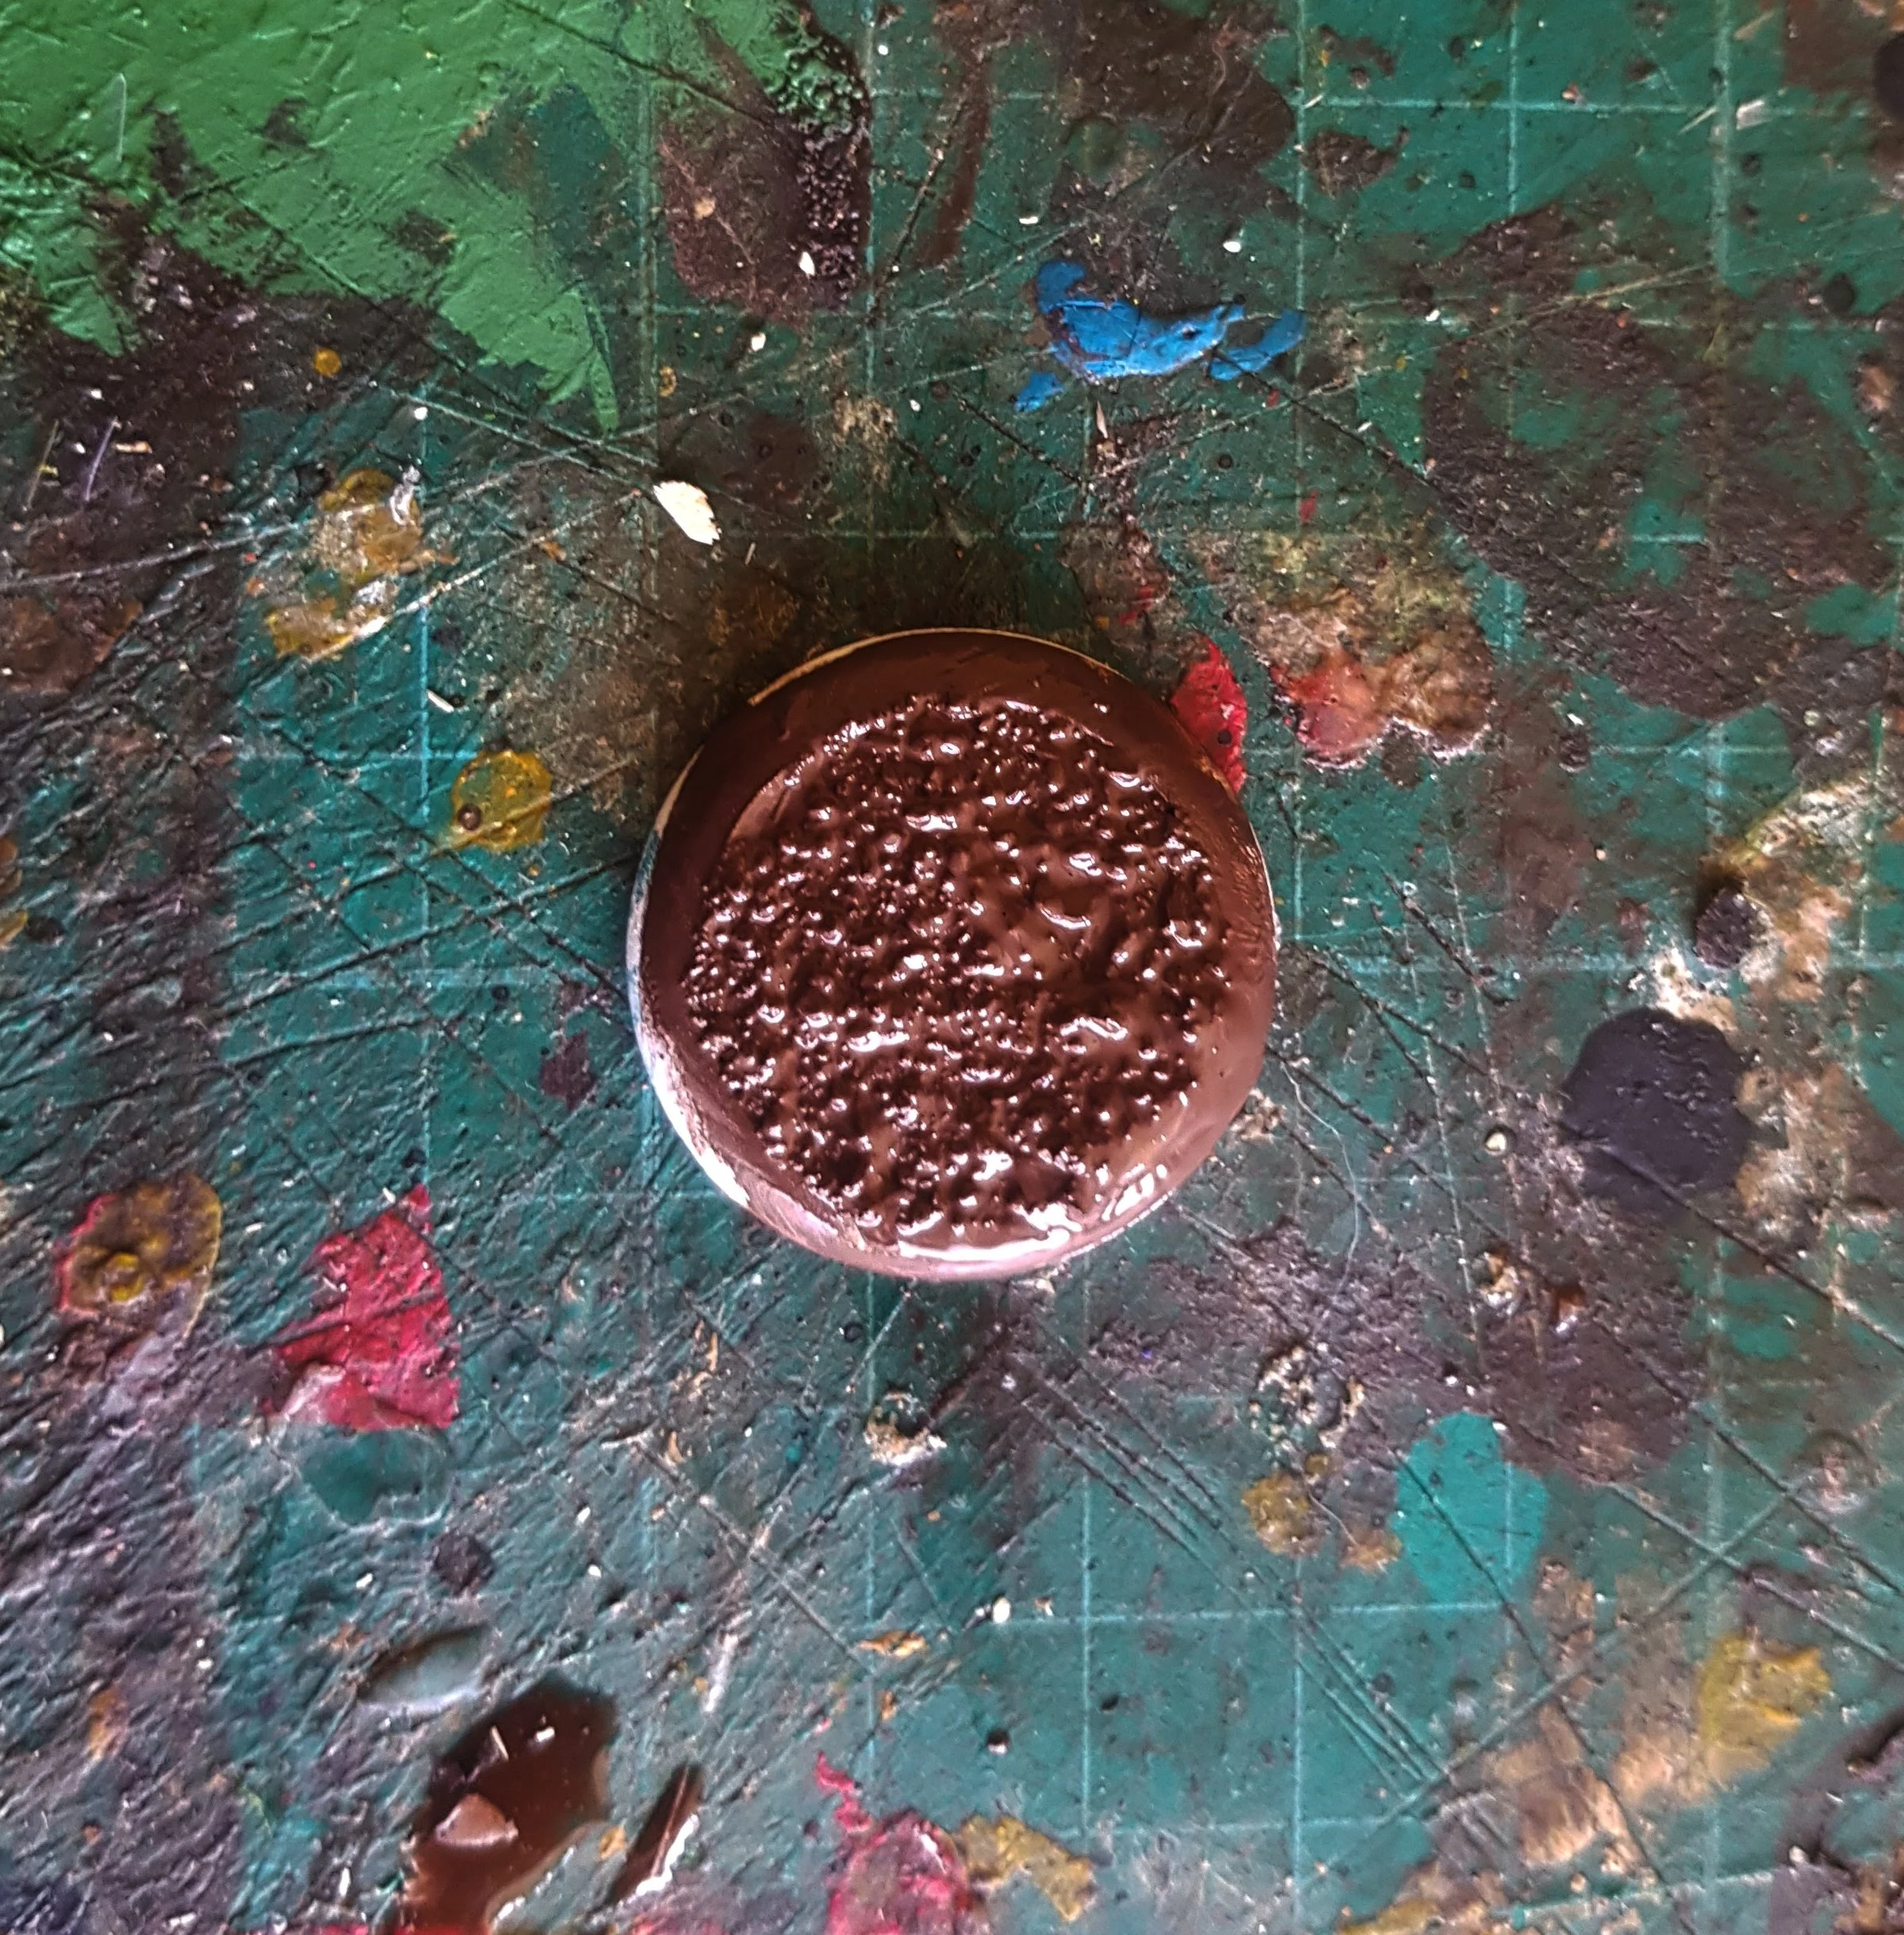
Simple: Texture Paints
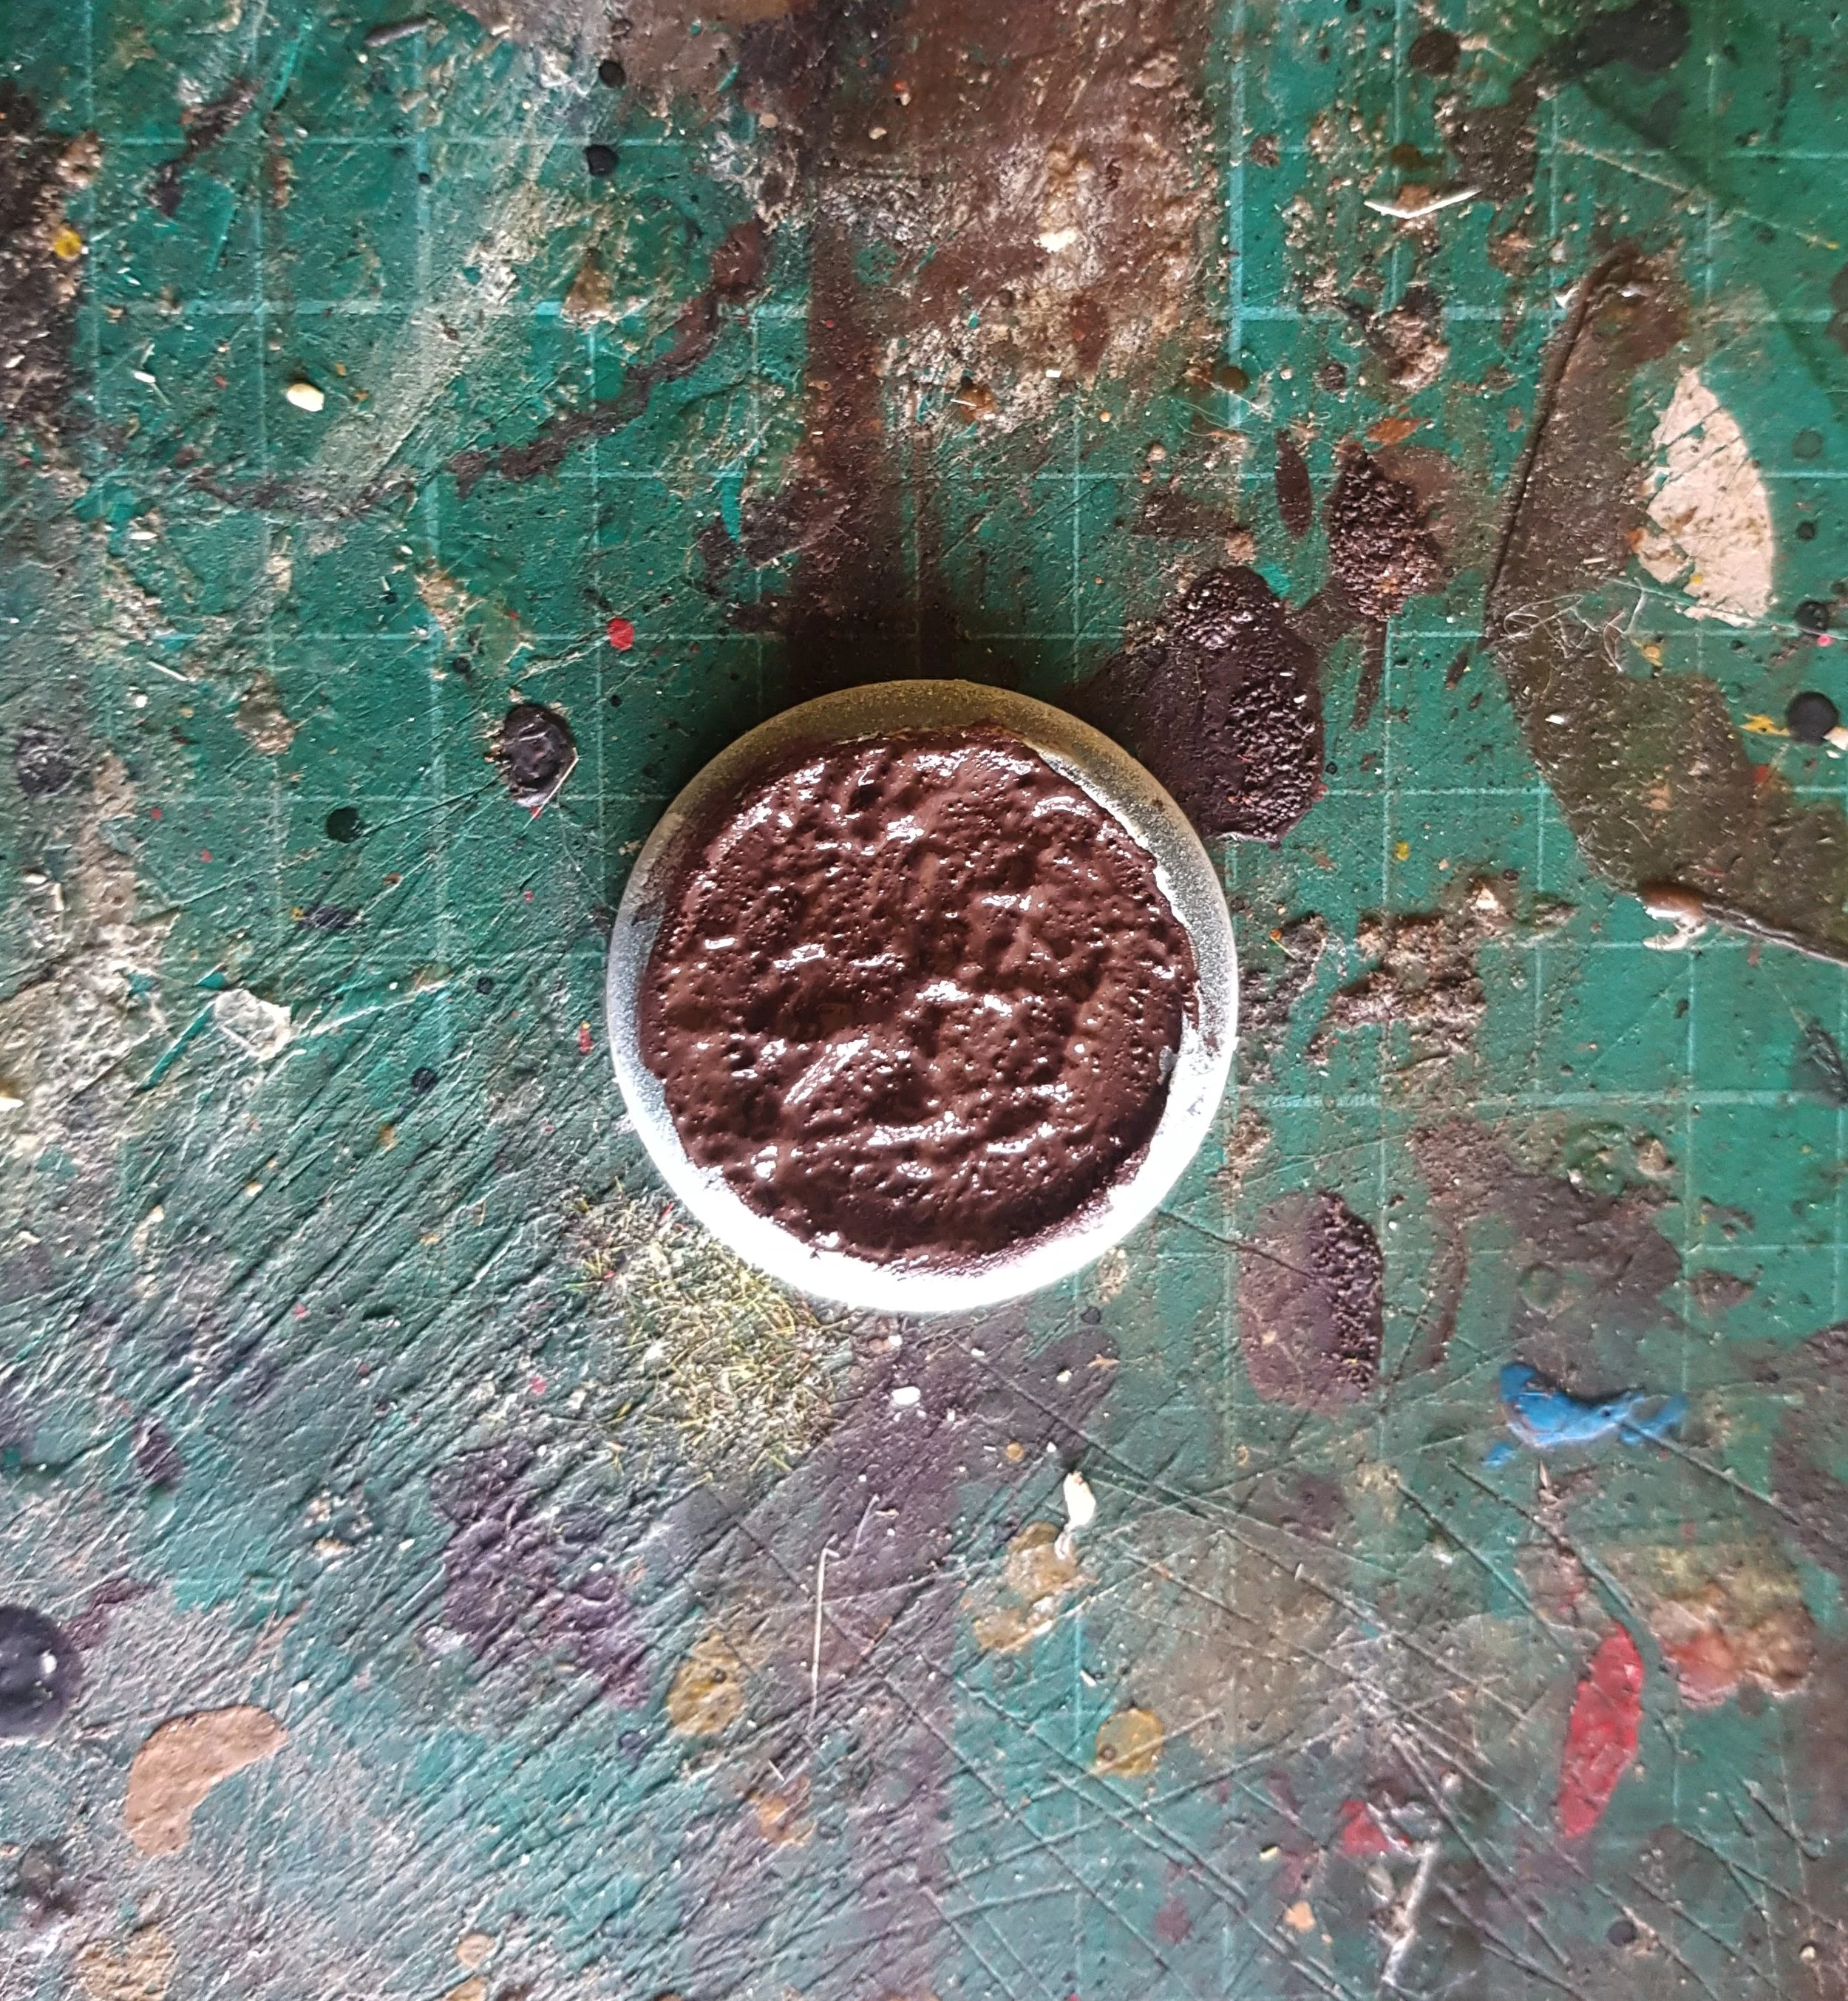
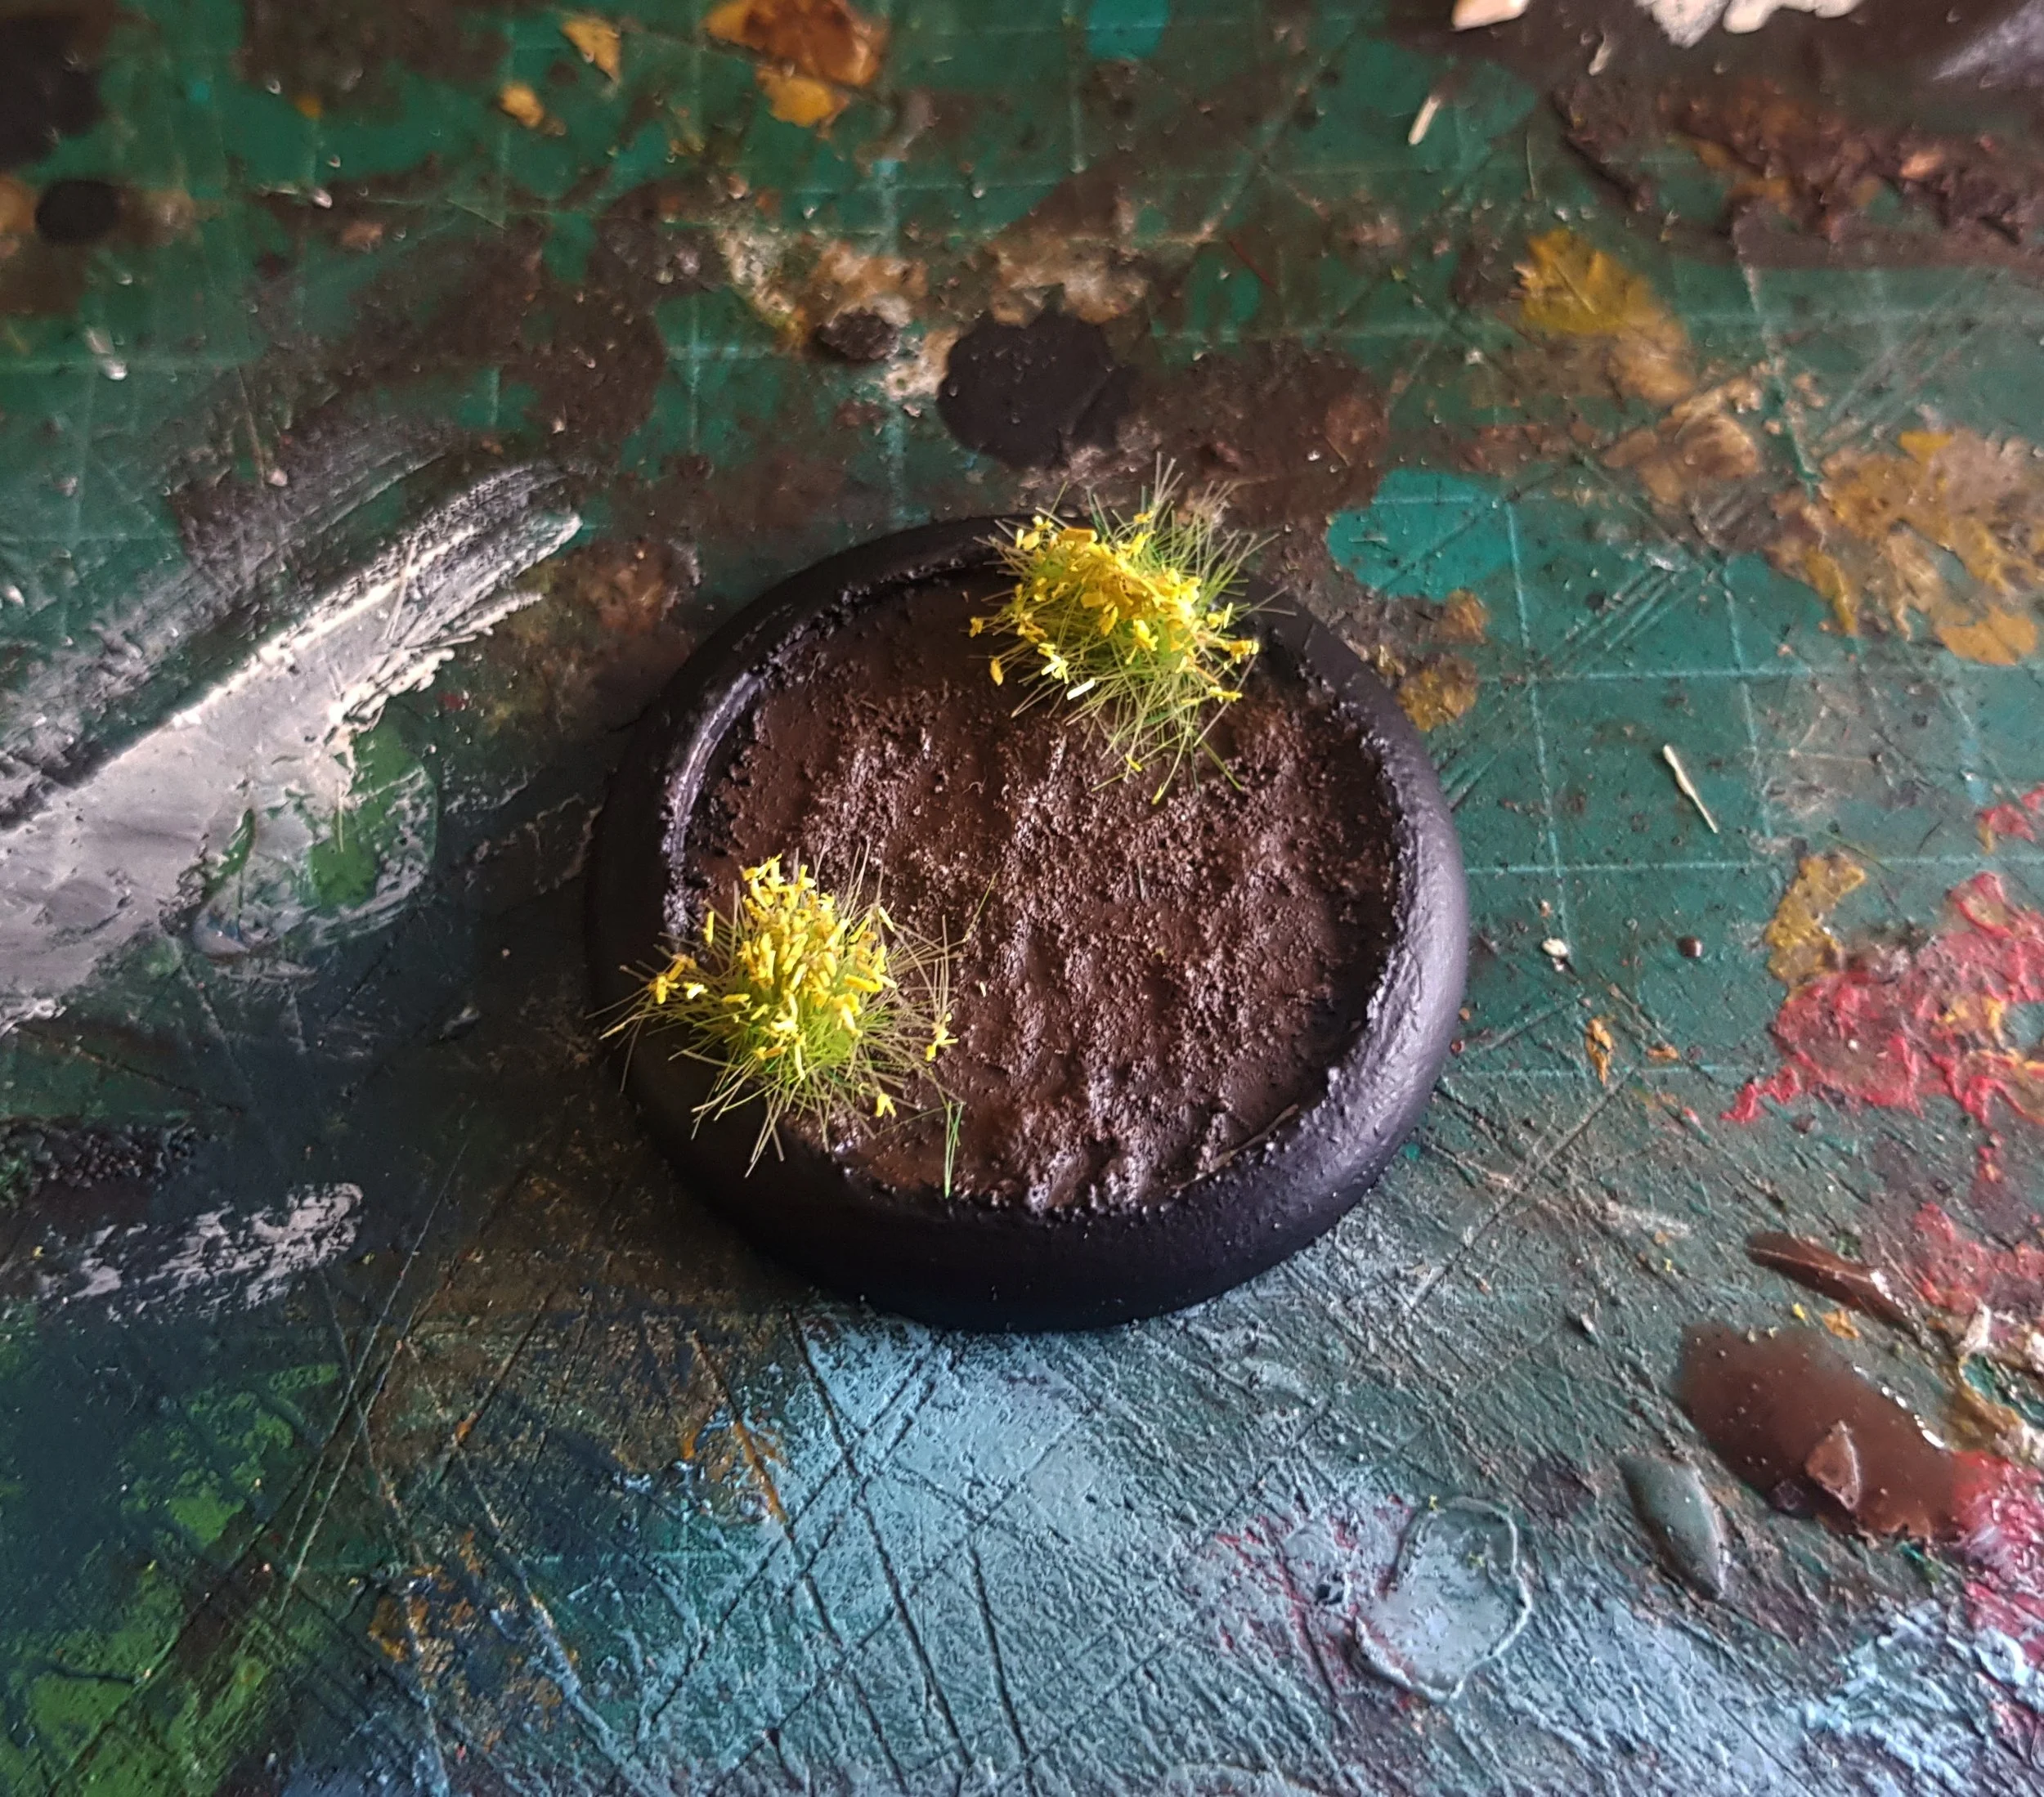
Texture paints are thick, gloopy paints containing fine sand, gravel or other bits that create a textured surface when dry. You can buy these paints from Citadel’s ‘Technical’ range amongst others, or just make it yourself by mixing texture with paint. There are tons of interesting ones out there, so obviously I’ve gone with brown mud.
Paint the top of the base thickly with the textured paint.
Once fully dry, give a drybrush with a lighter shade of the same colour.
Add tufts and paint the rim black.


Moderate: Paving Slabs
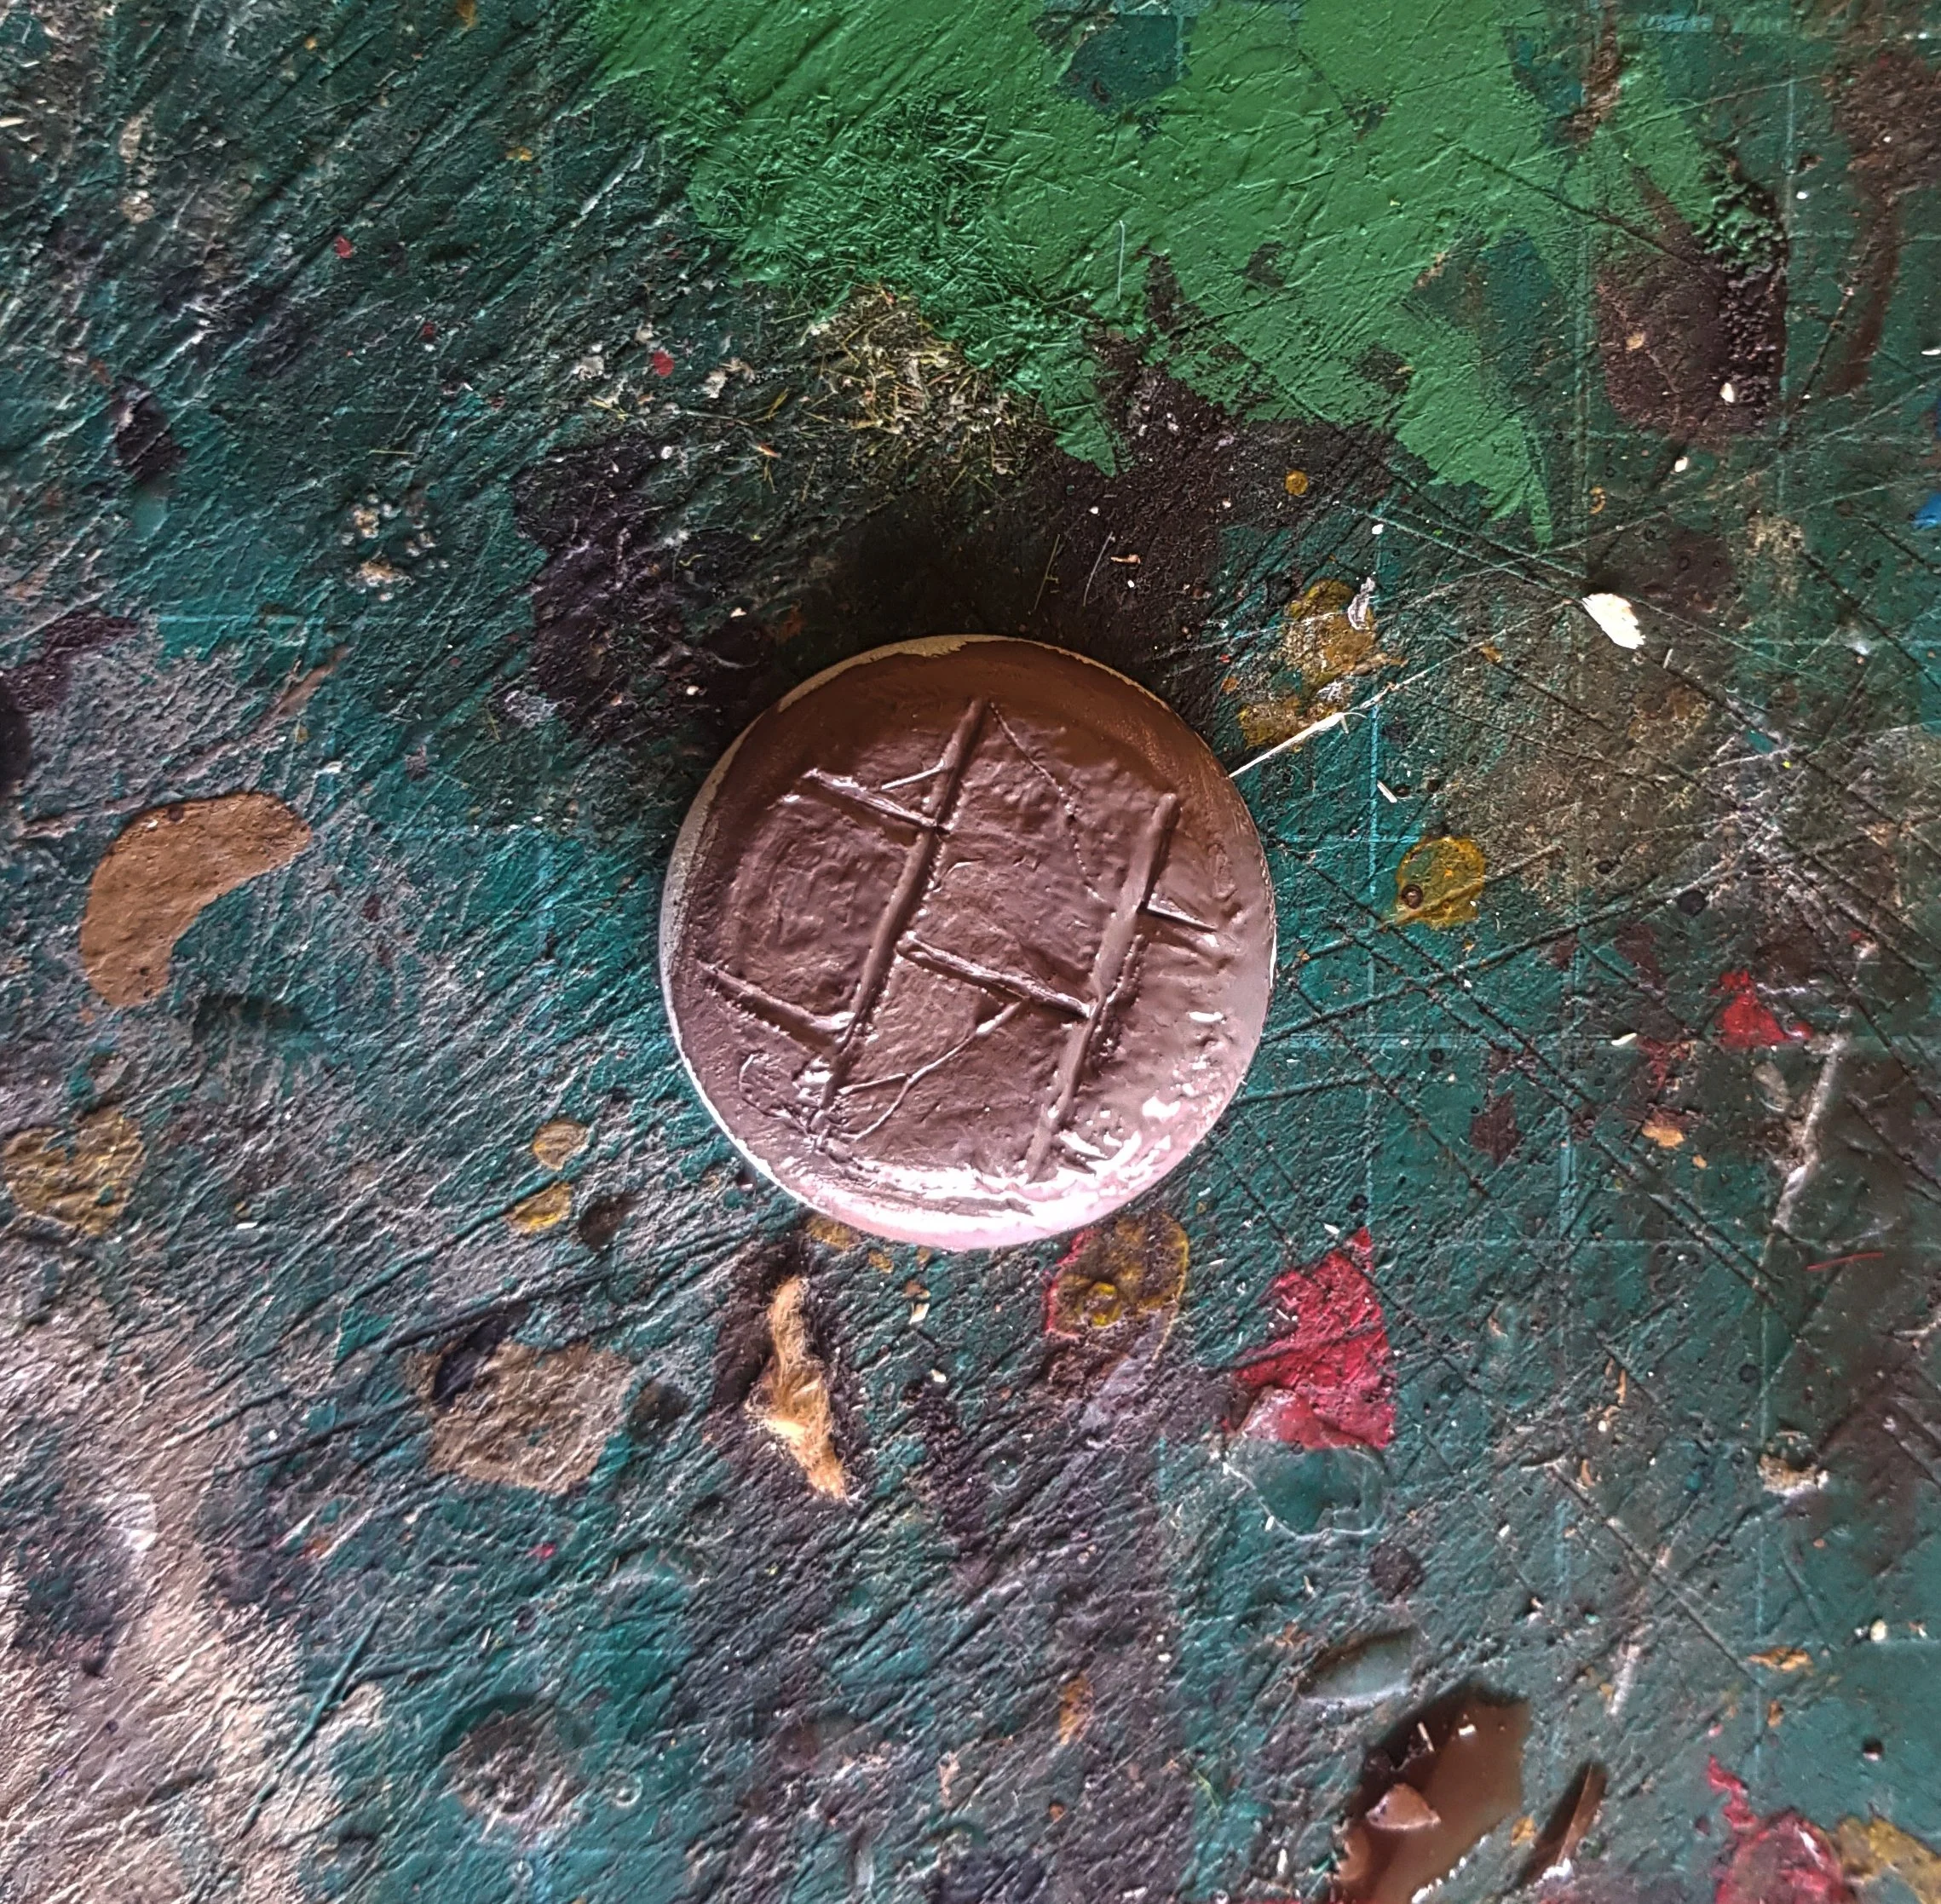
Flagstones are a common sight in Tauber, be it the cracked paths of Moonreach or the broad roads of Machburg. Stepping up a small amount in complexity here to paving slabs sculpted in Milliput (or green stuff etc.). This might sound scary if you haven’t sculpted before but as long as you can manage a straight line you are all good! You’ll need Milliput for this in addition to paints and a knife.
Mix a small amount of equal parts both sticks of milliput together and push it flat onto the base’s top.
Stipple the surface of the milliput with an old toothbursh/paintbrush/your nose hair etc.
Using the blade of a knife, draw straight lines down the surface about 80mm apart - wiggle the blade a little as you do.
Add extra lines at a 90 degree to the first, either creating a cross pattern or staggering it.
Carve in some extra details like cracks, notches etc. and let the base dry for a few hours.
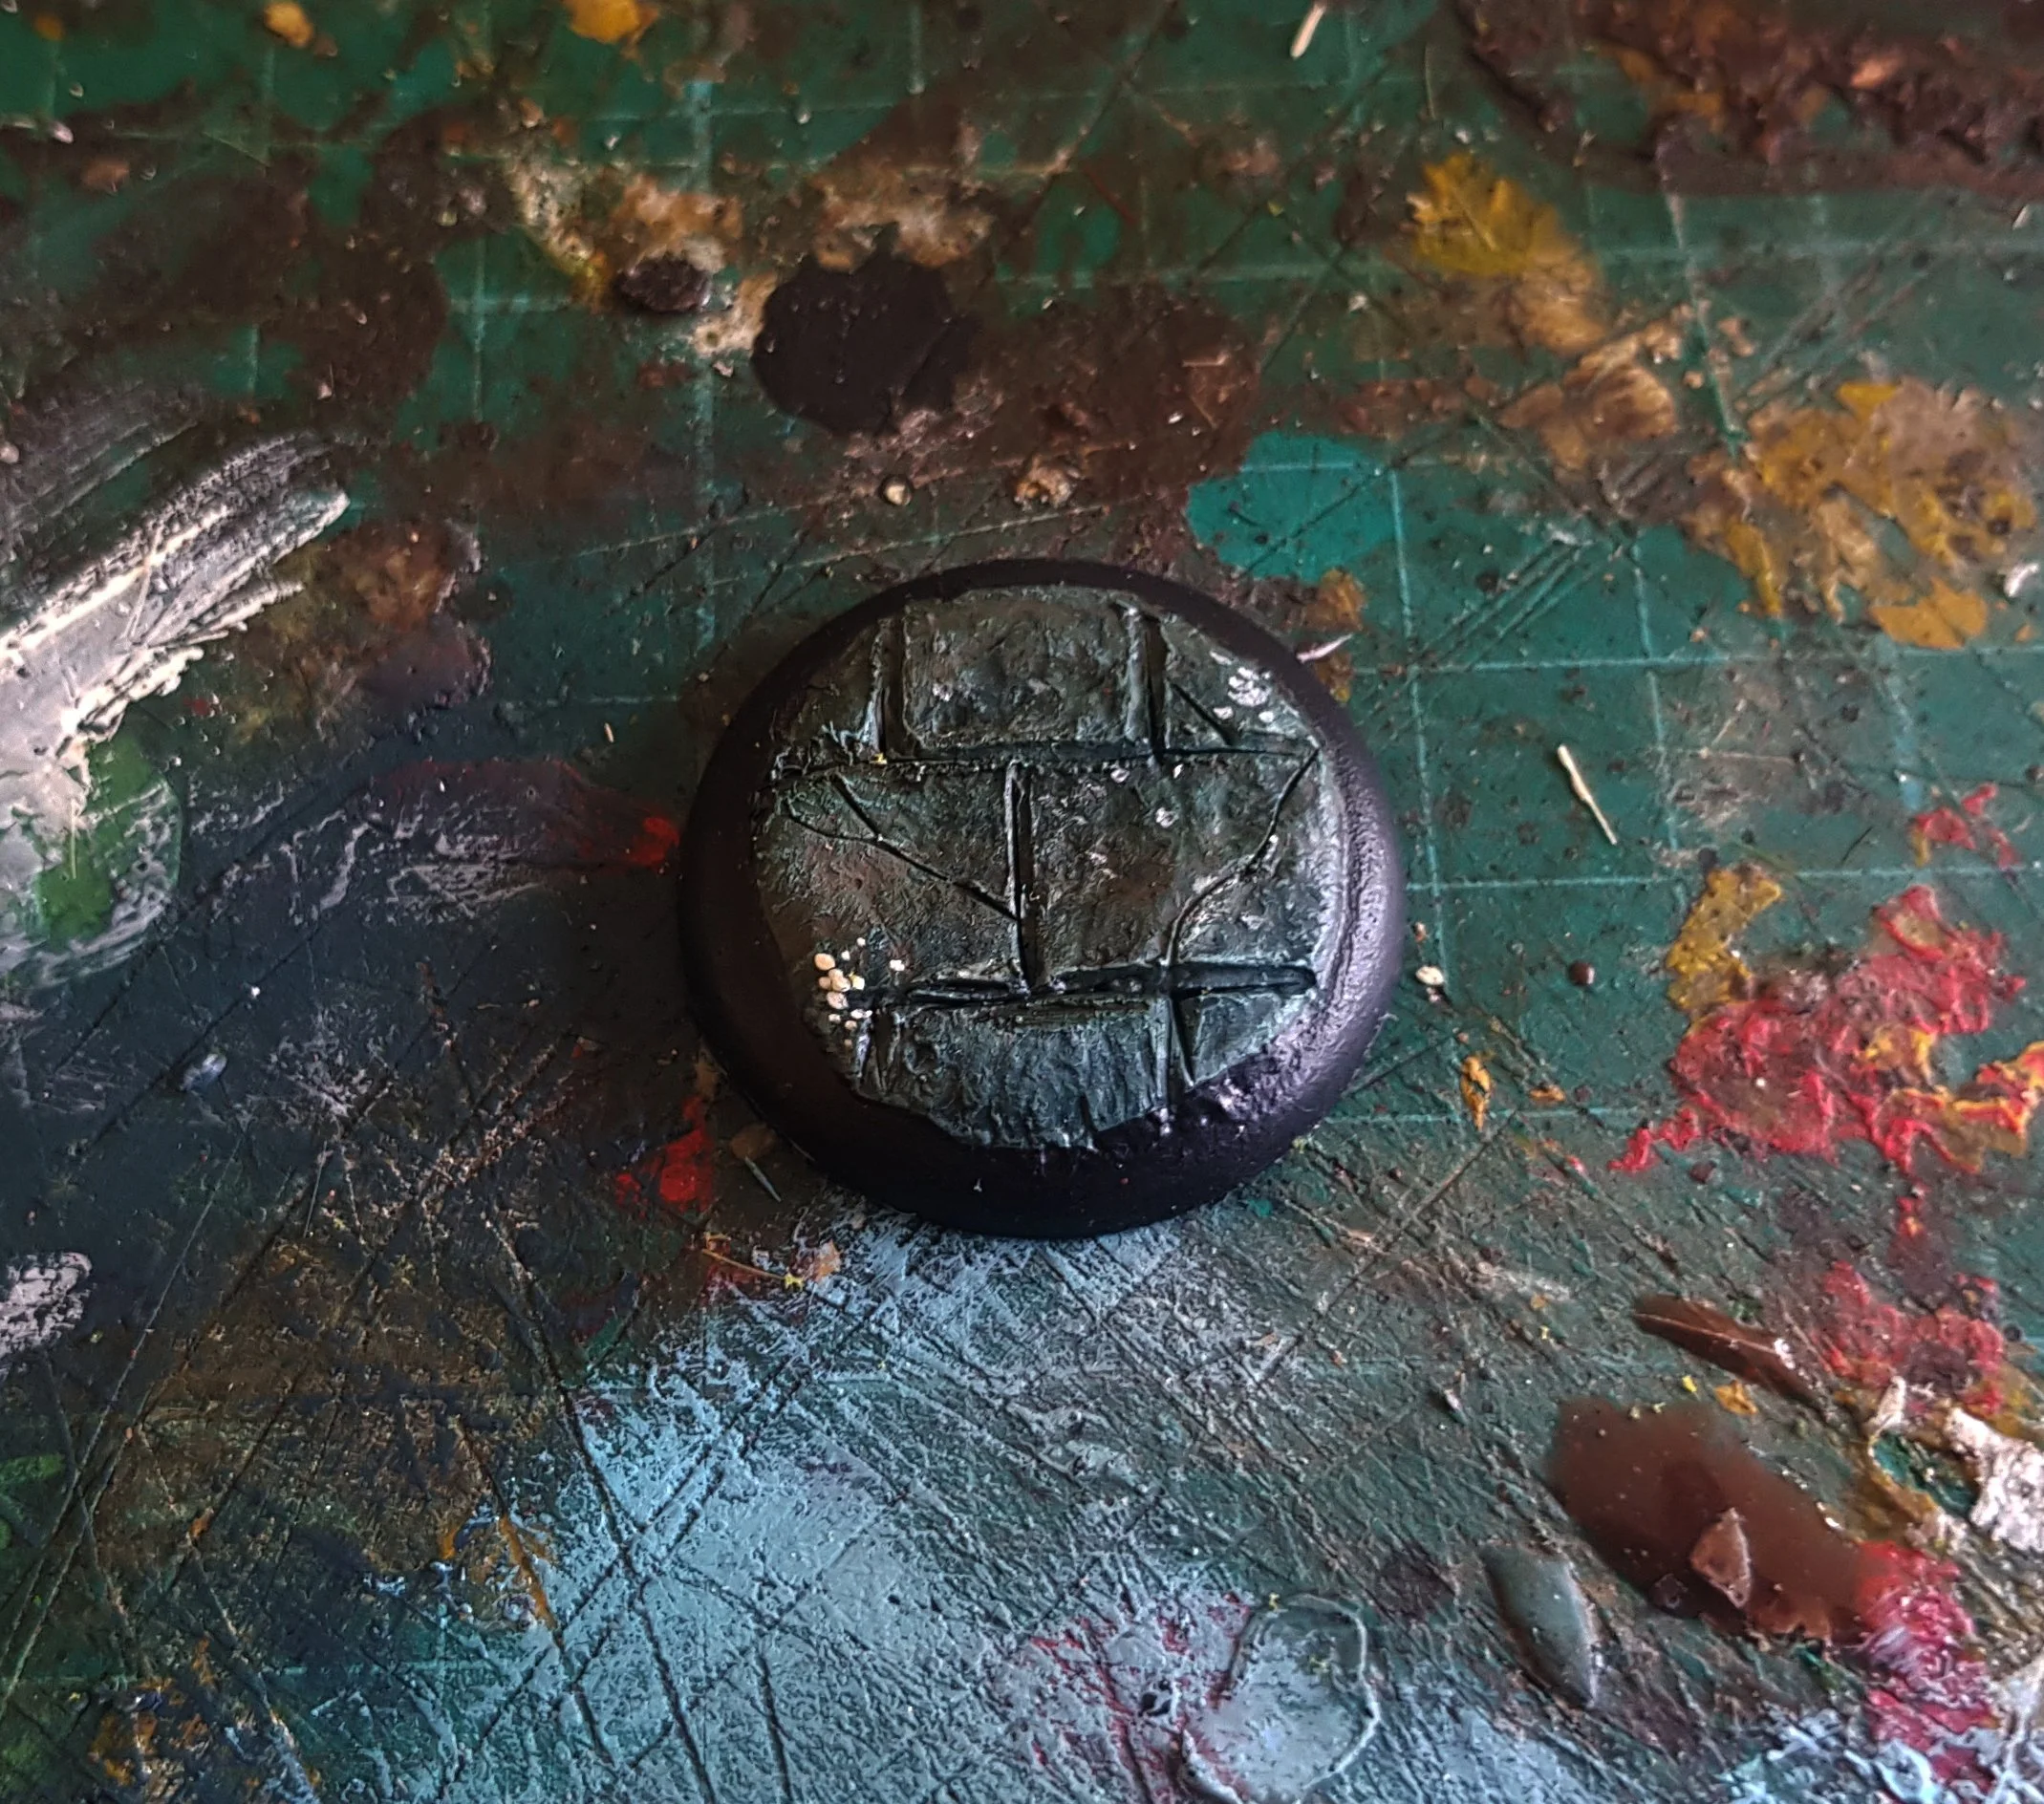
Paint the base using brown, grey or yellow tones, wash it with brown /green/black ink in the cracks.
Give the whole base a gentle drybrush of bone or light grey, and paint the rim black.
Add a small tuft of flock into the cracks here and there for extra colour.


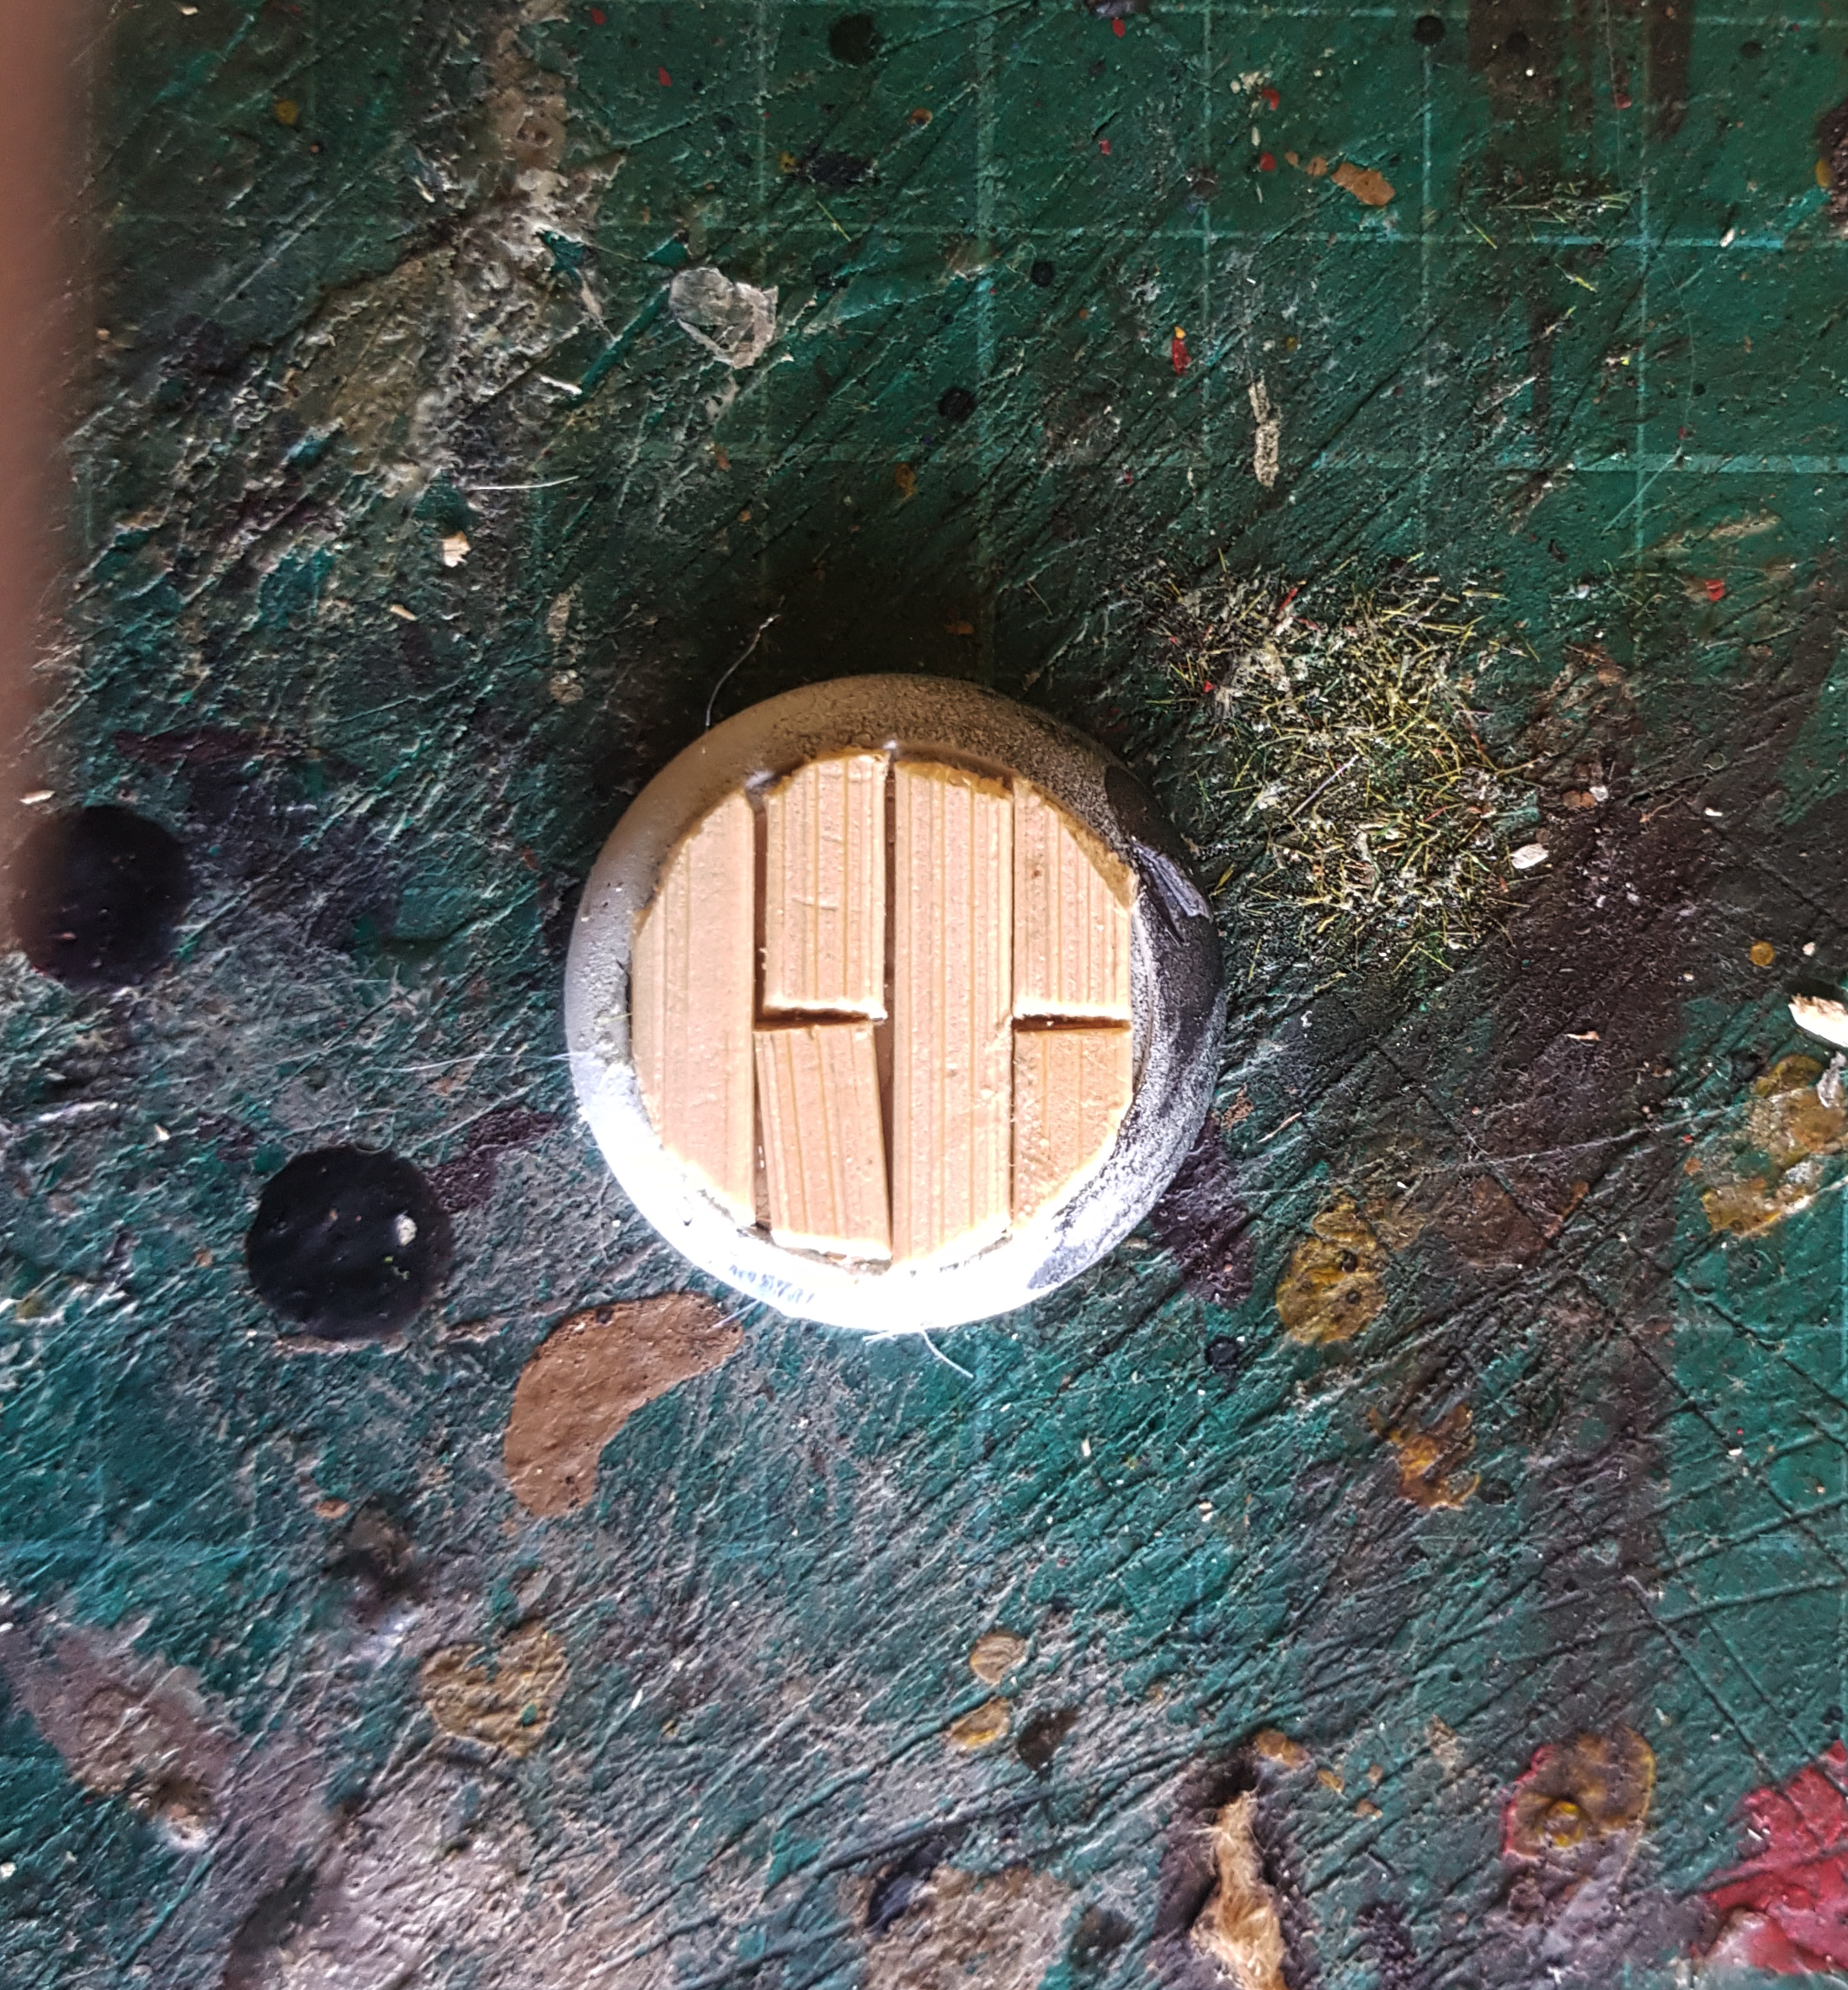
Moderate: Wooden Planks
Useful for the interior of houses, boats, docks or raised walkways, wooden planks are surprisingly easy (and cheap!). You’ll need PVA glue, a wooden stirring stick from your local coffee shop (or a lollipop stick) and paints.
Cut the wooden stick into about 4 small sections as long as the base. I used clippers then neatened with a scalpal.
Use blu-tack to mock up the planks laying in a staggered pattern on the base, and then draw where they need to be cut off to fit into the base. (Guess which photo didn’t work?)
Trim the wood, then use PVA to glue the planks into the base.
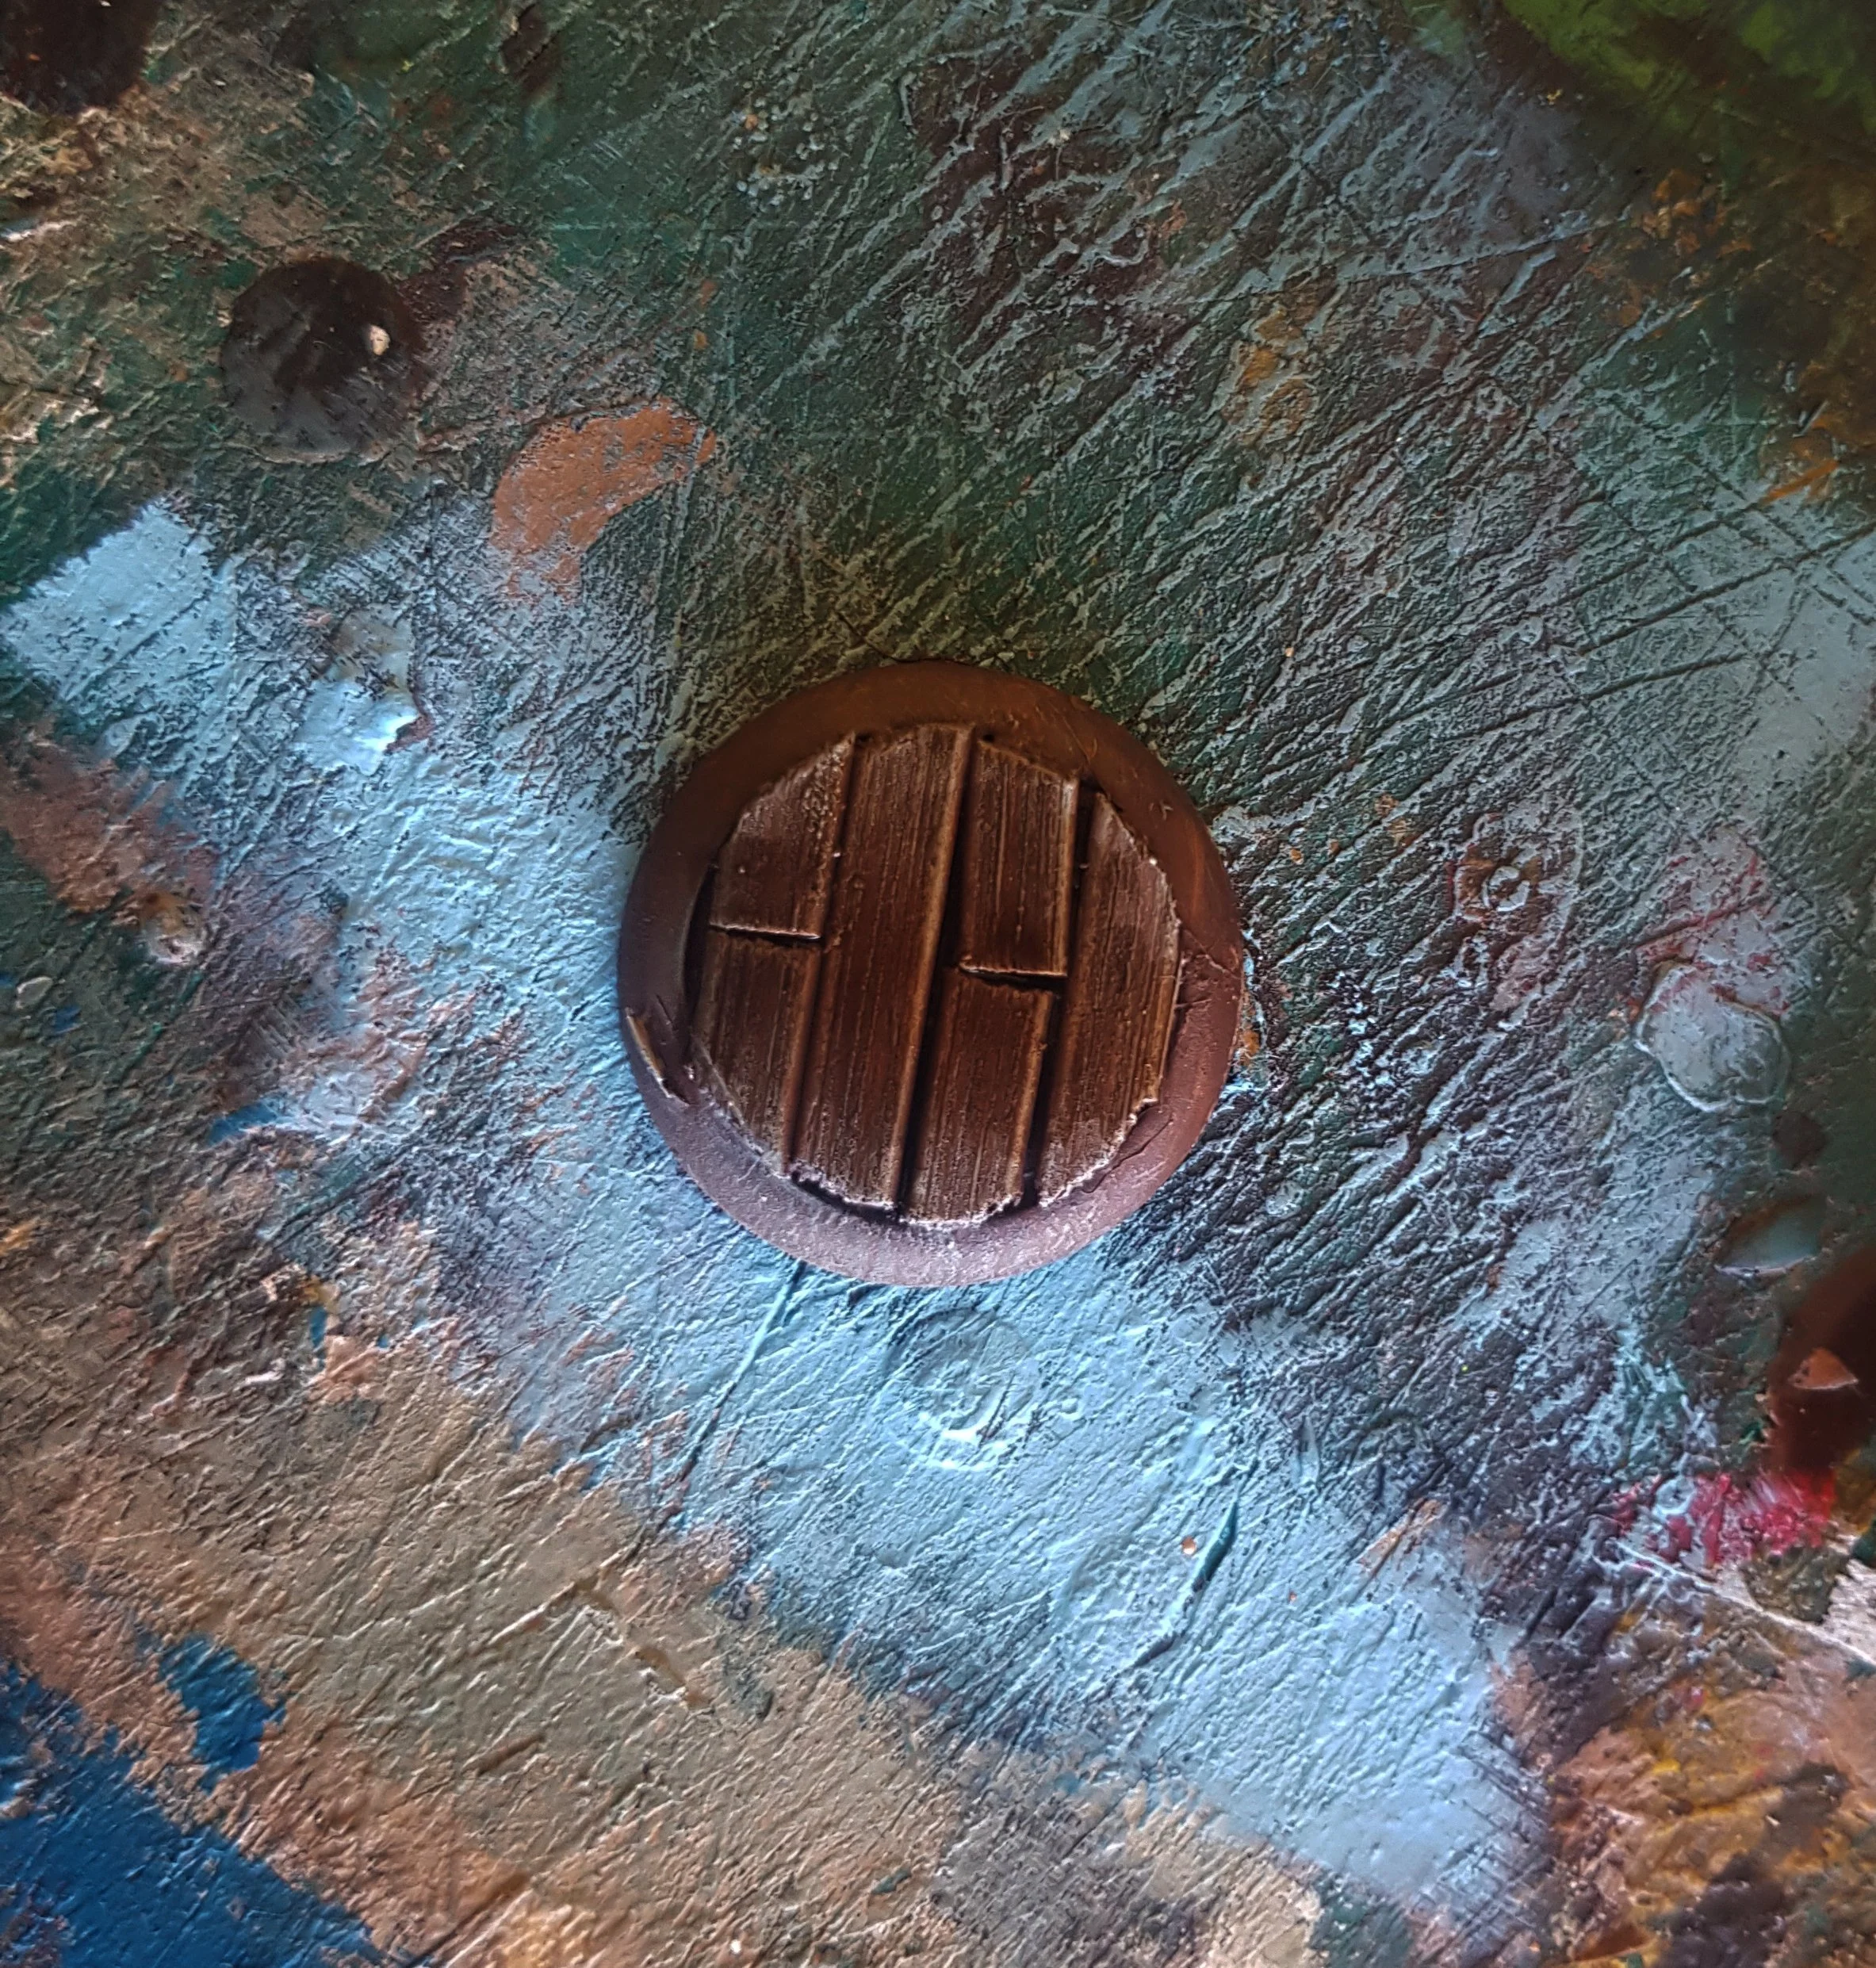
Give the whole thing a coat of dark brown paint.
Follow this with several successive drybrushes of lighter brown around the edges.
Paint a thin brown wash over the wood areas and paint the rim black.
If appropriate add a tuft or bit of flock in the gaps.


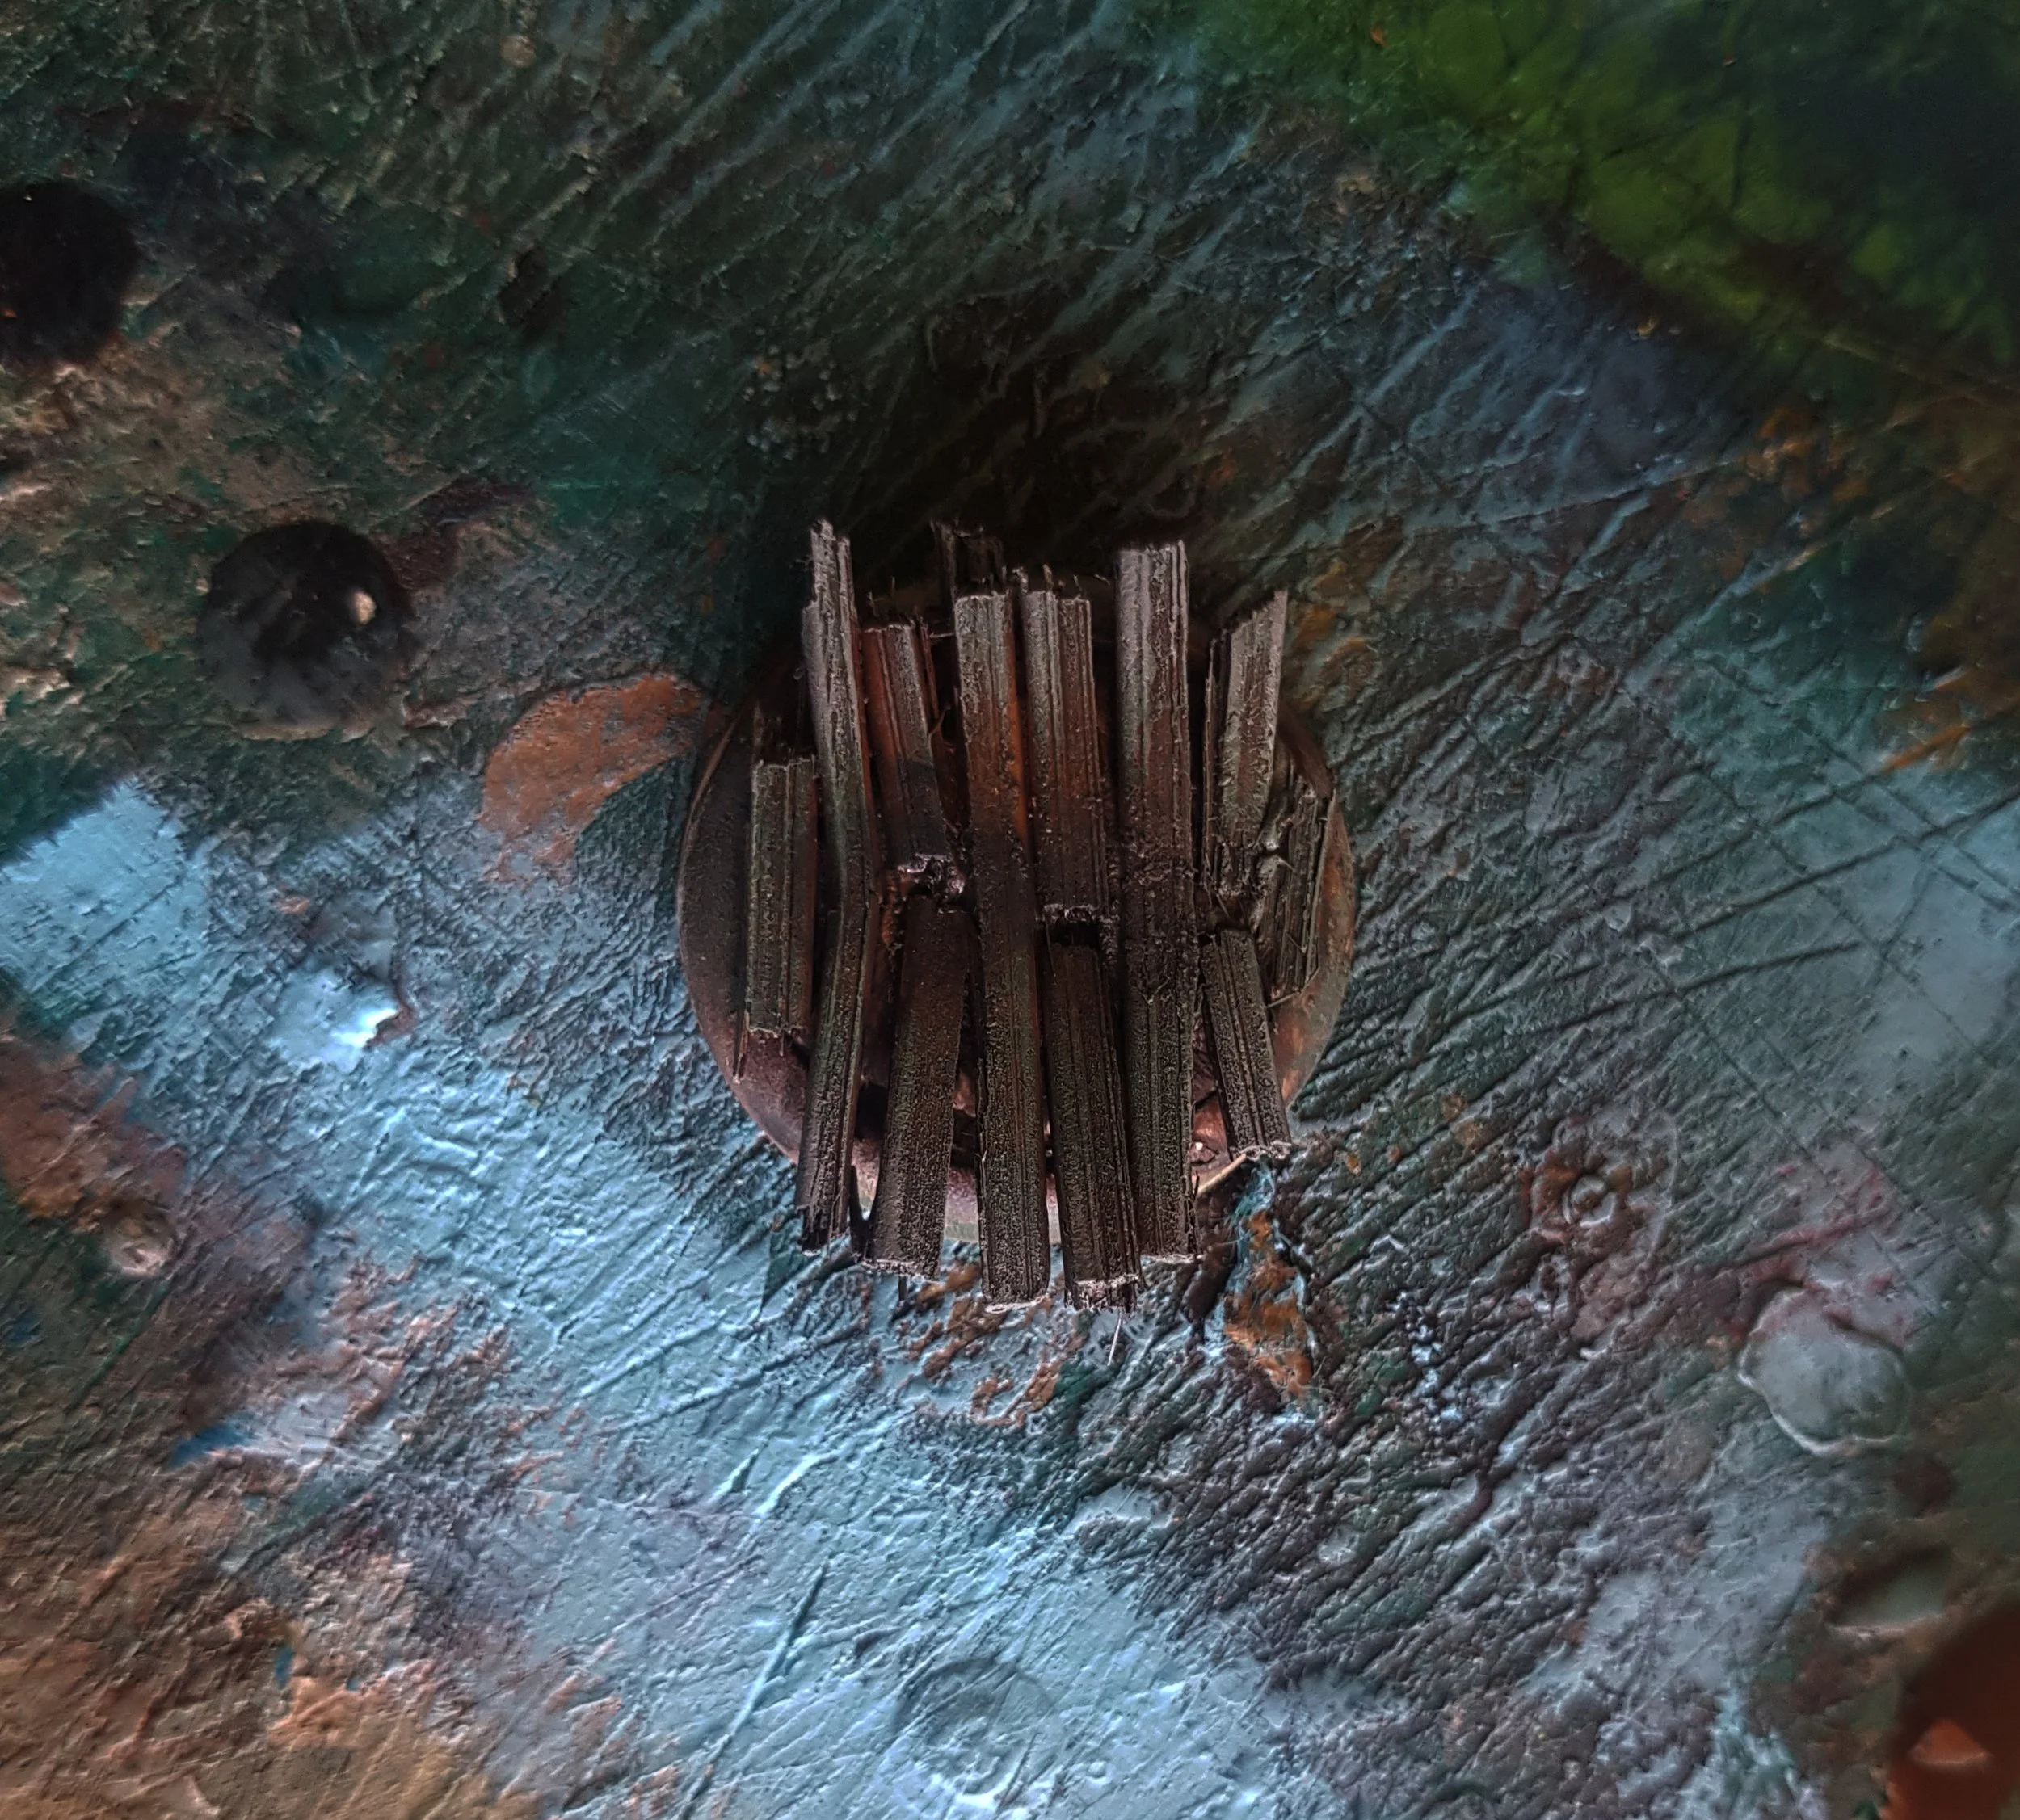
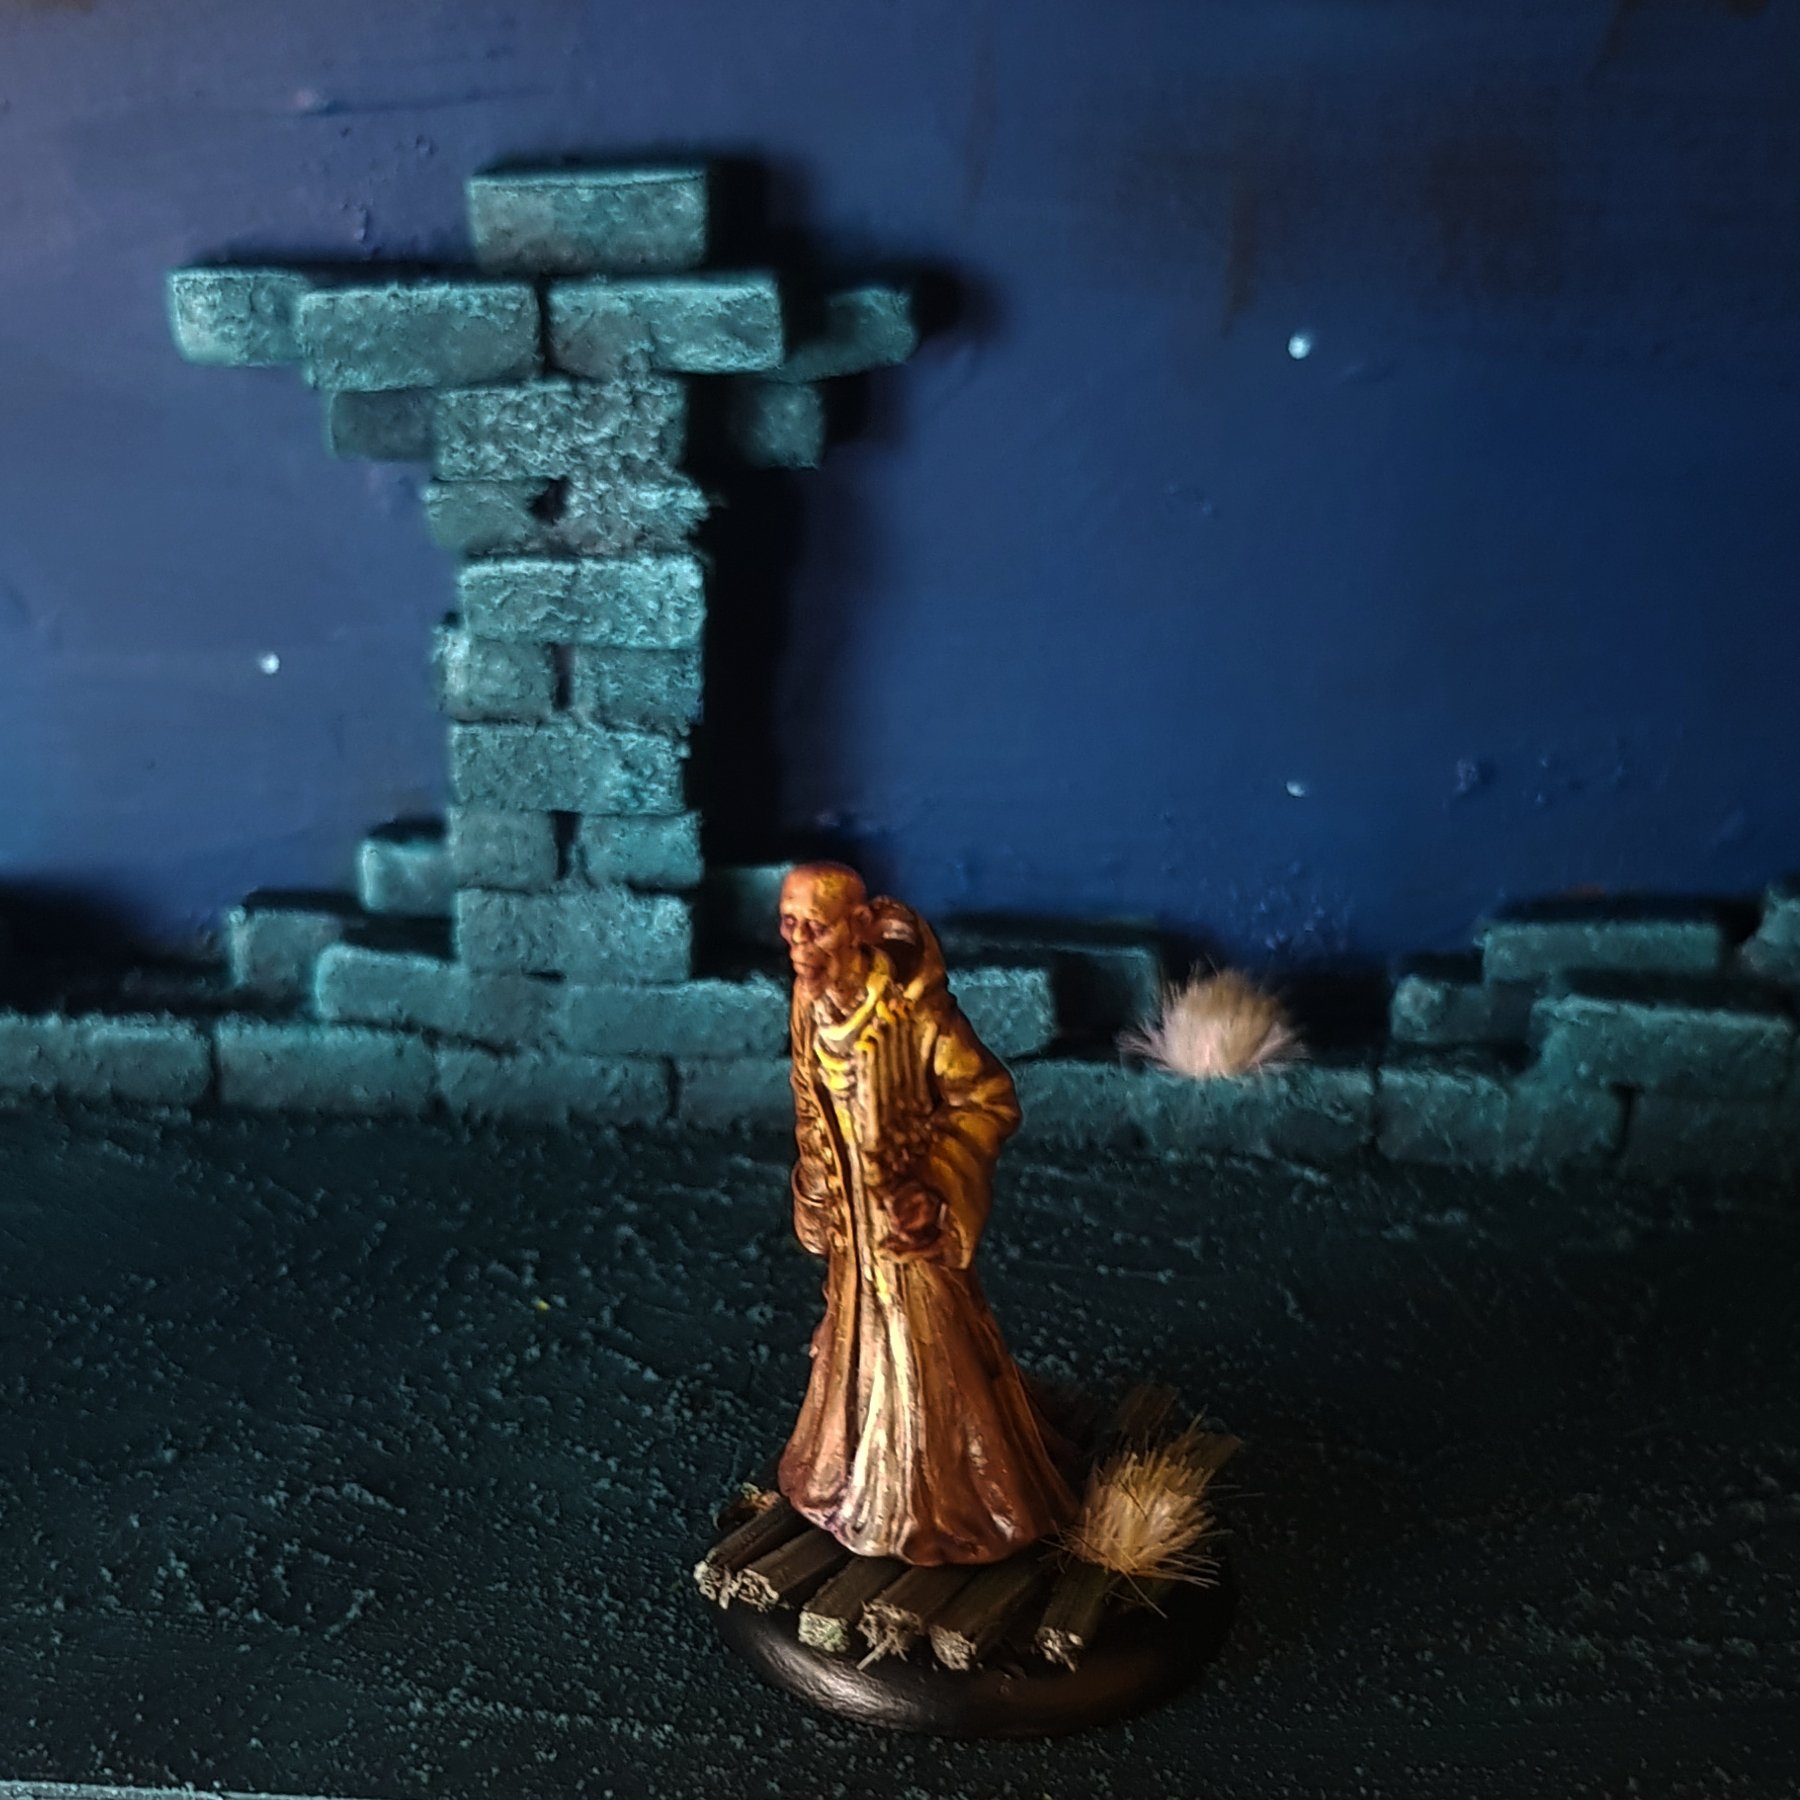
Moderate: Rotting Planks
Nasty rotting woodwork can be in ruined houses, cities or mines, it looks great on our Shades Pirates as rotting deck too! For this you’ll need some Milliput, as well as a wooden stirrer as above. It’s also worth bearing in mind the where the models feet are going to go with this technique and keeping those areas flatter.
Mix a small pea sized lump of Milliput and make a blob on the top of the base, it can be roughly shaped as you won’t see it much when finished.
Take the wooden stirrer, and use model clipper to split it lengthwise into thinner planks,
Snap the planks by hand down to roughly 1” sections. leave any messy breaks and edges on.
Place the planks over the base laying in the same direction like floorboards.
One at a time bend or break each plank around the middle, then stick them in the Milliput.
Make sure they stick up in irregular patterns and let the Milliput dry.
Give the wood a brown basecoat, then drybrush grey over that.
Drybrush light grey over the very tips of each plank.
Use green inks in the recesses and deeper areas to look like rot and mould.
Paint the rim of the base black, add tufts if appropriate.


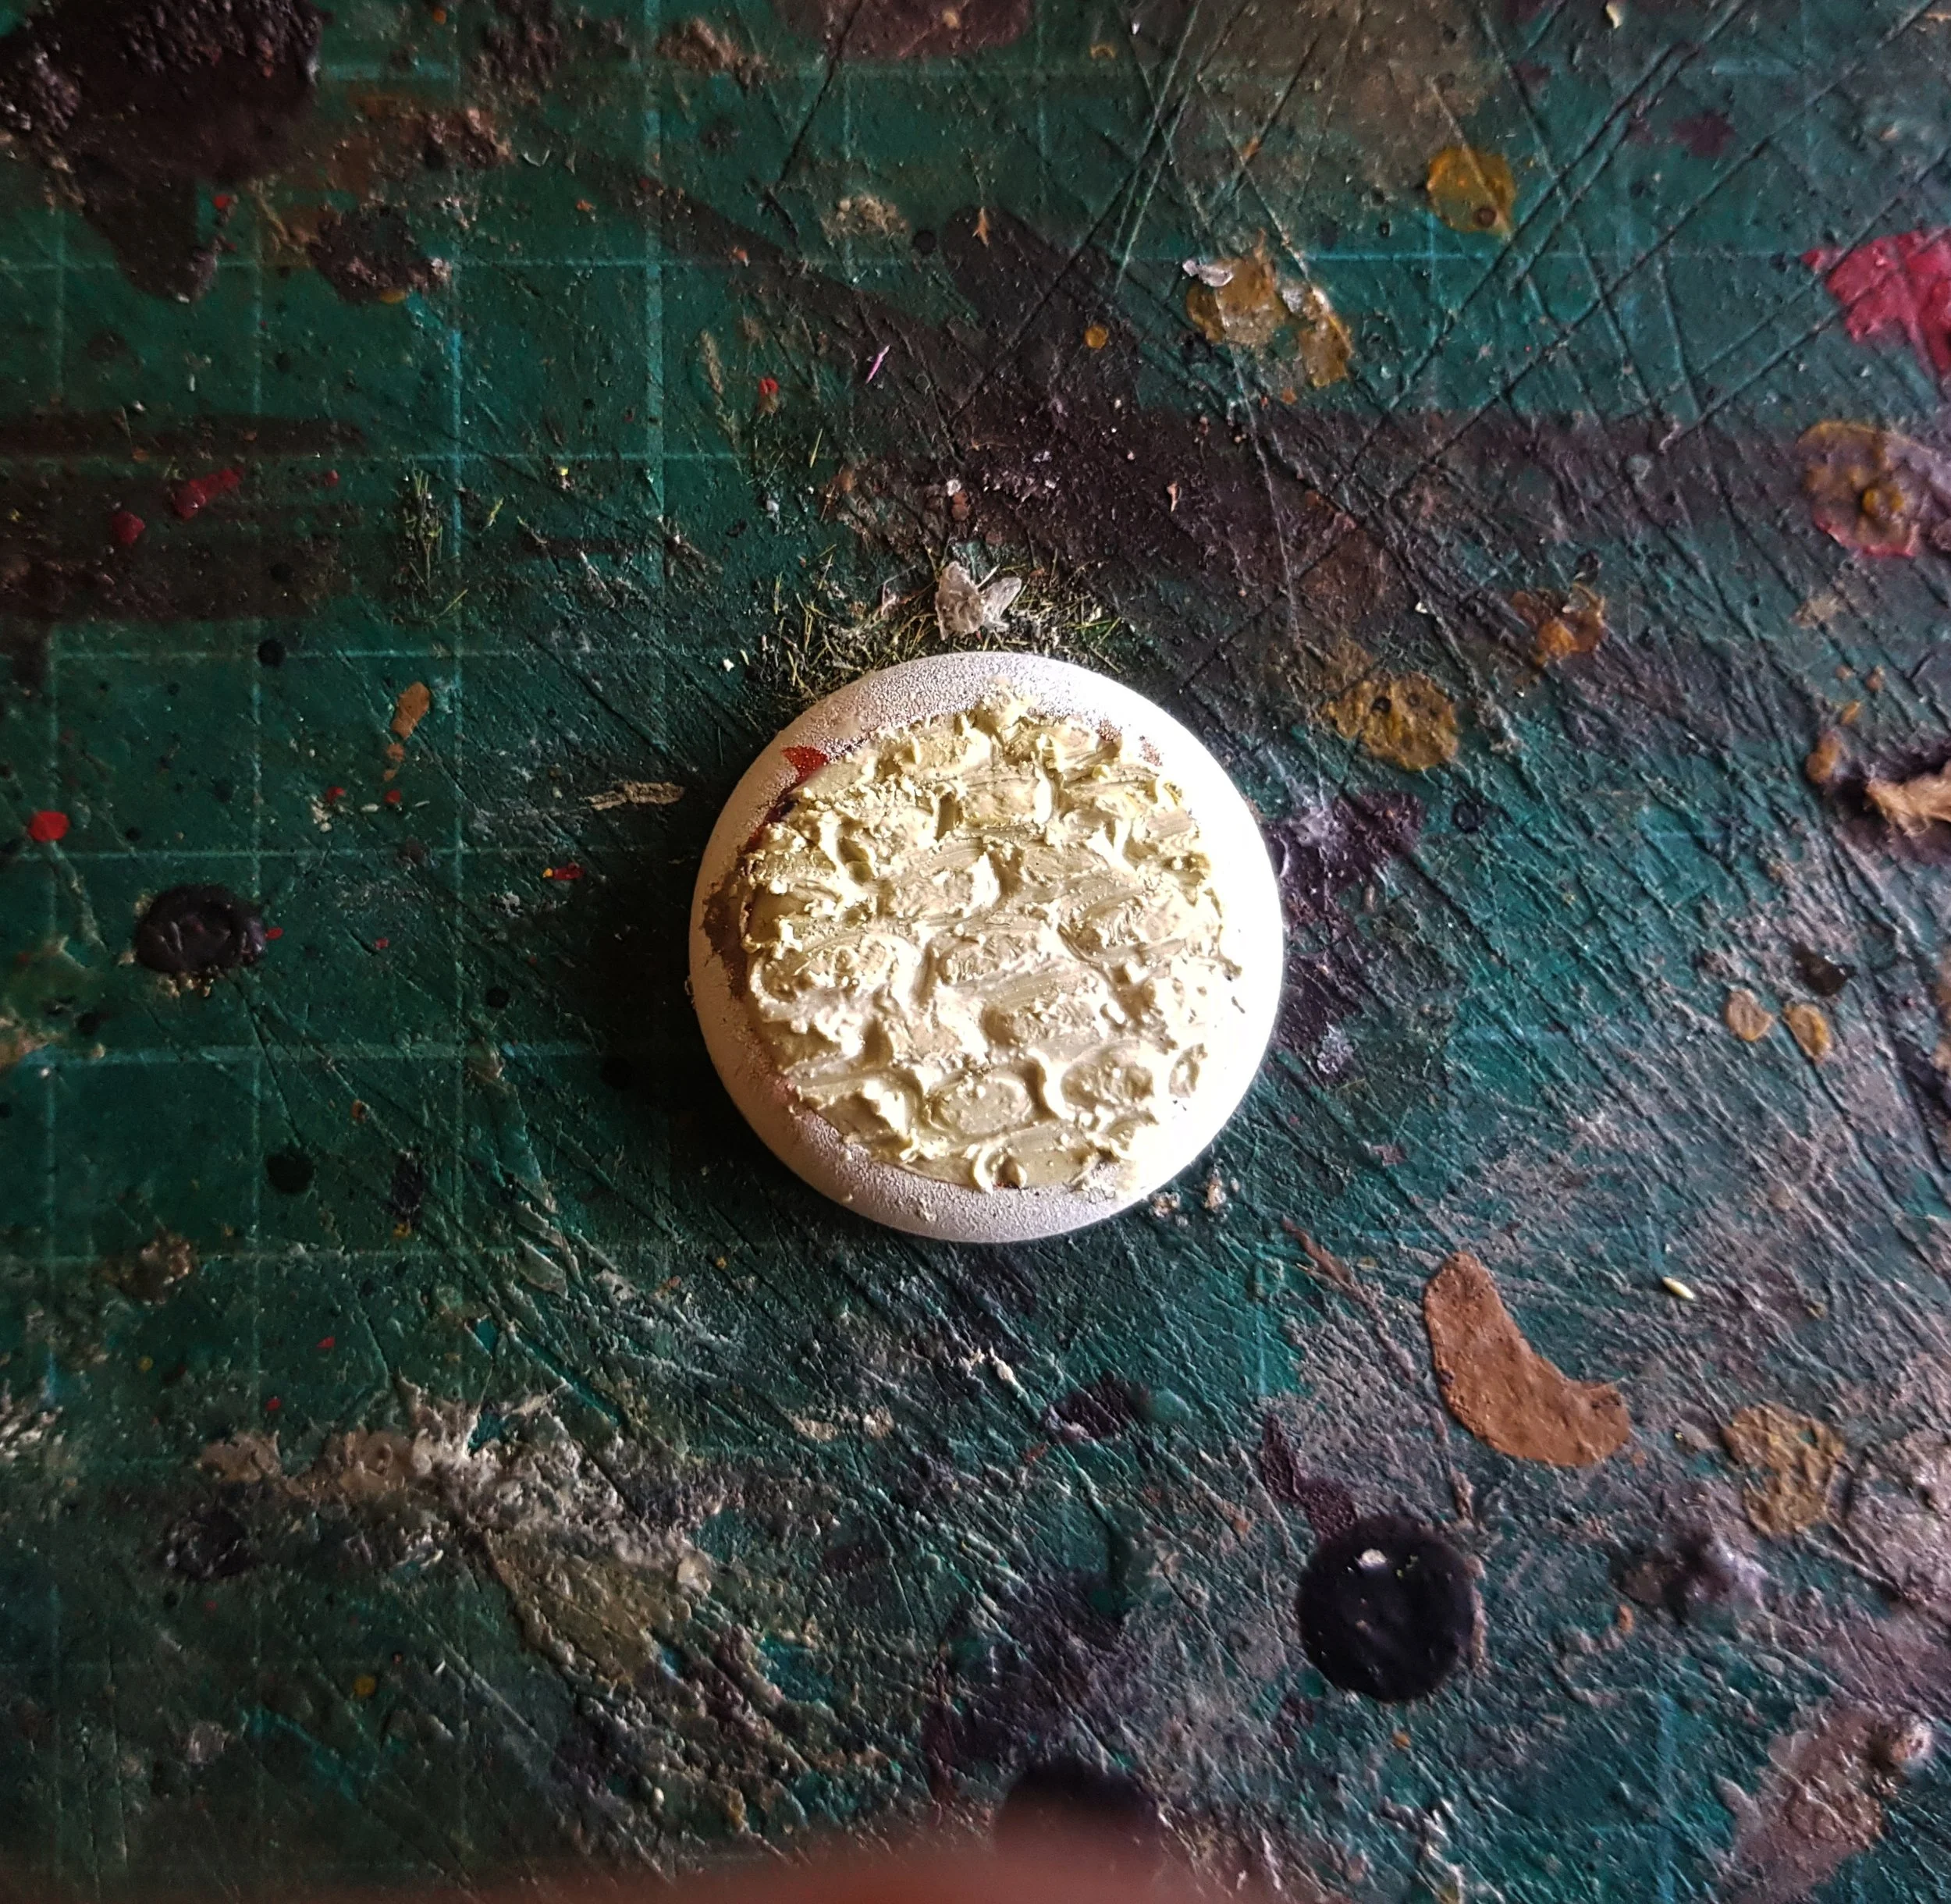
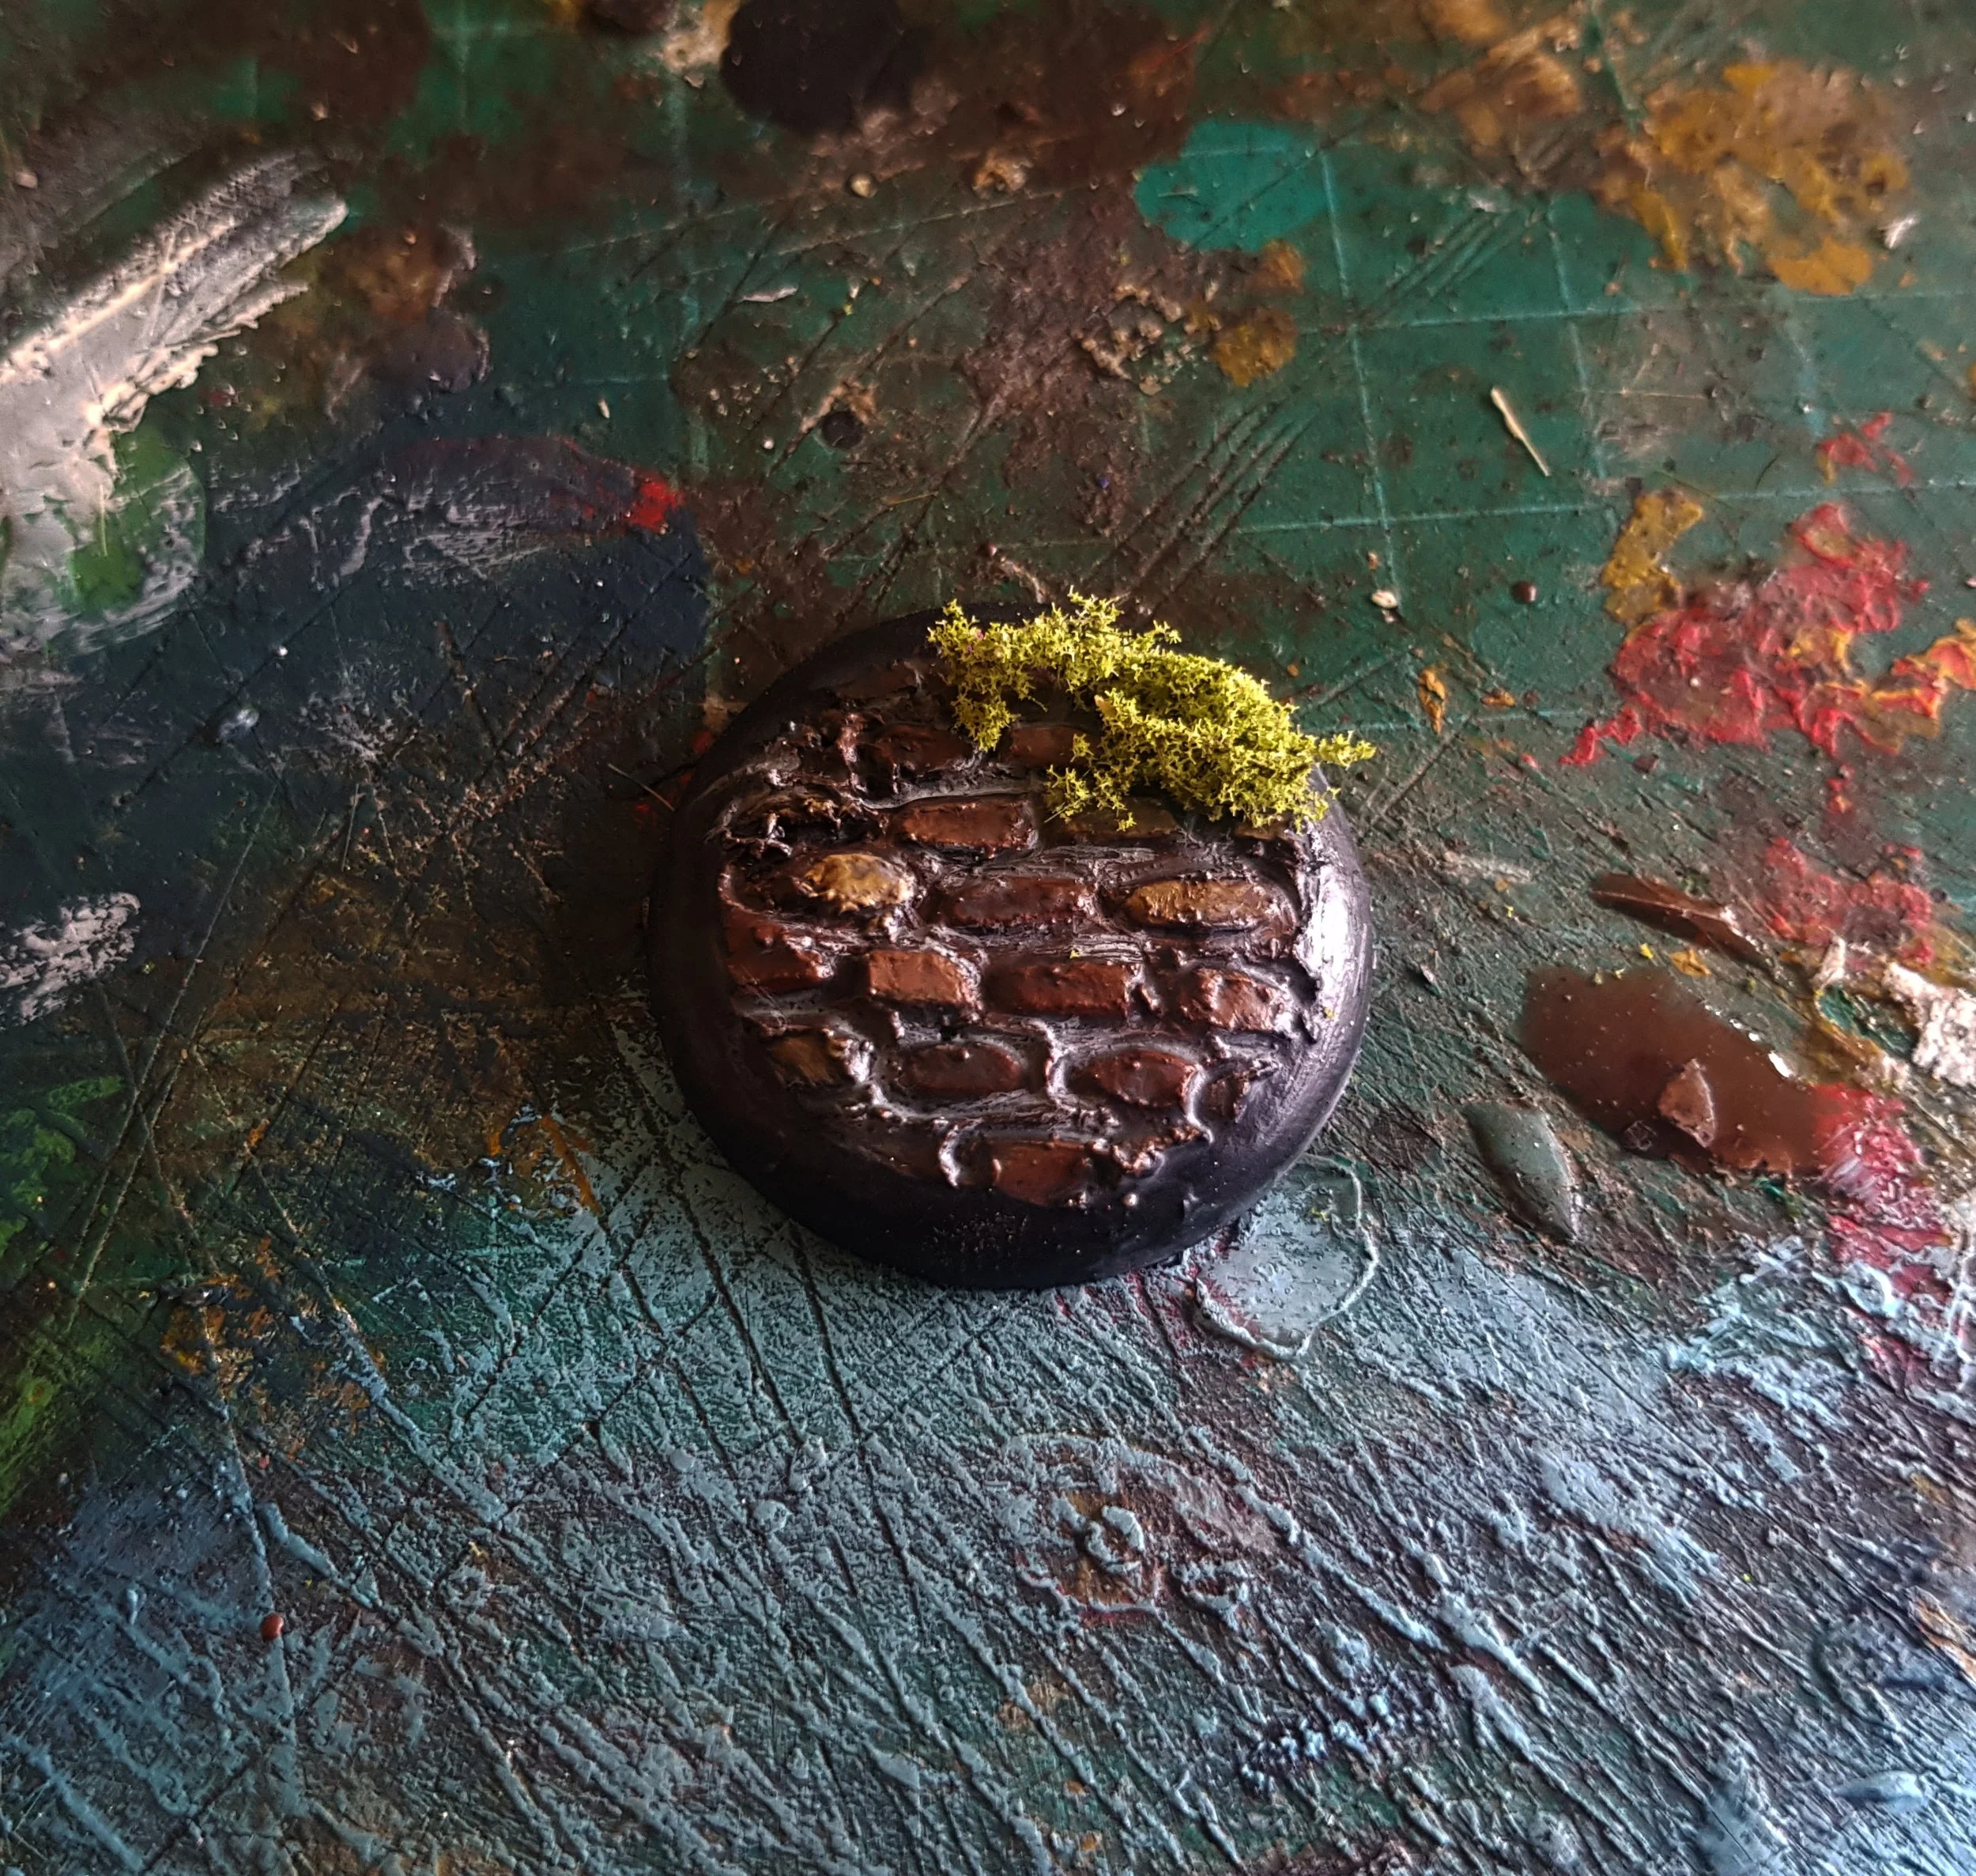
Moderate: Cobblestones
The good old cobblestone is a welcome sight for weary travelers in Tauber as it means a return to civilisation! They come in all shapes and sizes, from round boulders to patterned squares, but I’ve gone for a brick-like pattern here. You’ll need a blunt pencil or old ballpoint pen, Milliput and paints.
Mix a small amount of equal parts both sticks of Milliput together and push it flat onto the base’s top.
Stipple the surface of the Milliput with an old toothbursh/paintbrush/upturned toddler etc.
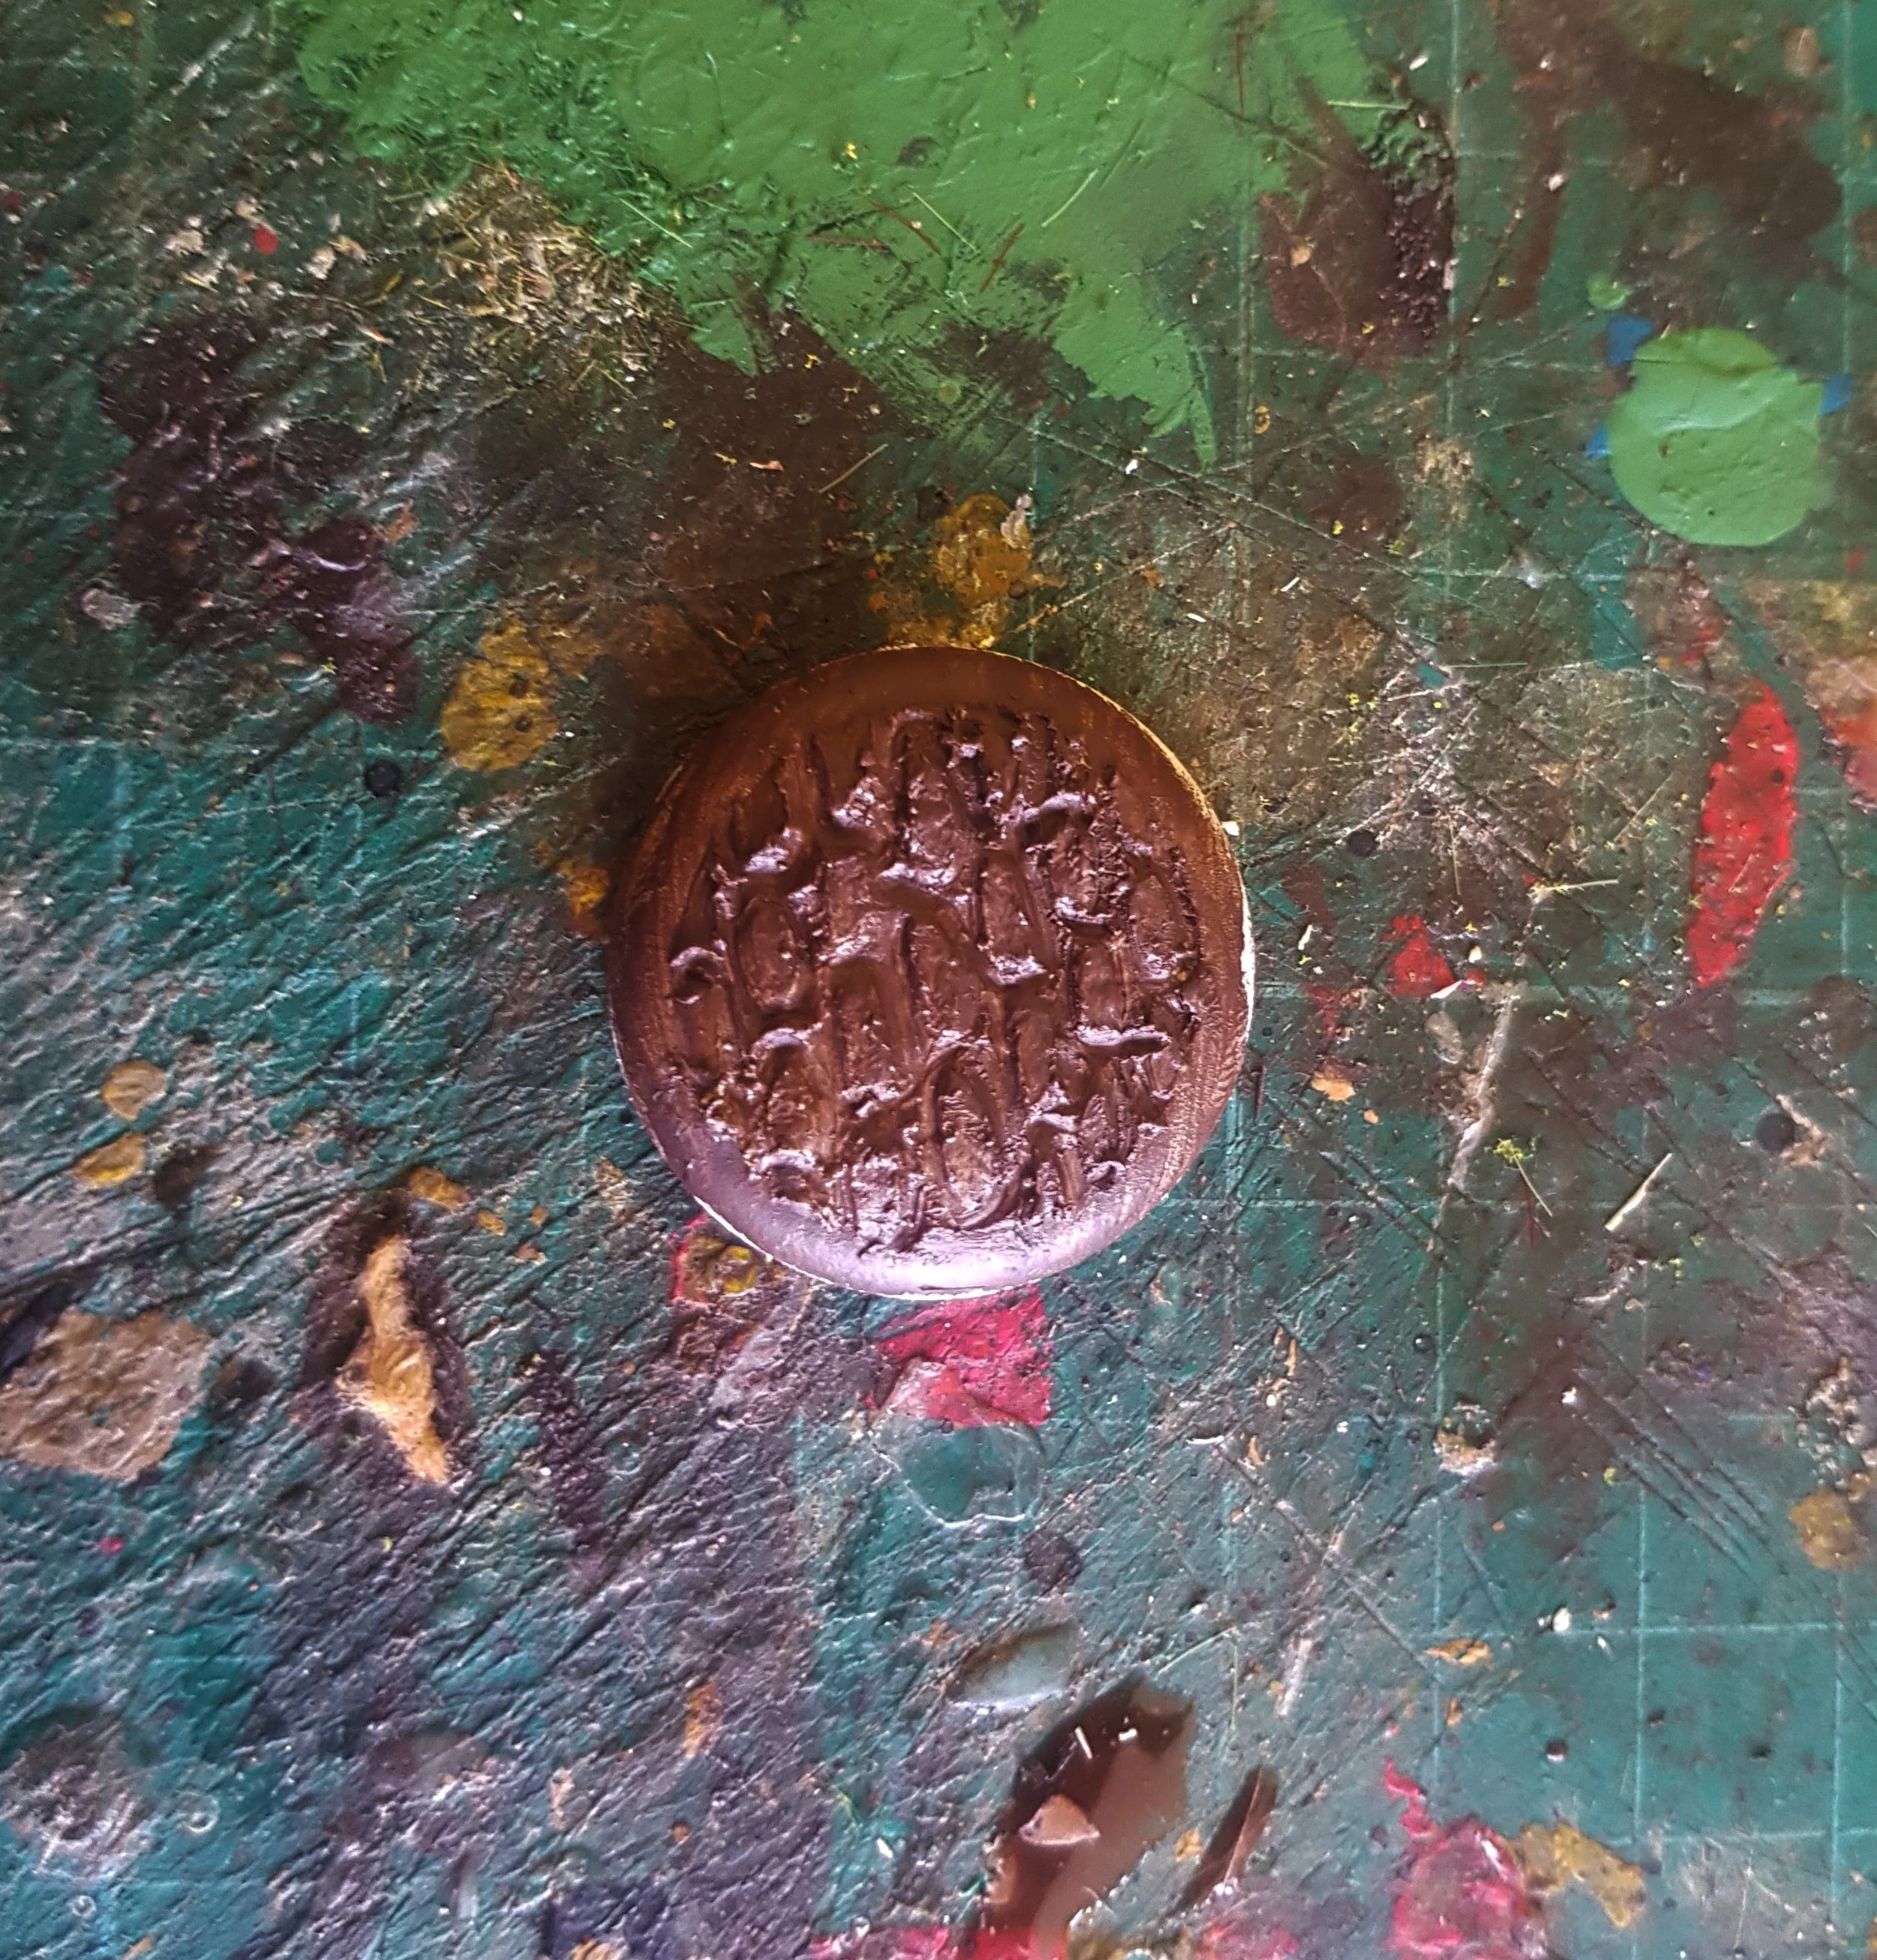
Using the blunt pen or pencil, gently start drawing the cobble pattern on the Milliput.
Use reference photos on your phone to get the cobbles of your choice.
Once you are happy, go over the lines again, but this time press harder to create grooves.
You may have to do this a few times, picking out and carved away bits of putty every now and then.
Once dry, paint the whole thing brown or grey (or blue, go nuts, it’s Tauber and Teetoe is a thing).
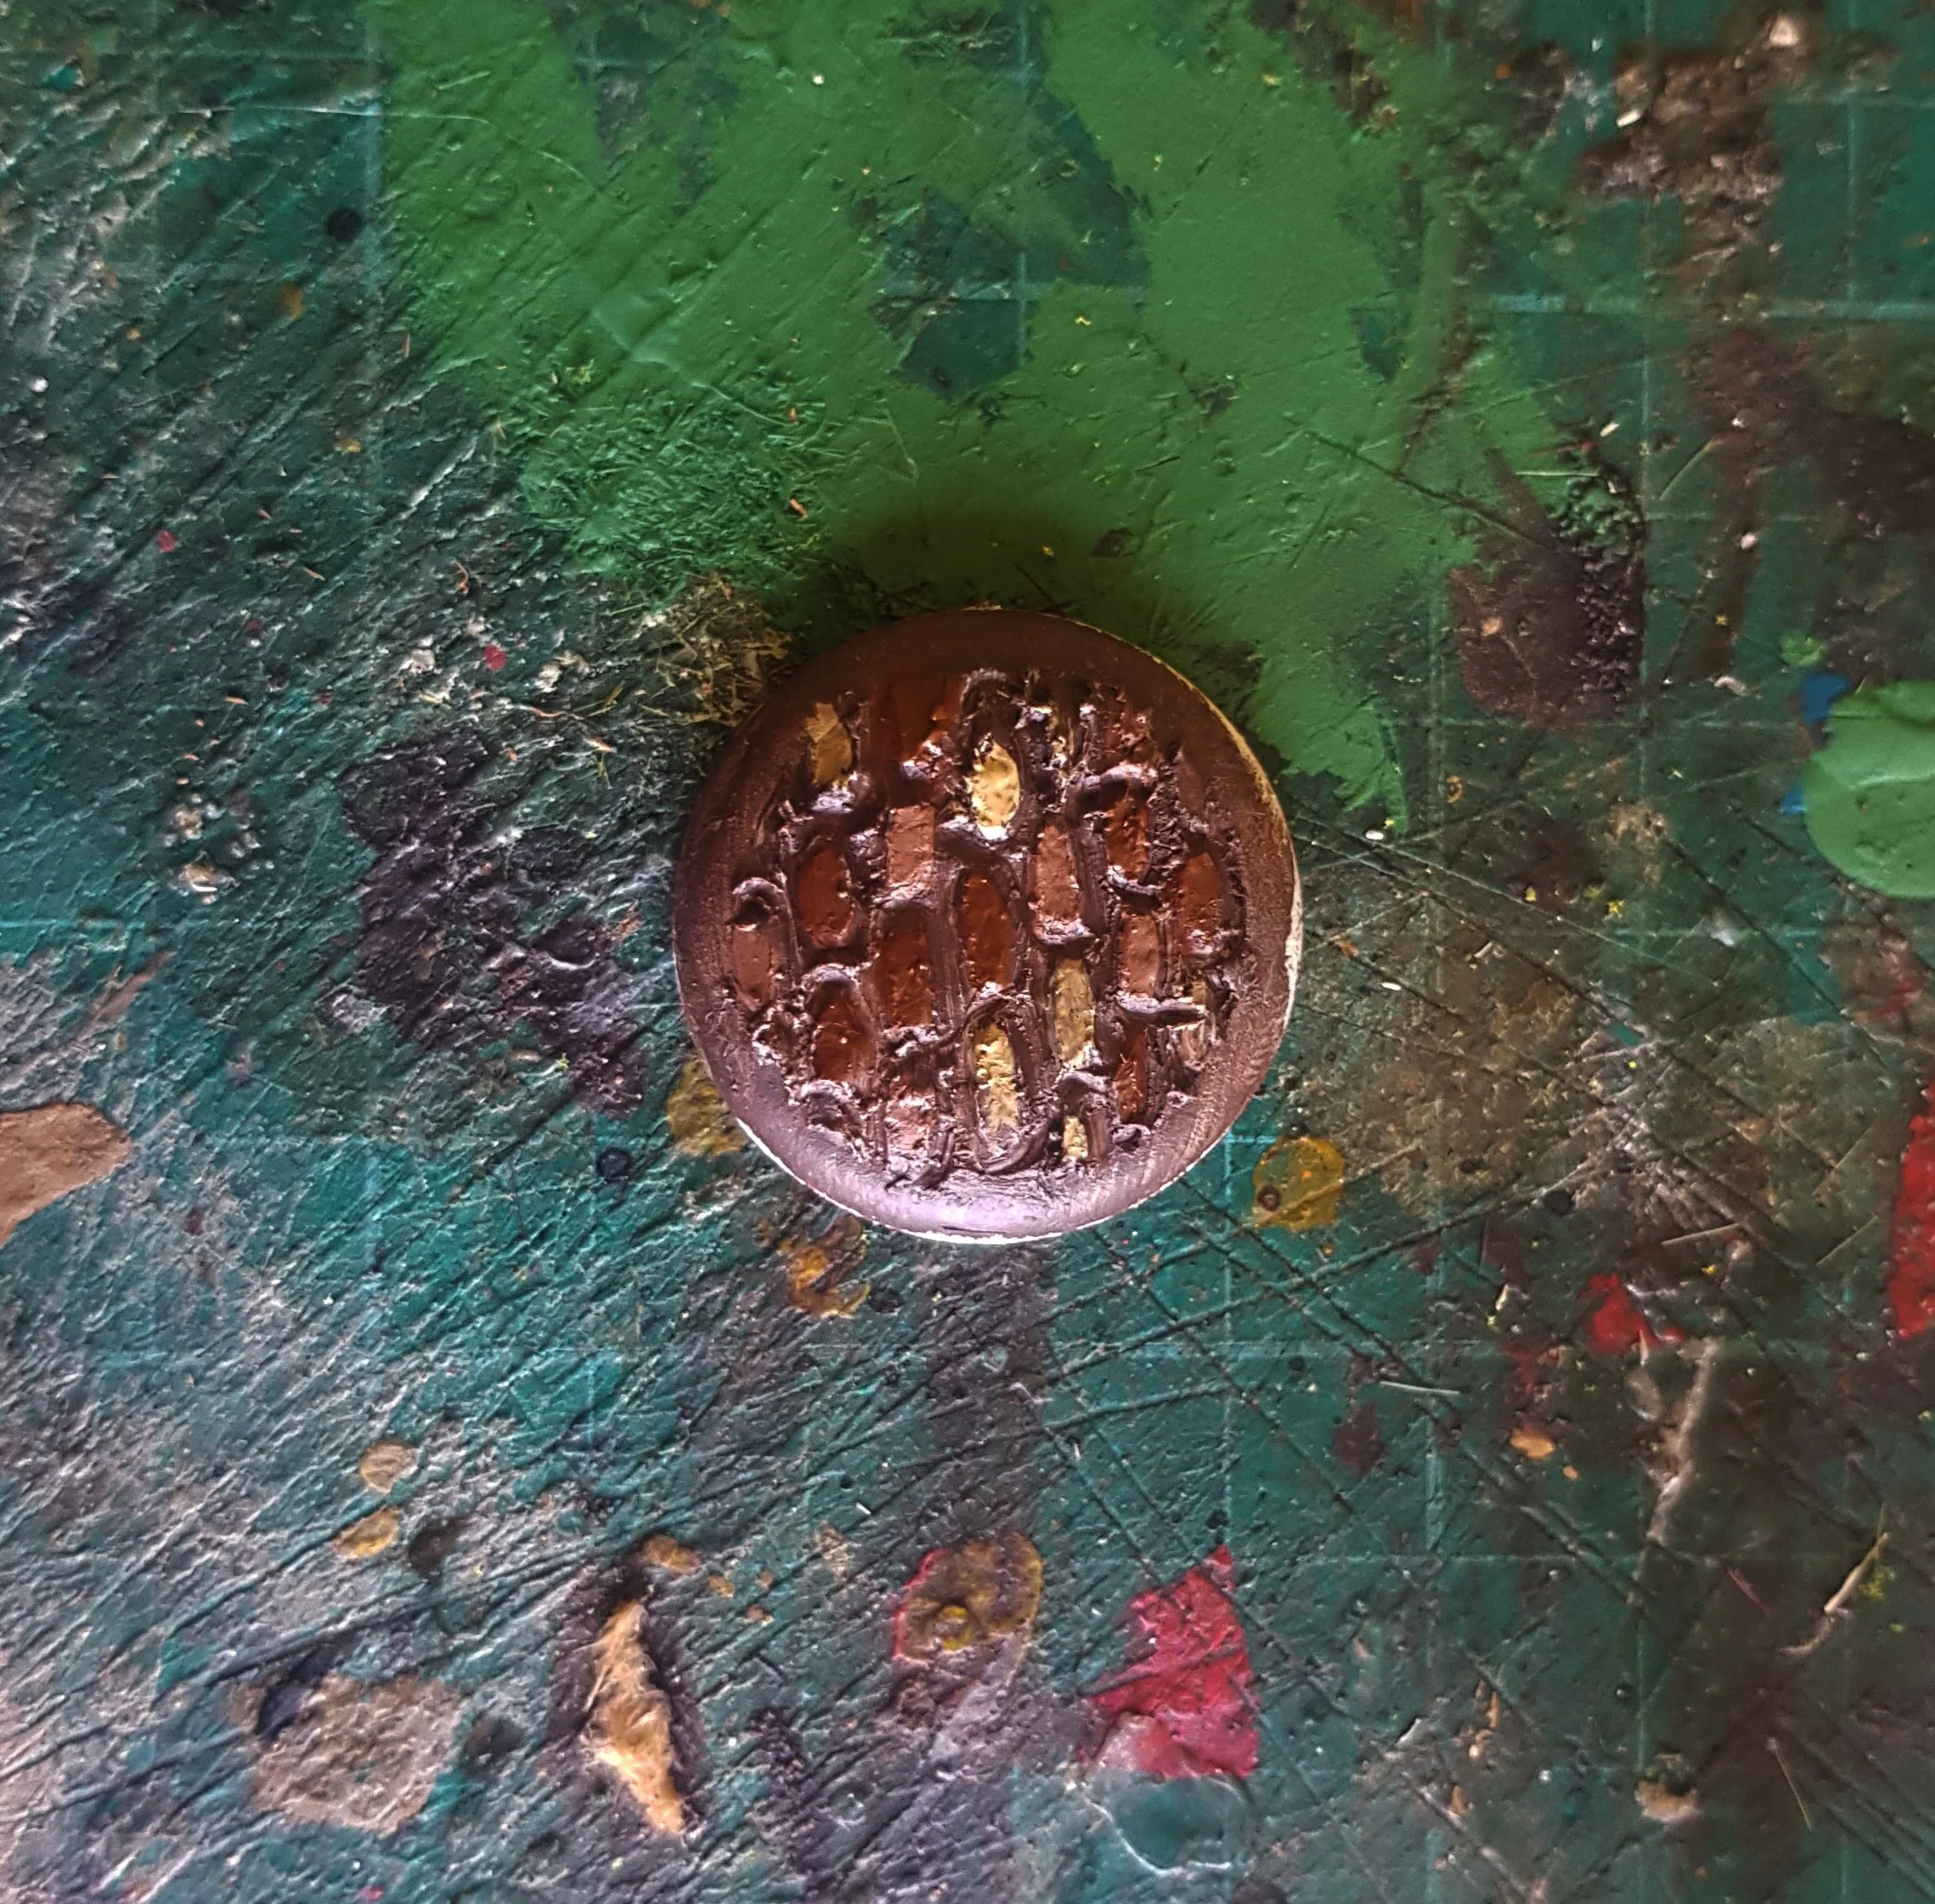
Pick out each stone in a slightly different shade to the base colour, some lighter, some darker, keep it random.
Paint a single highlight onto each cobblestone as though painting a mini.
Brown Ink the whole base and let it dry.
(Optional) Water down some cream/bone coloured paint and run it into the cracks like mortar.
Paint the rim of the base black add the odd bit of moss breaking through

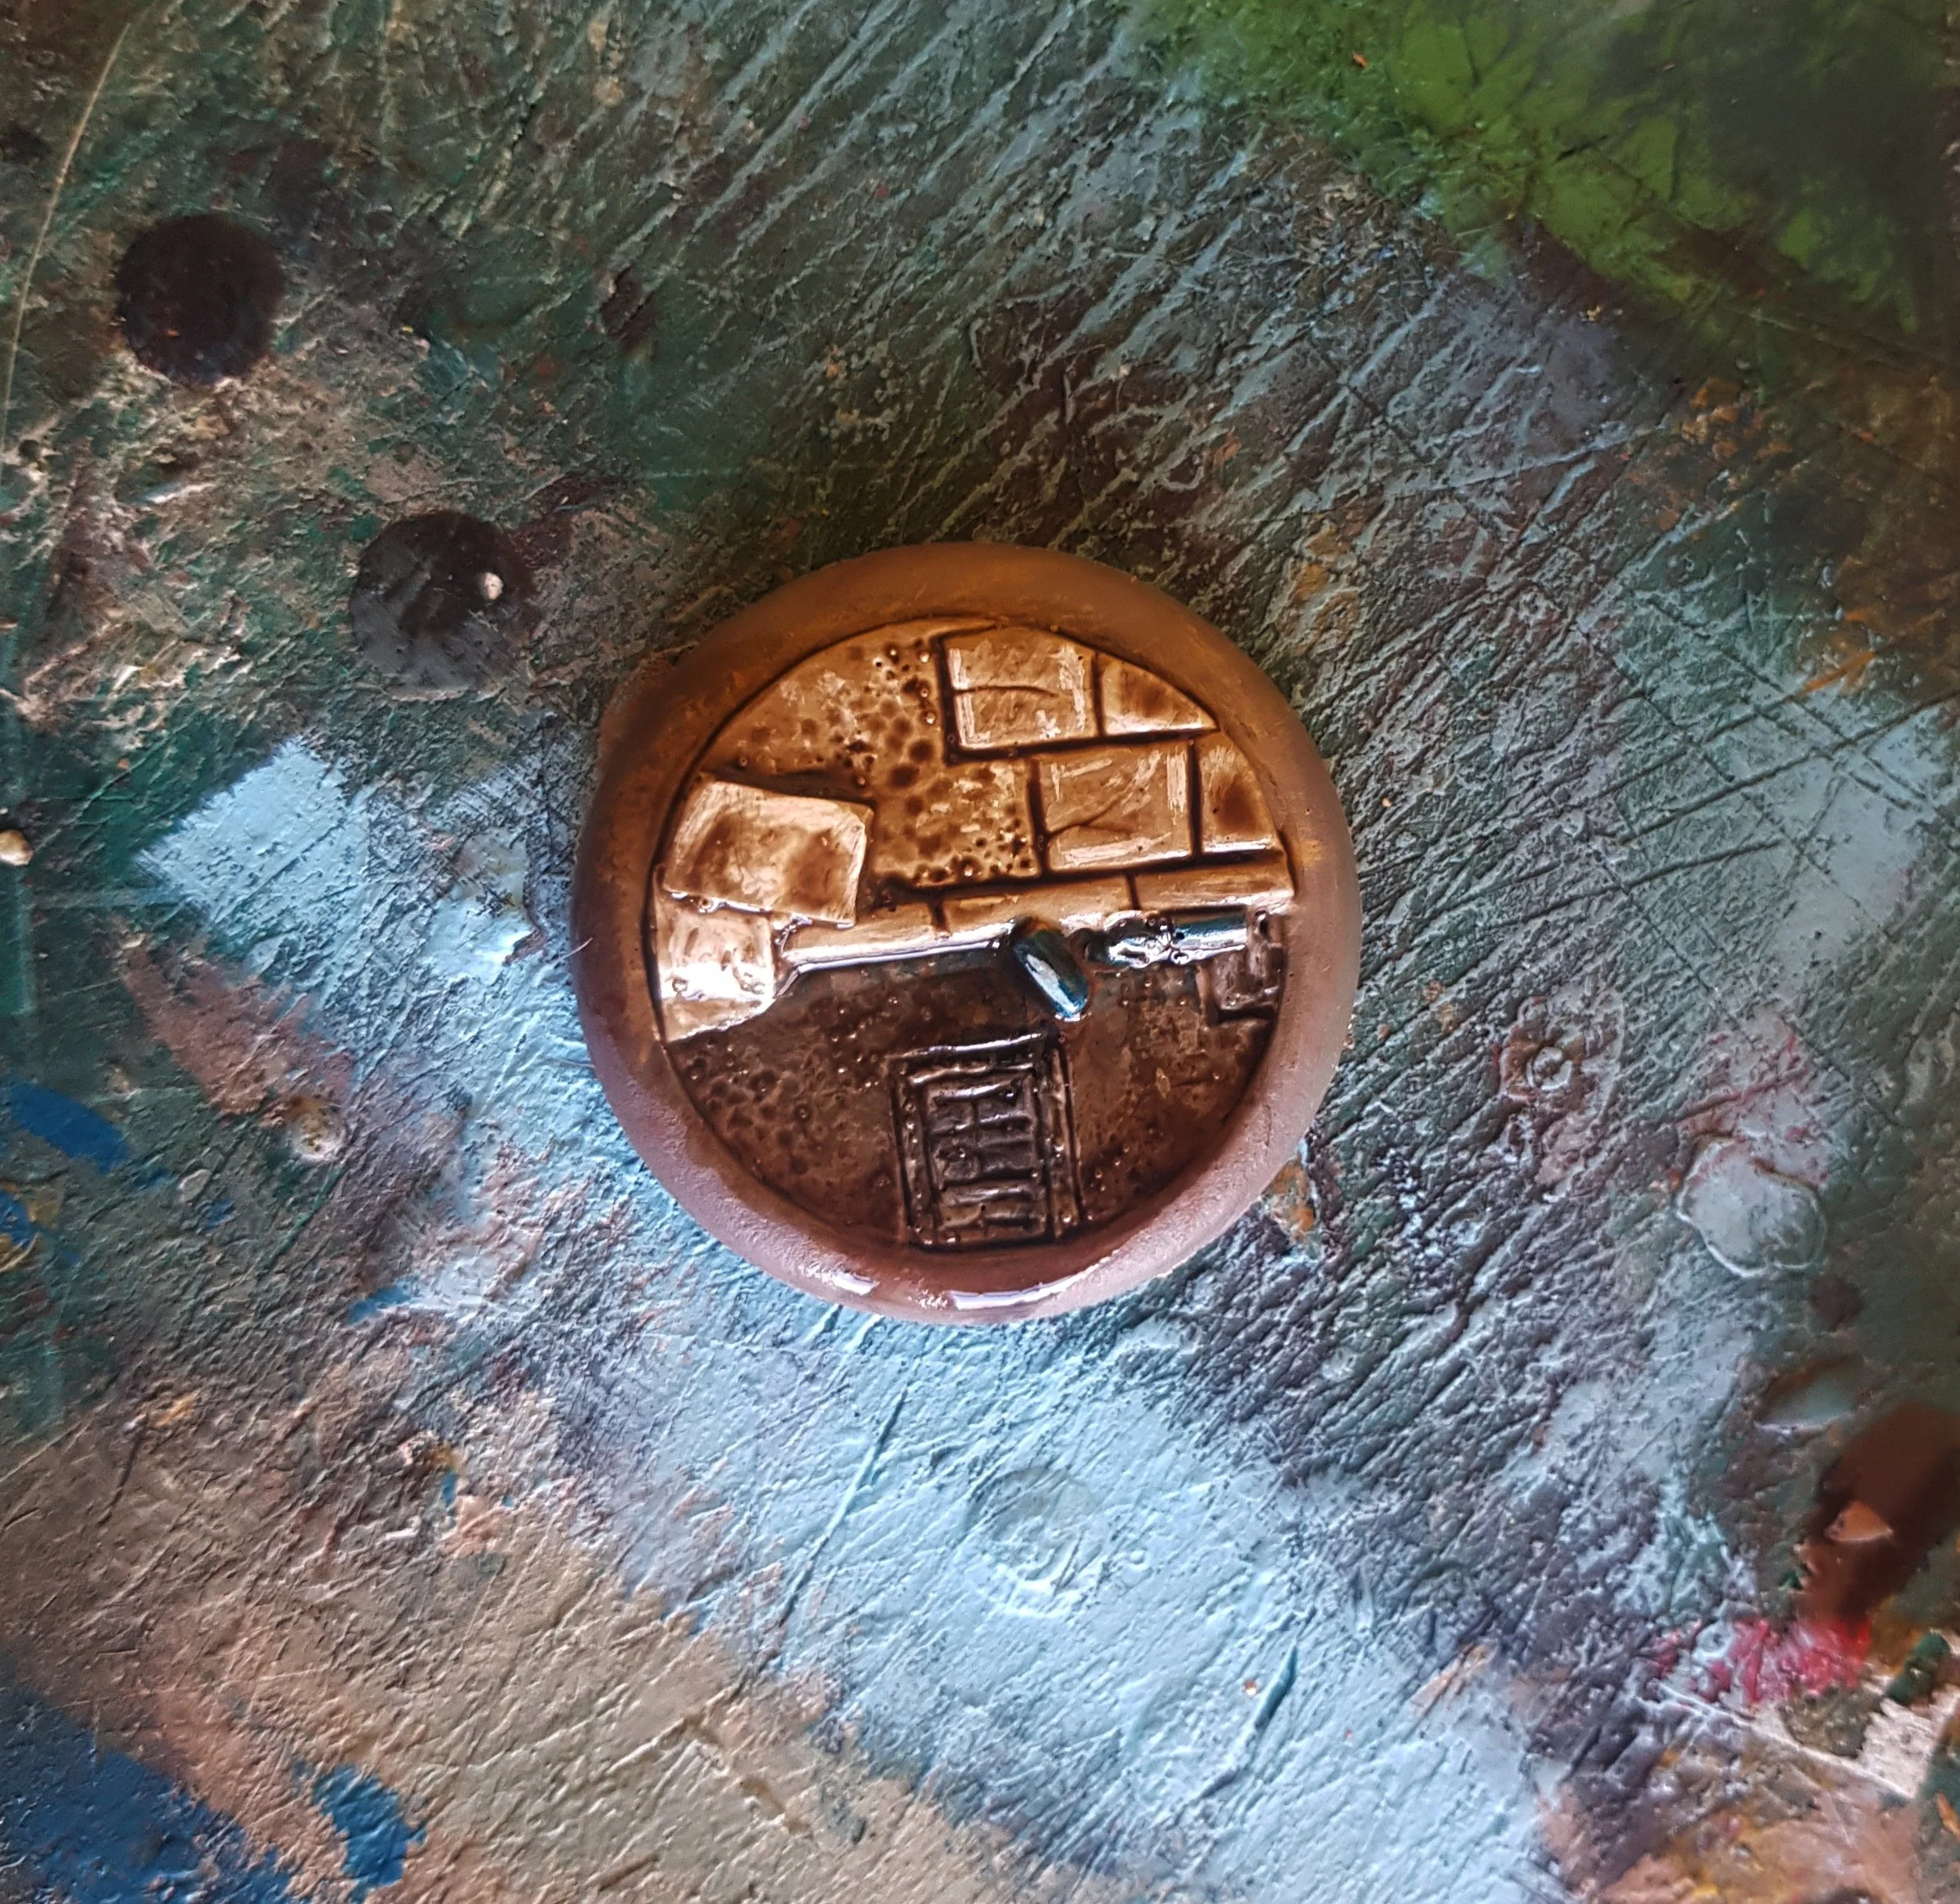
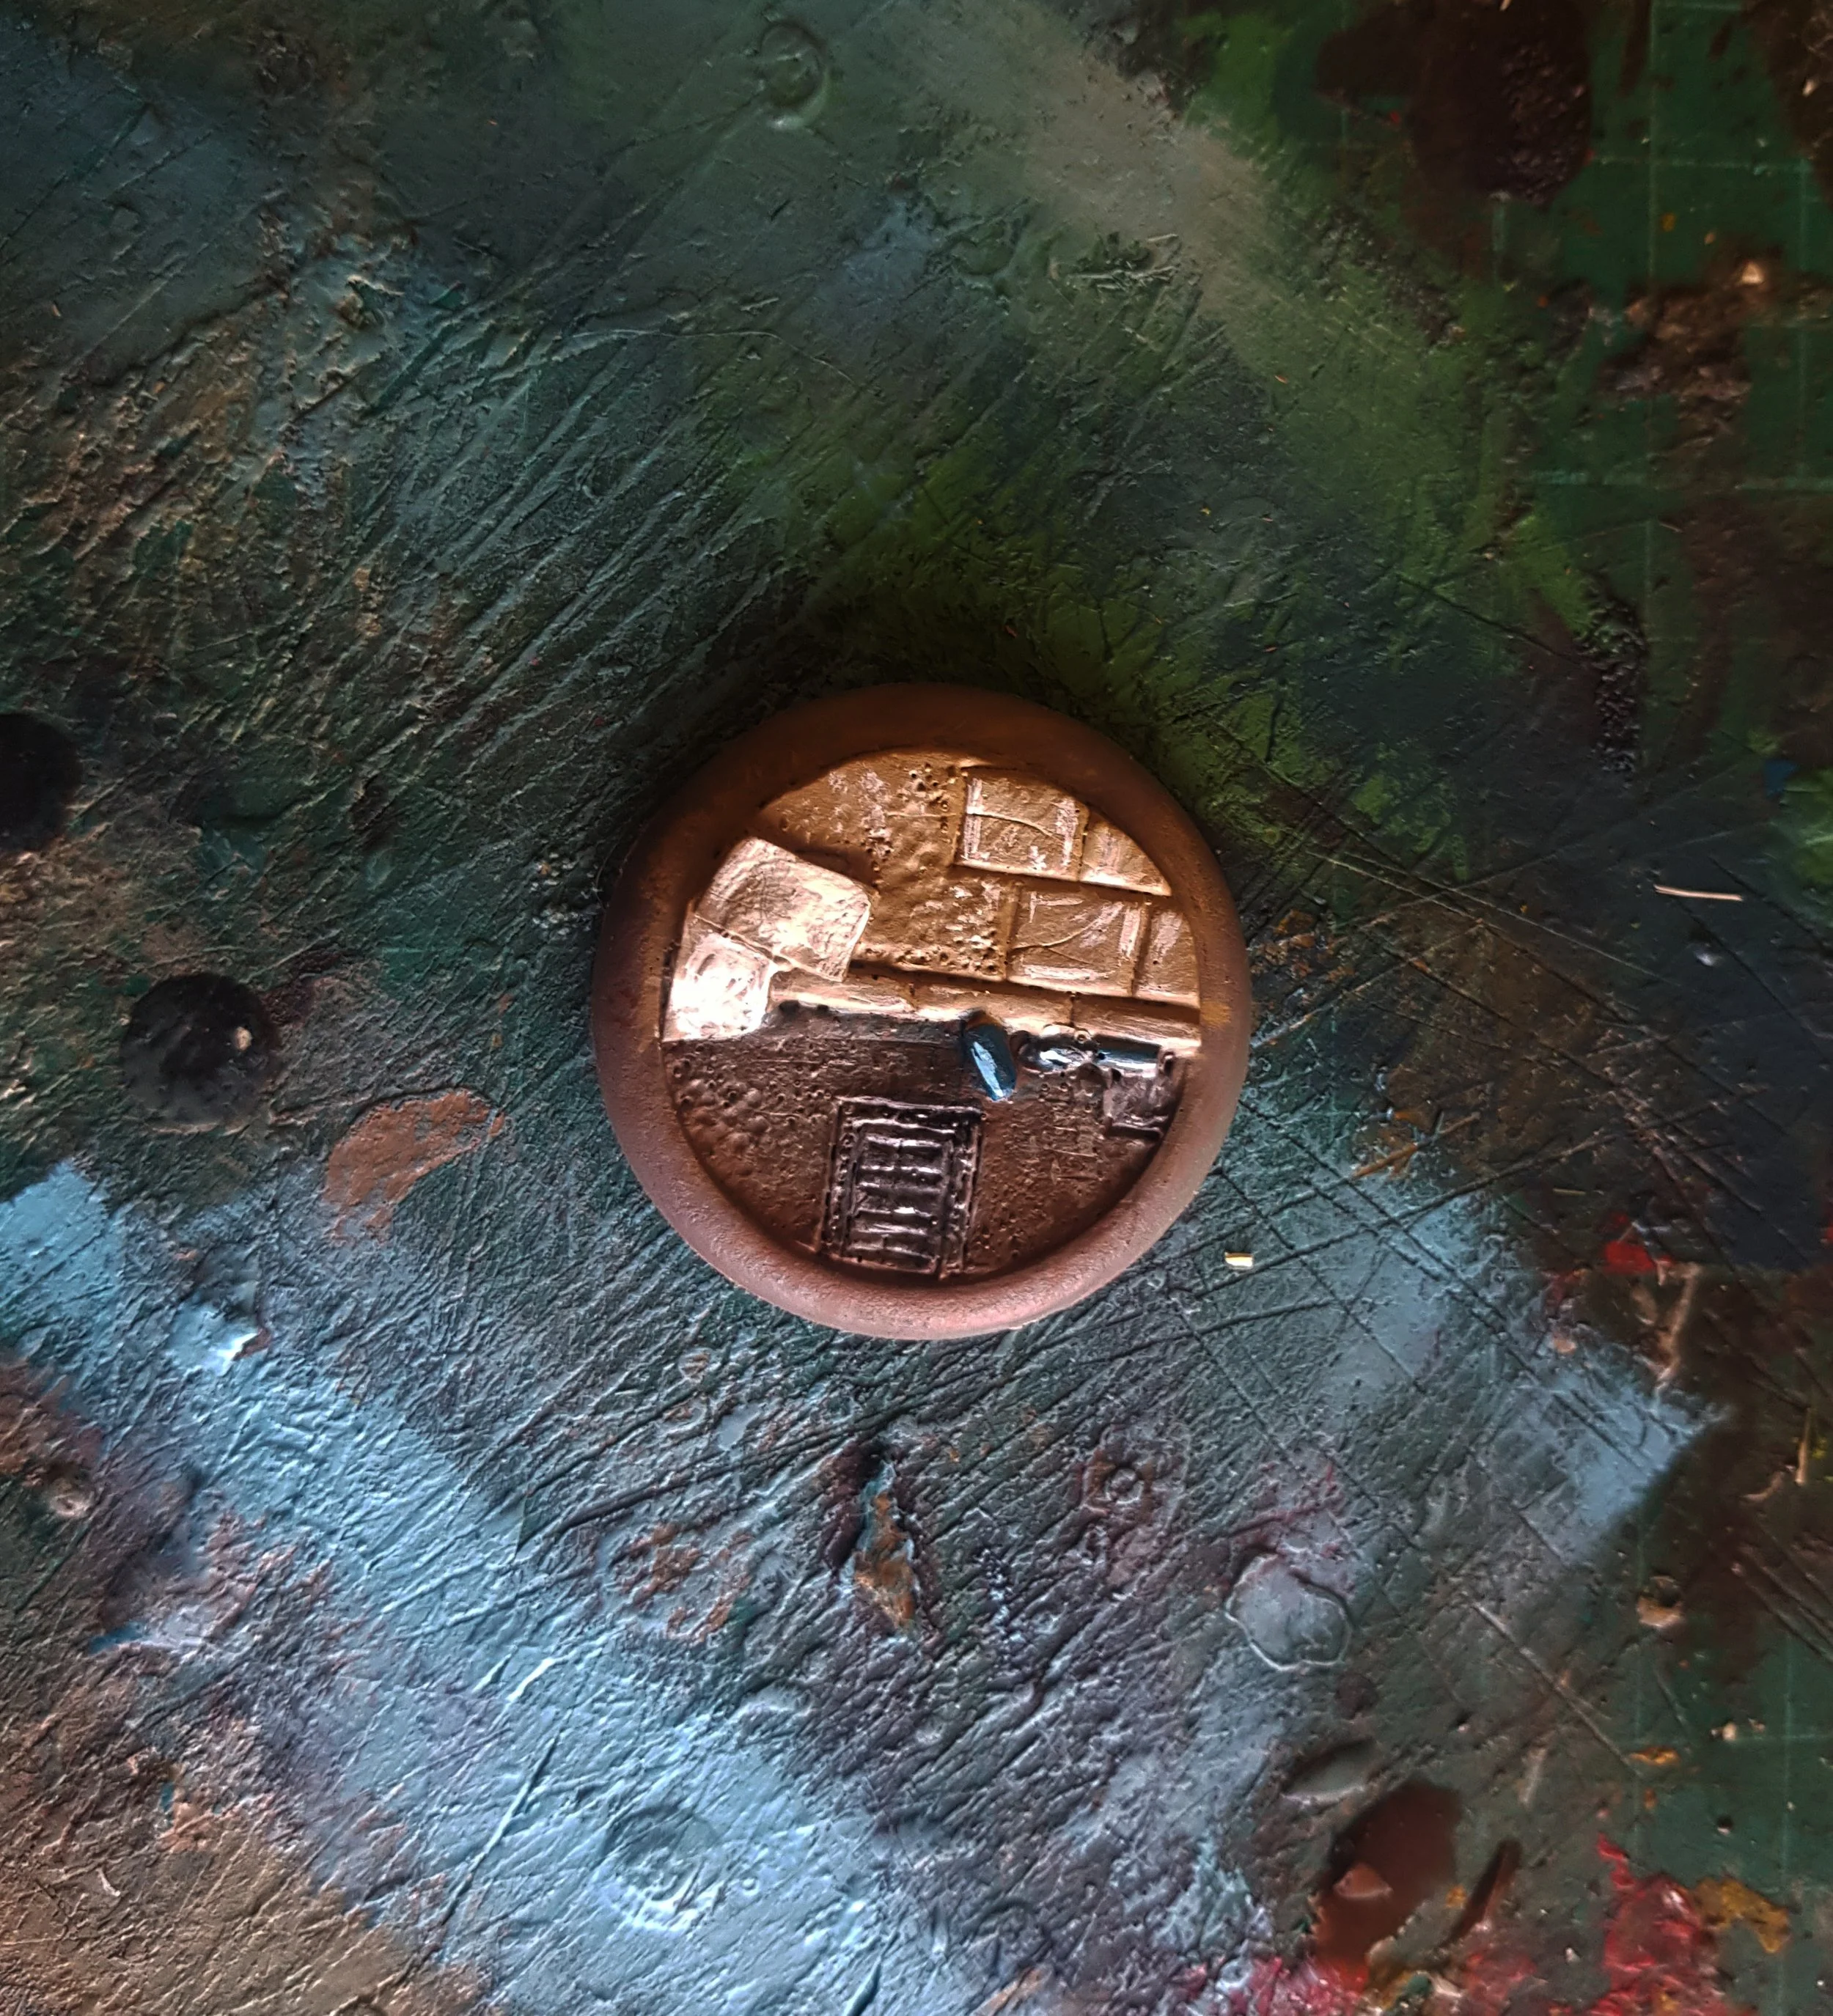
Moderate: Resin Bases
Resin Bases are an excellent way to add a lot of character to a troupe, firmly placing pirates on the docks, Fauns in the forest or Trolls wherever they want really… Now resin bases are great because they do all the above work for you, but I’ve put them in Moderate as they don’t have slots, so the firmest way to attach a mini to a resin base is pinning. You don’t HAVE to do this, but it will hold larger models like giants etc. more securely. You’ll need a Pin Vice (a type of hand held manual drill) or Dremel type hobby tool, an old paper clip, clippers and super glue for this.
Now you’ll see in the images below I did this in utterly the wrong order, painting the base BEFORE the pin, but please ignore that and do it the other/correct way! (You’ll also notice the base is a 1980’s English street which isn’t very Tauber, but it’s what I had! I’ve done my best to make it Booty’s Bilge-like.)
Remove the tab from the base of the mini.
Drill a hole in the thickest part of the mini to touch the base, it only needs to be about 2-3mm deep.
Mark the point on the base where you want the mini to stand, and drill another hole to match the one on the miniature.
Snip off a small straight section of paper clip and superglue it into the hole on the base - this is the ‘pin’.
Check that when you place the hole in the mini on the pin it matches exactly where you want it to go, including that it isn’t too long (making the mini ‘hover’ slightly.)
Prime, paint and ink the resin base exactly as you would the resin mini on top.
Use superglue to attach the mini to the pin.


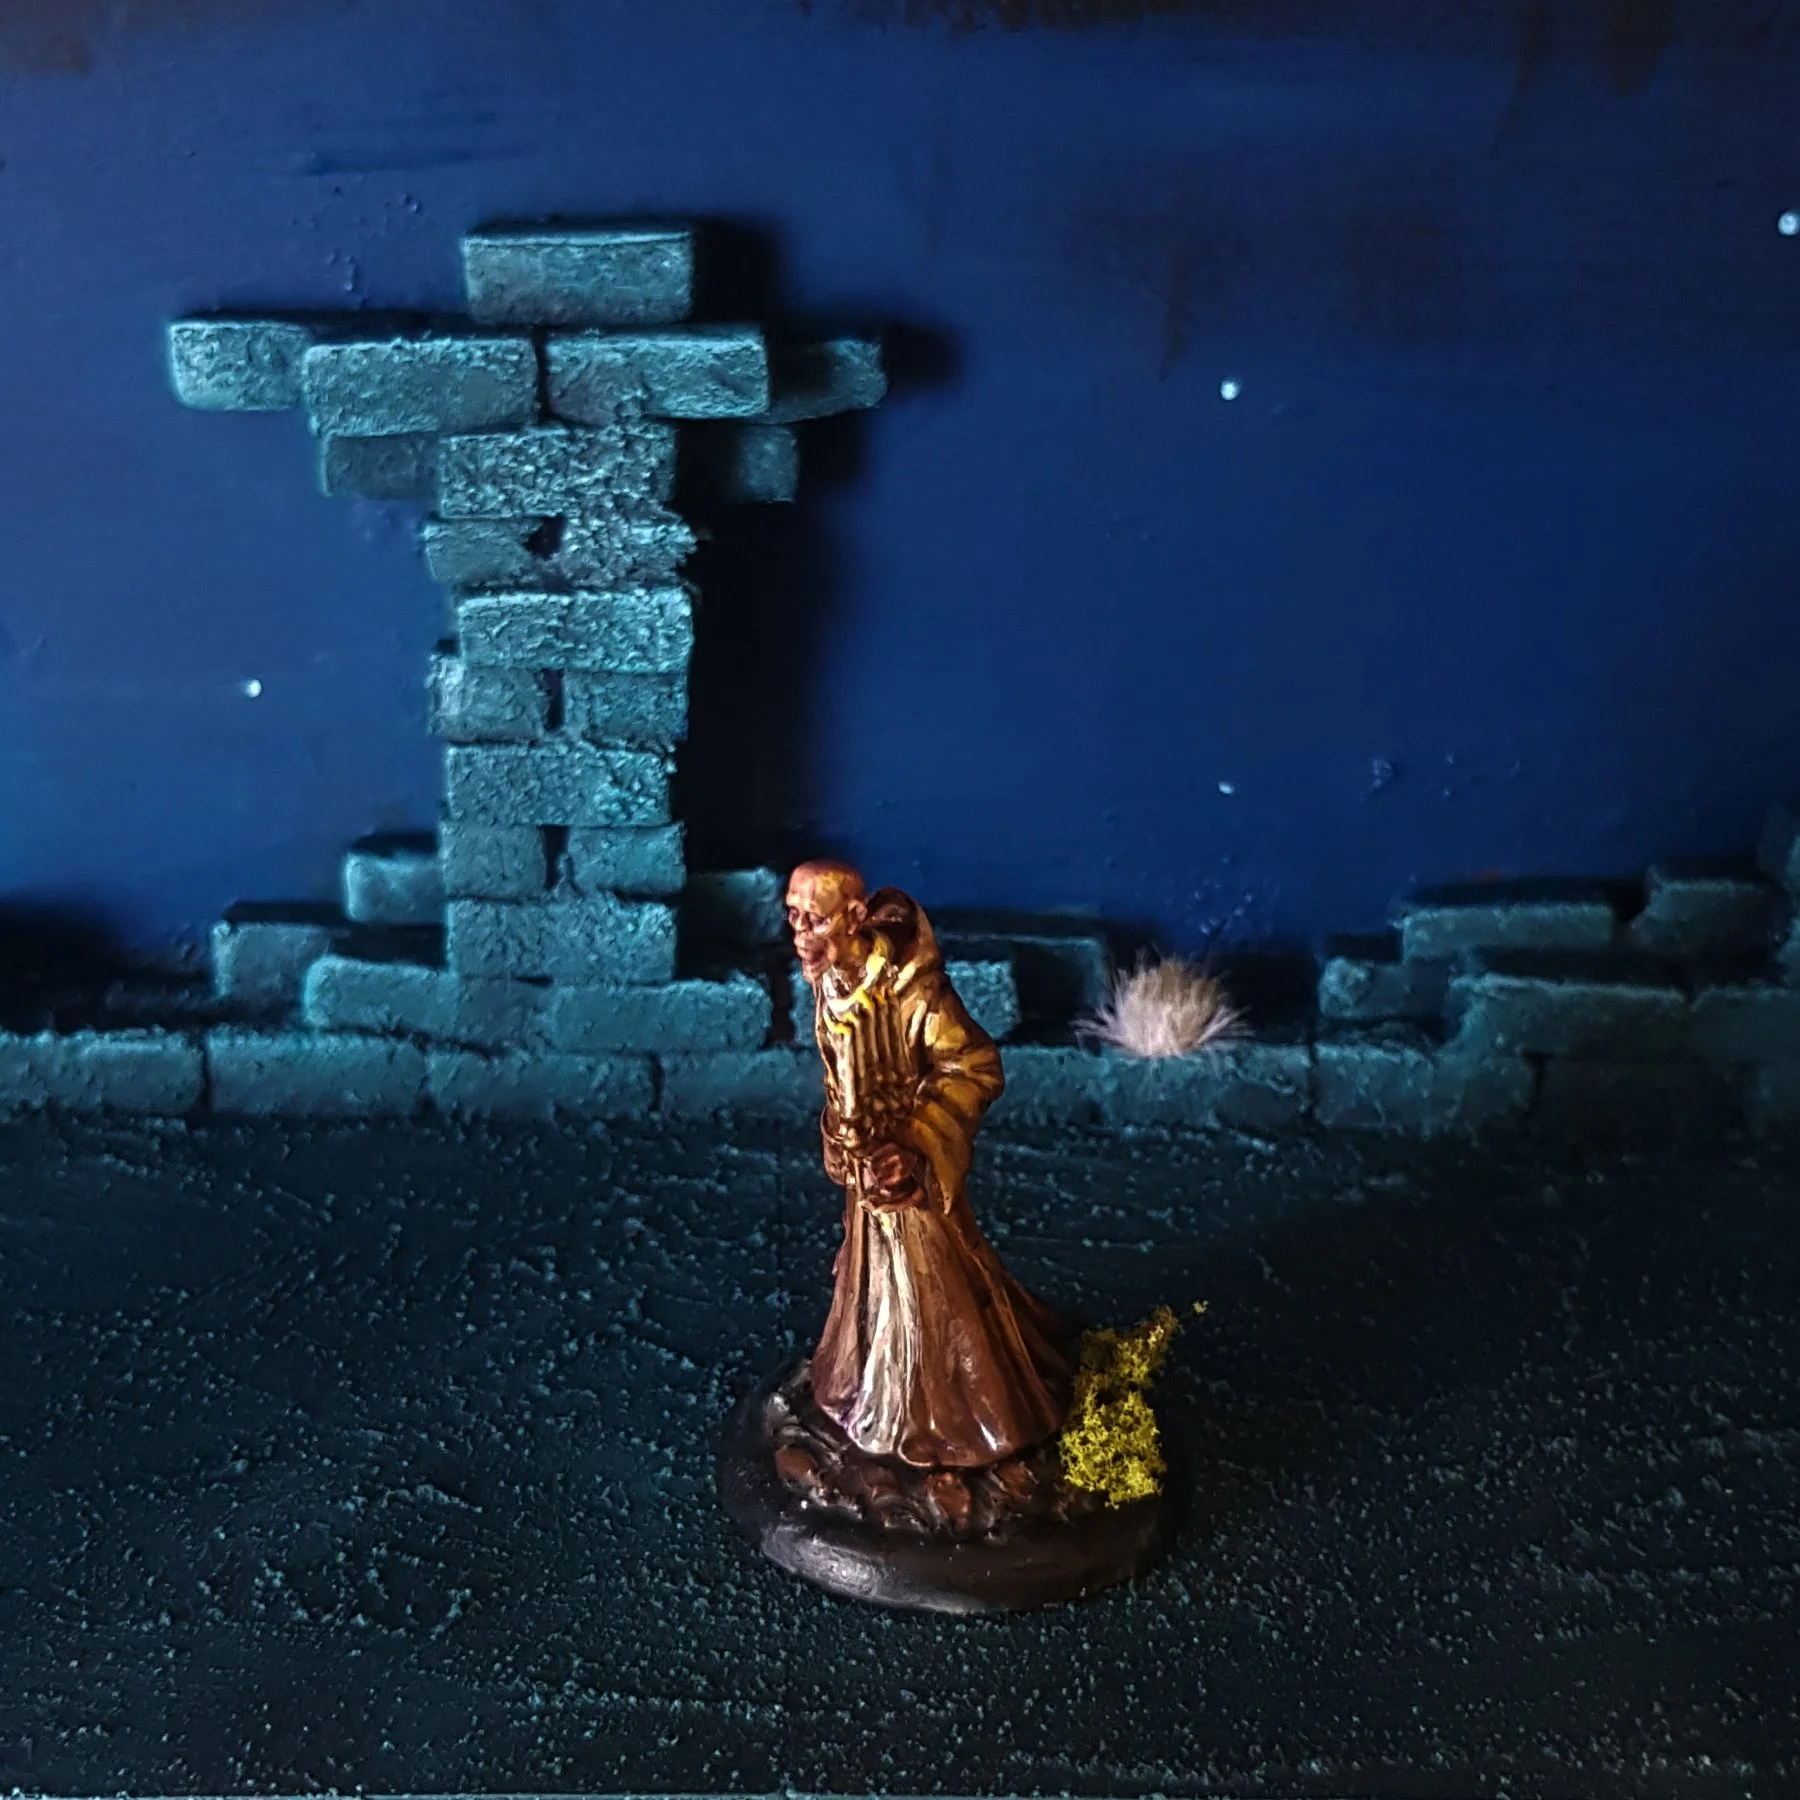
Expert: Smashing all That Together and Going Nuts!
All the basic techniques we’ve covered in this introductory article can be used to make the simple bases above, or combined together with resin bits, 3D printed bits, slate, rocks, silver birch pods, twigs and even tea leaves to create intricate, amazing bases for your miniatures.
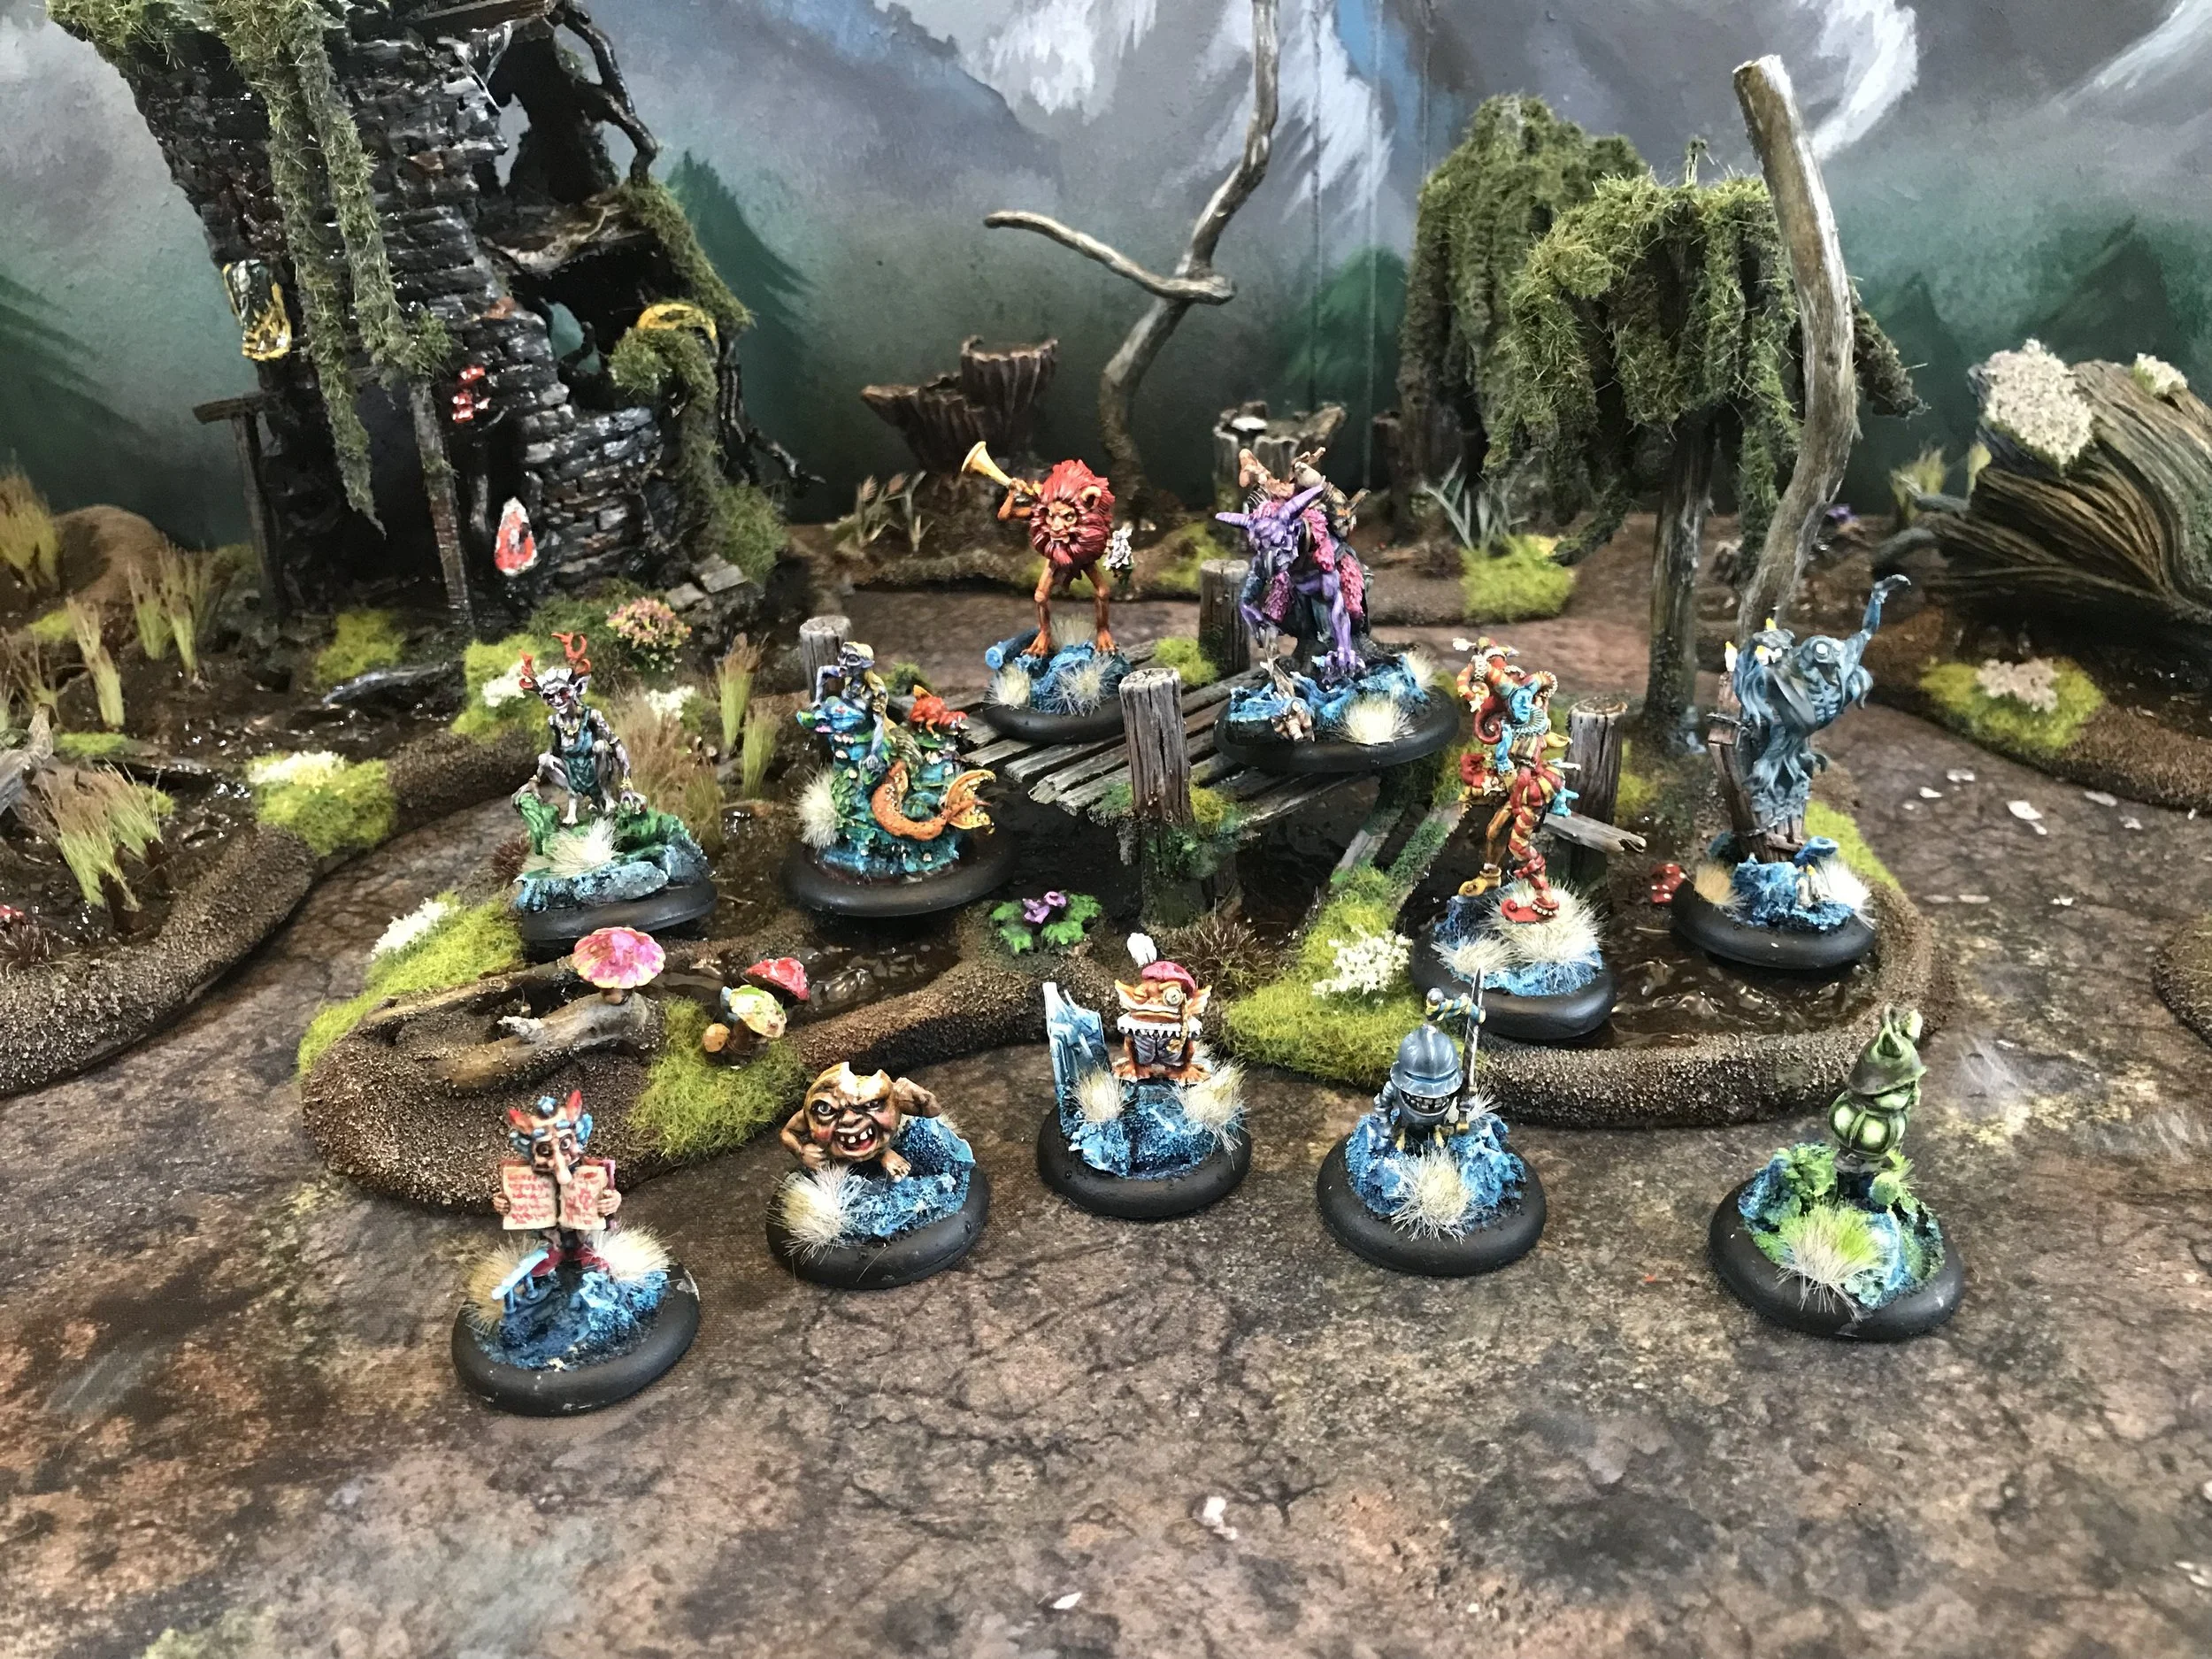
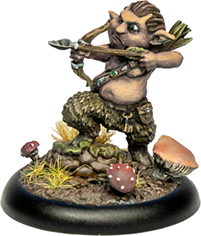
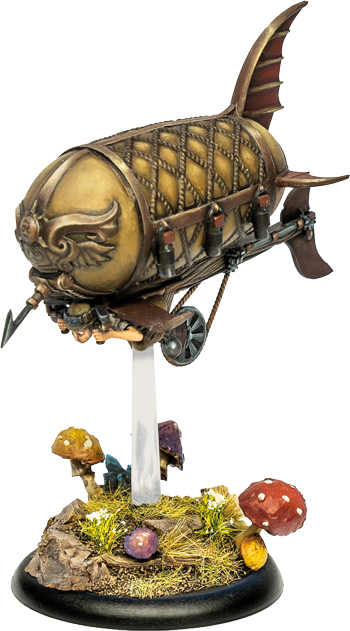
For studio minis we try to keep it simple so the miniature can be seen, but I’ve included a small number of some of my favourite studio bases below so you can see just what is possible with a little imagination! I love all of these bases, the Babeling’s nursery carpet and Swash’s ruined dinghy are great at showing you who the character is. Whereas, The Gnomish Airship and Chubs Mushroom-filled bases have a real Tauber feel. Marley’s coffin base comes with extra candles for you to scatter across his base, and finally Vespa’s astonishing scenic base made by Erika is worthy of a competition winner!


Hopefully this has given you some ideas on how to base your Moonstone Troupes and really get them settled on the good brown earth of Tauber! If you have any other questions about specific base styles, come and ask on the Painting and Modelling Discord or Facebook Players page and myself (and probably others better than me!) will be more than happy to help.
See you across the table
Mick:)