Assembling Your Troupes
Hello! Mick the Goblin Dogsbody here! Inspired by Suzie’s great gaming article for new players I thought I’d get a modelling article out there for those players who have found themselves dragged into skirmish gaming (by Doug the Flatulent’s adorable looks) without any prior experience in the miniature world!
Below you’ll read about how to prepare your miniatures from getting them out of the box to ready to paint.

King Chernitt is an expert at assembling his troops, often limb by limb unfortunately.
Tools of the Trade
You can manage without one or two of these things - for example you can remove flash and mould lines with a craft knife if you don’t have a needle file, and 90% of the time you won’t need to wash your mini’s before painting - but my usual assembly toolbox consists of the following:
Craft knife
Side clippers
Small file/emery board
An old toothbrush and toothpaste/Isopropyl alcohol
Superglue
Something to listen to, may I recommend Mooncast, The Drop, or our YouTube channel
Calloused fingertips/sticking plasters: After modelling for 30 years at this point I can cut about a quarter-inch into the tip of my left index finger before I hit anything that isn’t scar tissue, because I am inherently clumsy and should have picked a hobby that didn’t involve sharp things.
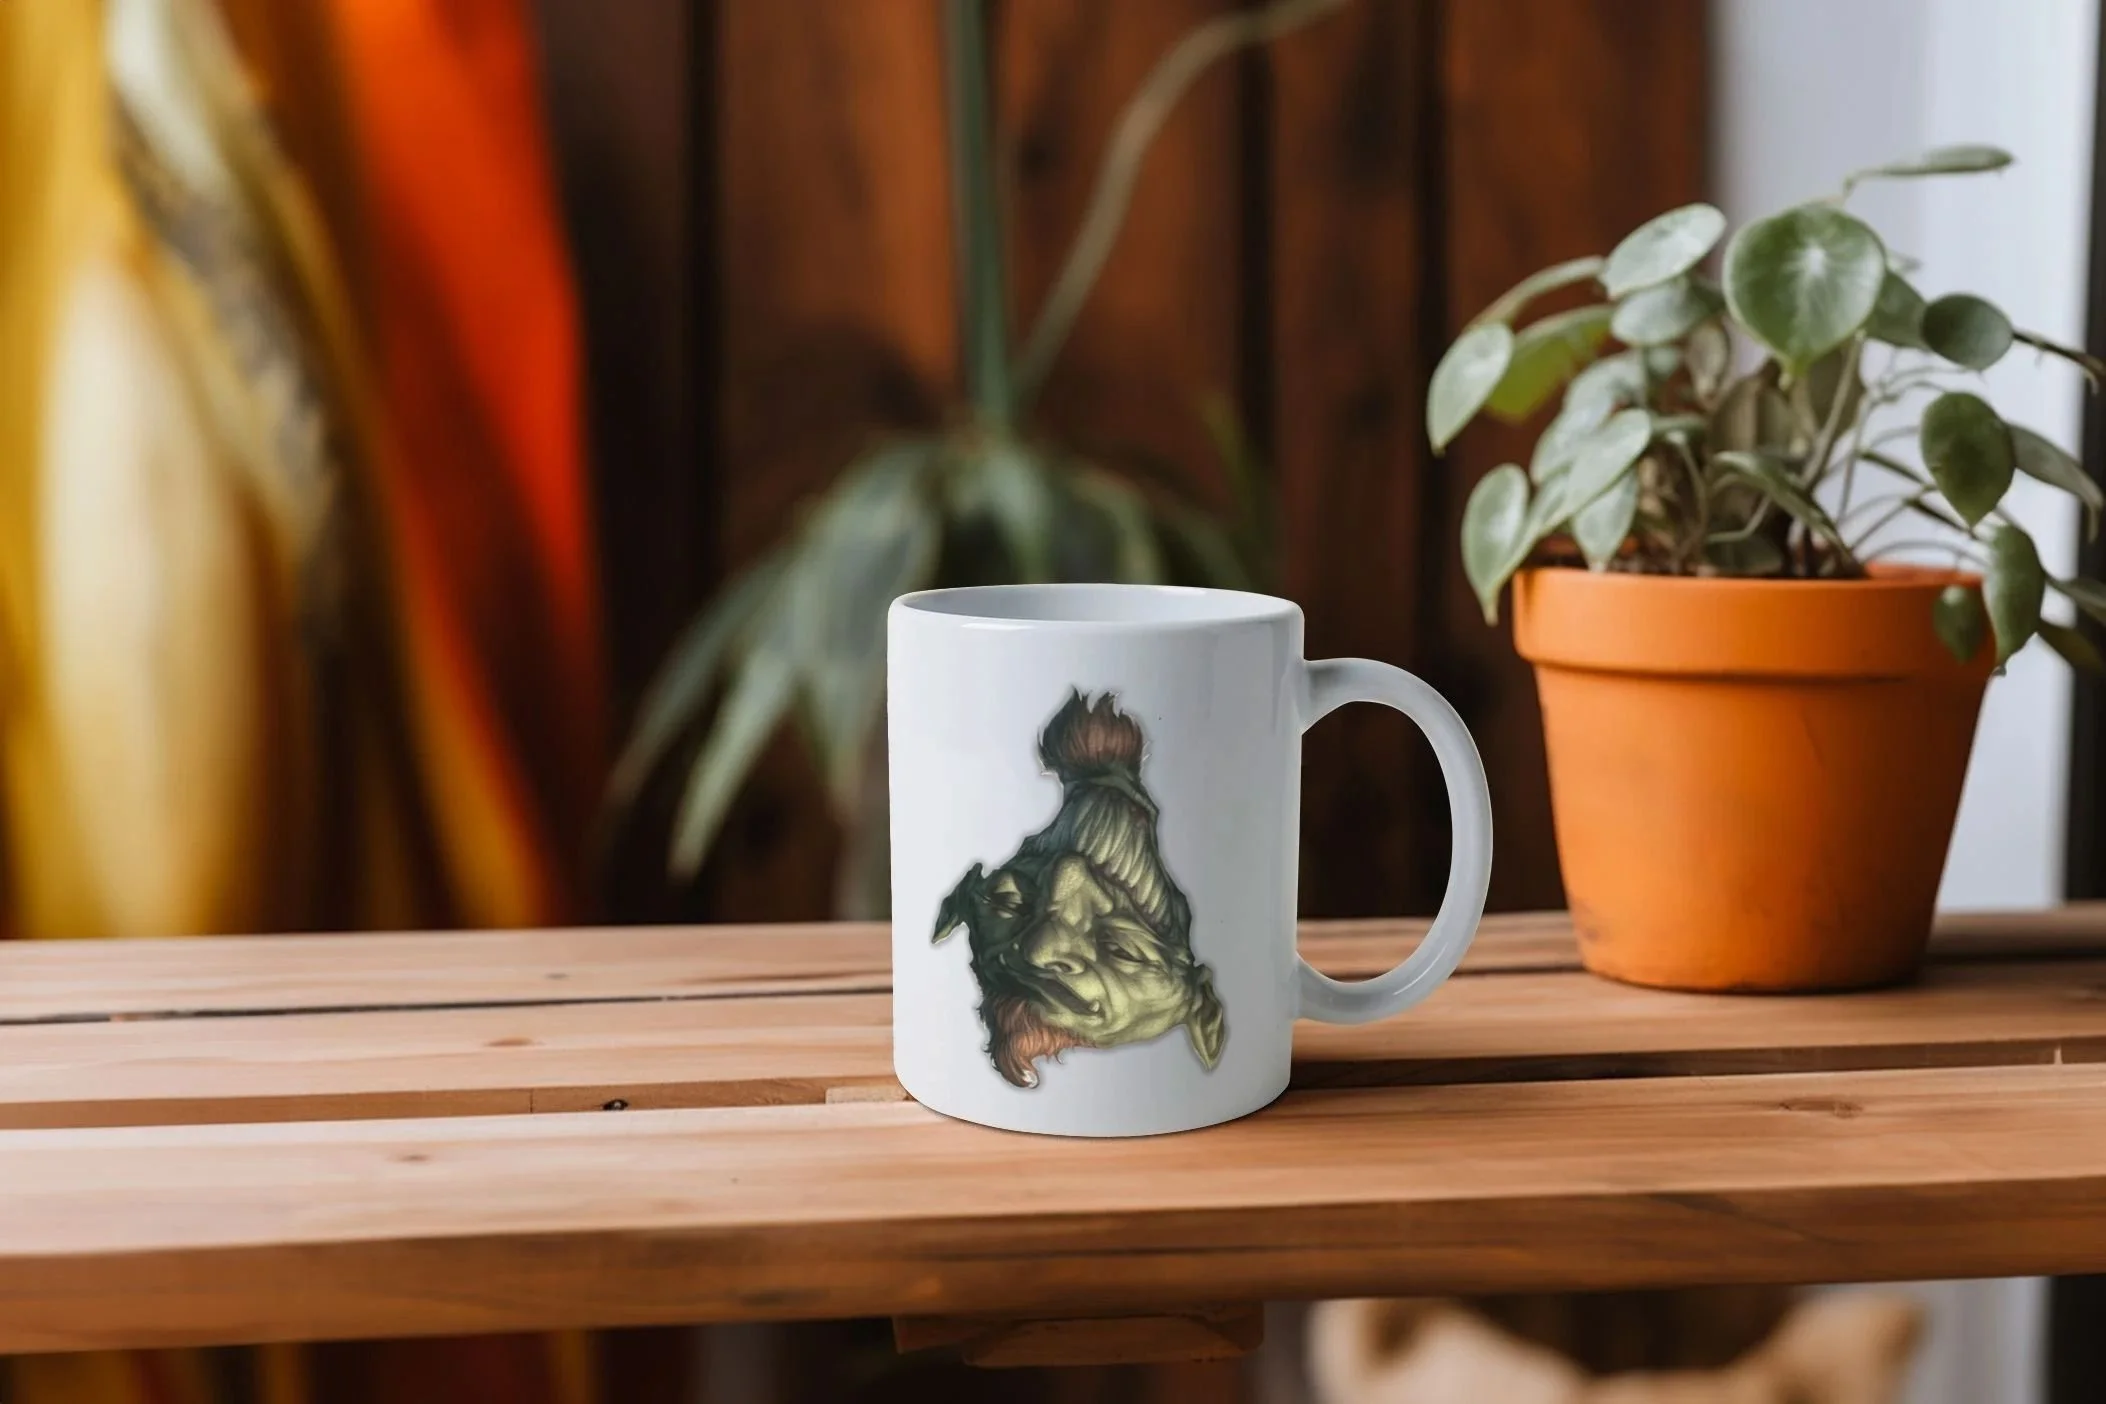
A mug of something is also recommended, you can grab Moonstone branded mugs from our merch store.
Preparing Your Models
I’m going to assume that Moonstone miniatures are the first resin wargaming miniatures you’ve ever picked up, because if they aren’t you can probably just skip this article, but if they are this is (hopefully) useful stuff!
Once you’ve tipped your Moonstone miniatures out of their box onto your battered coffee table (or gently placed them on your workbench, if you’re less clumsy than me) your first task will be to get them assembled. With resin this involves two stages - cleaning, and building. (The third stage is playing with unpainted models for at least two months but that’s optional.)
Stage One: Cleaning
Resin miniatures of any sort will often be a little greasy at first, even if you can’t feel it - this is usually due to mould release agent, or just resin sweat (I don’t know what that is but have been assured it’s a thing) and 90% of the time isn’t a problem. Occasionally, however this will stop paint adhering to the model in an annoying way.
There are lots of tutorials out there on how to fix this, but my tried and trusted method is to grab an old toothbrush, and water down some toothpaste (the white minty kind, not the blue gel kind) in an egg cup. Gently scrub the whole model in the mix, then rinse it with clean water - this will both clean off any excess release agent and add minute texture to the surface for paint to grab. Isopropyl Alcohol works great too, but I DON’T suggest soap of any kind - sometimes it can reactivate mould release, so you are just greasing up the model even more.
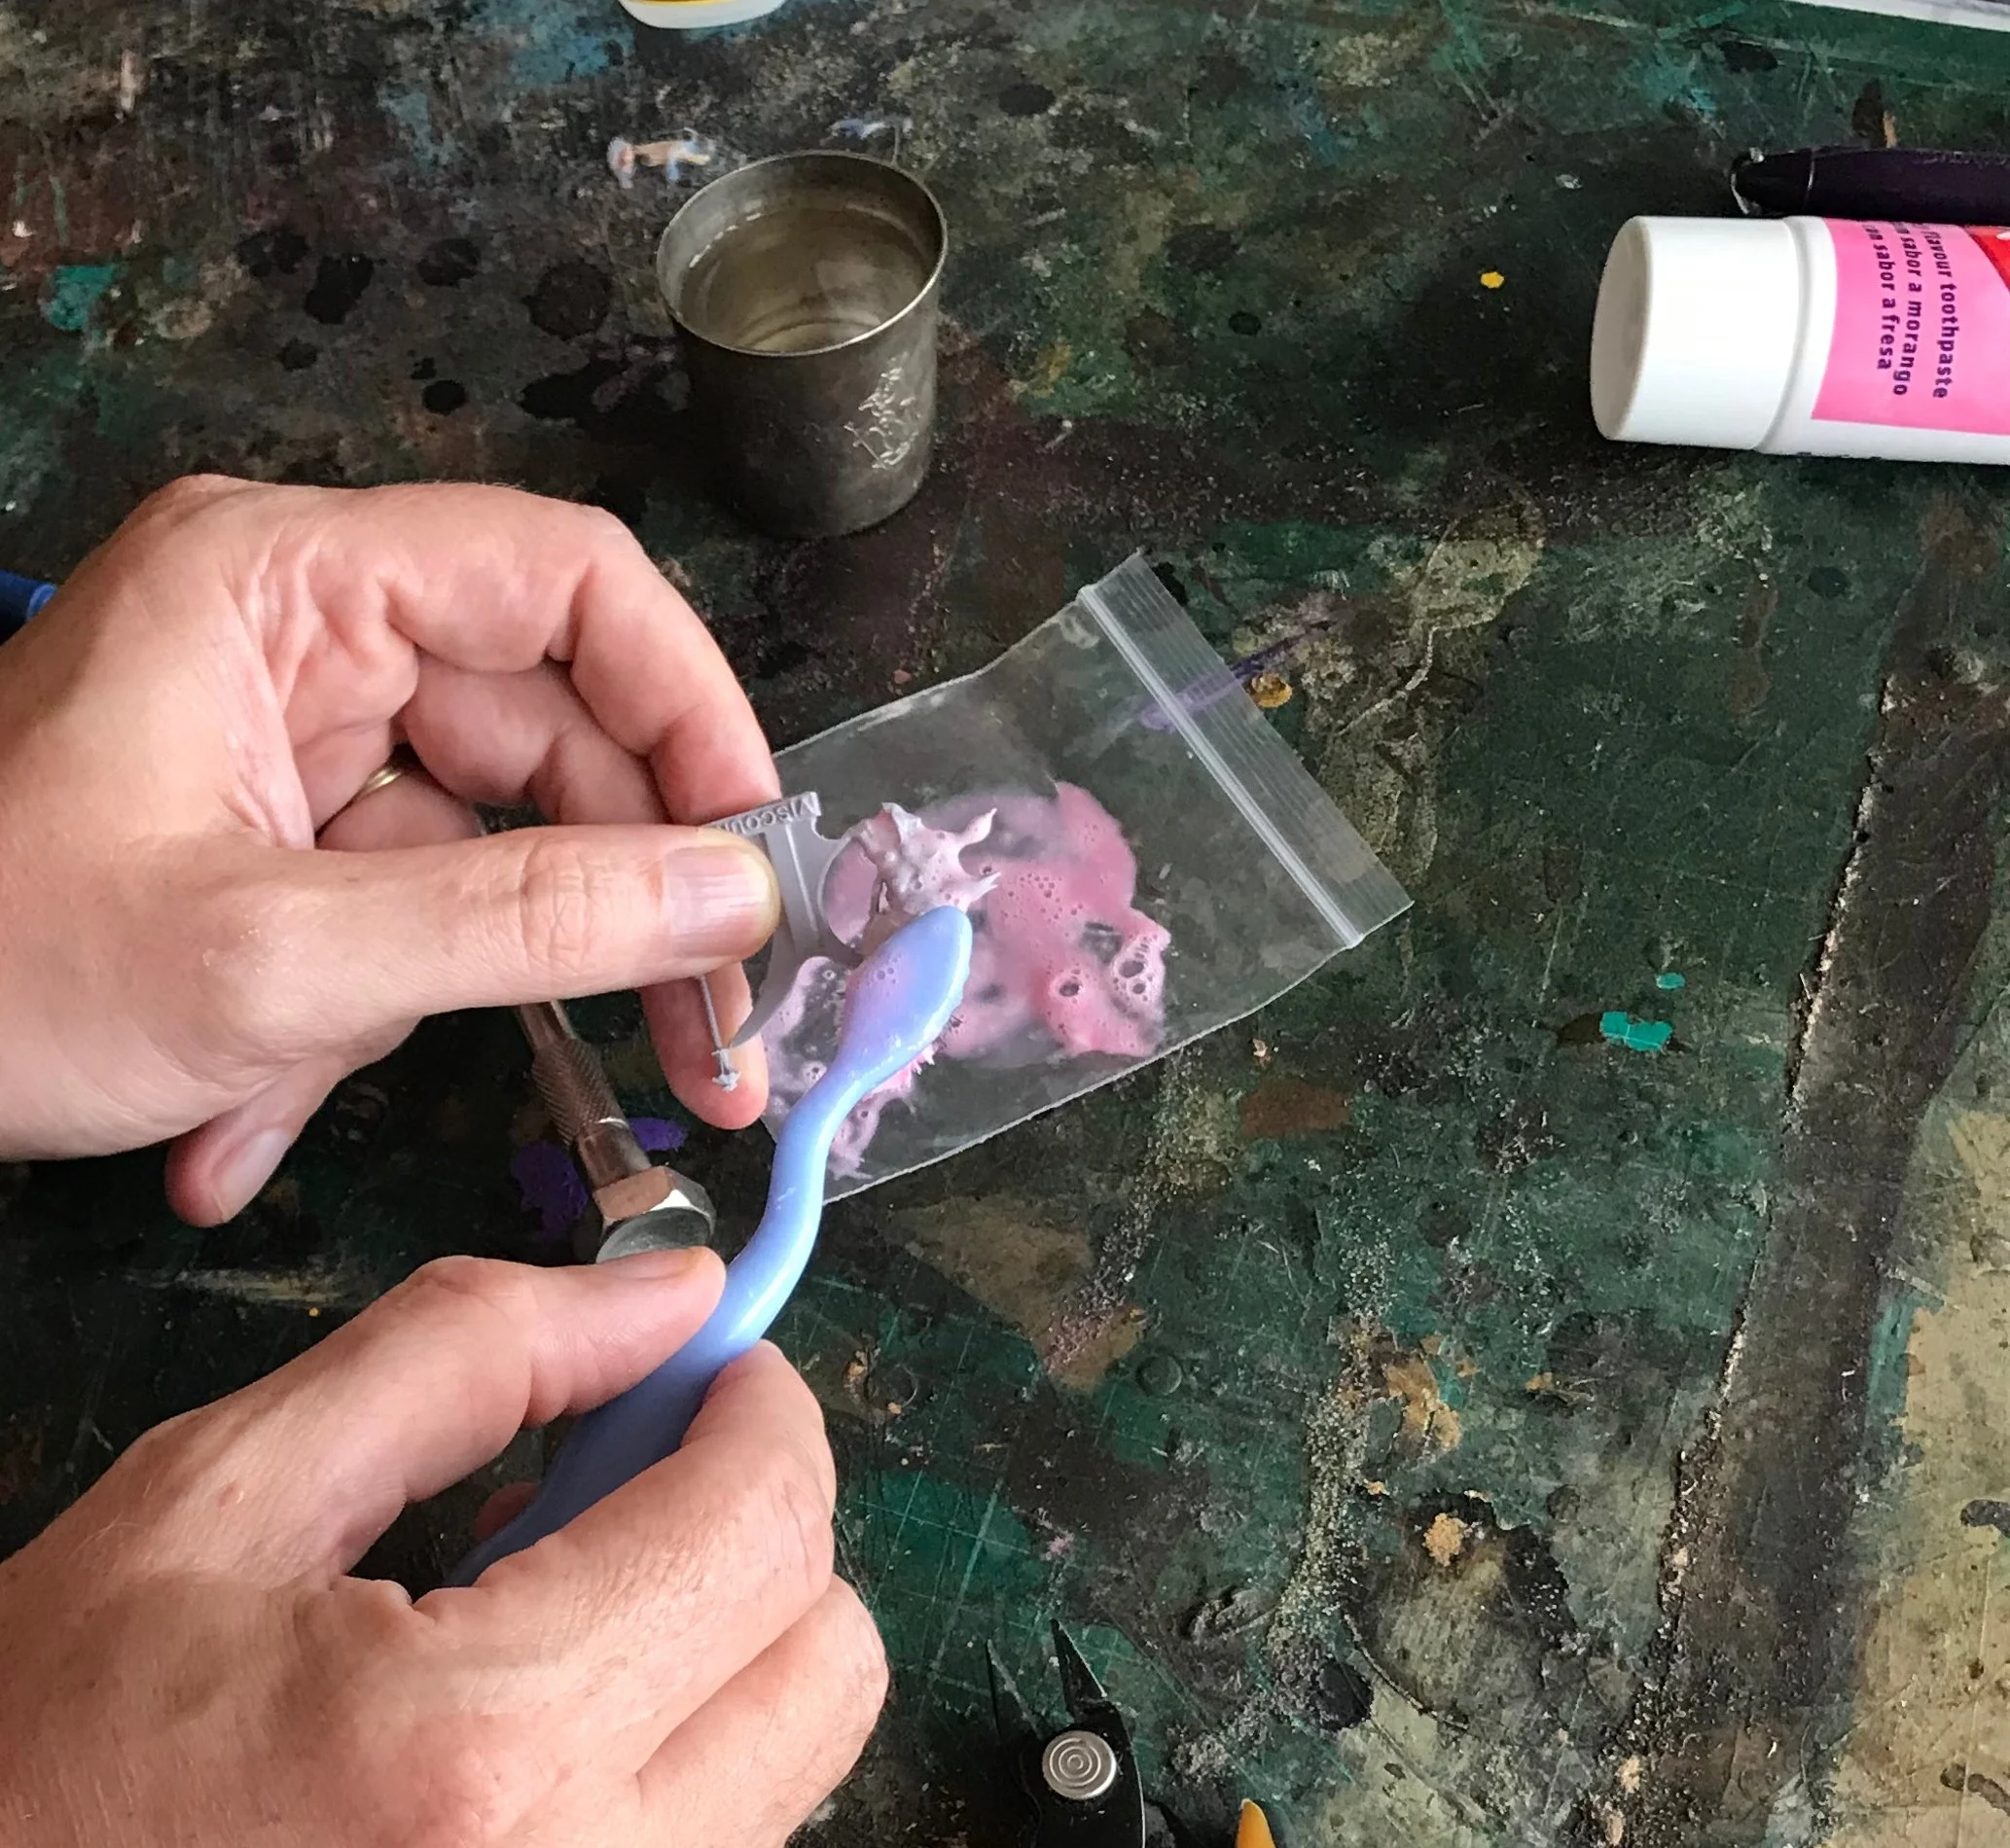
Here I’m literally getting paid to scrub a zombie unicorn with a toothbrush- take that school careers advisor!
Once you’ve done this, grab a pair of clippers and a scalpel, and trim off the excess sprue. Gently smooth any flash, mould or print lines that snuck past our caster, and discard the bits you don’t want. (If you have purchased the Dusk Till Dawn Starter Set or The Barony it’s very important you throw away Eric the Squire at this point, especially if there’s a chance we’ll ever be playing against each other.)
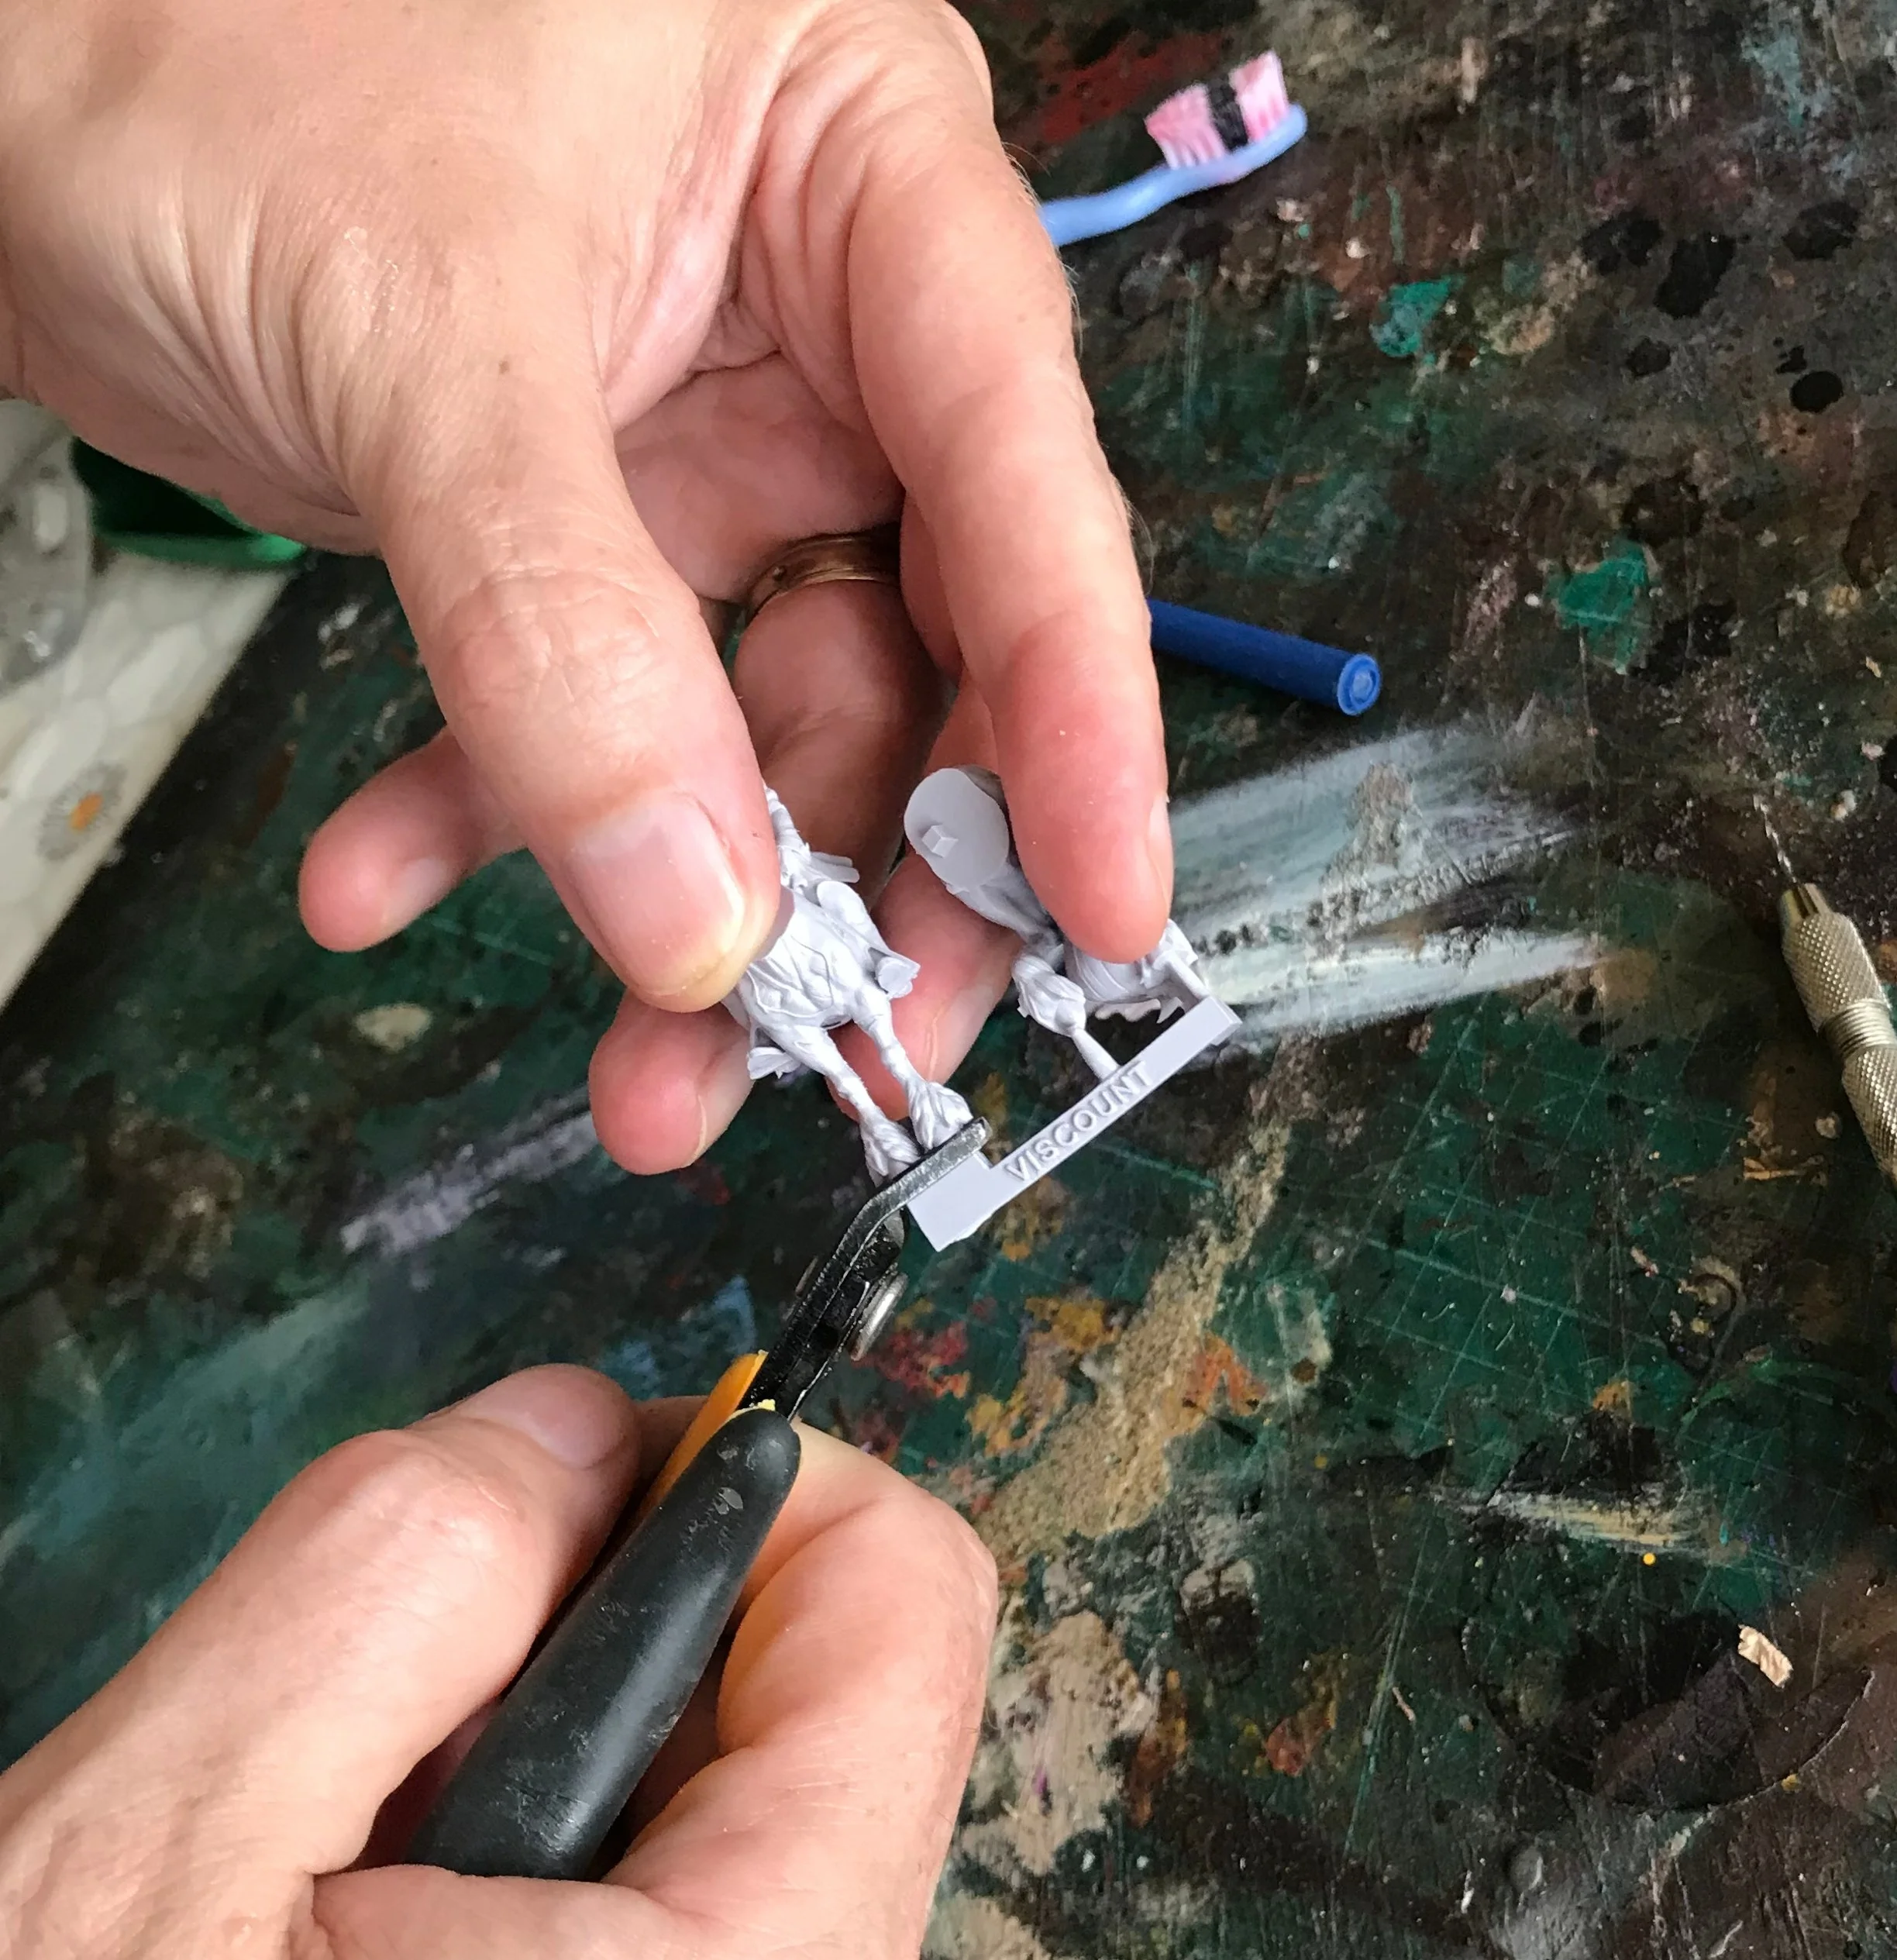
Always use the flat side of the clippers against the bit you want to keep!
I should probably describe what flash, mould and print lines are shouldn’t I? No casting process is perfect and I don’t really know how ours works as it is Super Top Secret Information for people above Dogsbody rank. Nevertheless, there are a few things common to almost all types of miniatures:

Mould Lines
Mould lines are simply the points where the two (or more) parts of the mould meet, sometimes resin can seep into them and create a visible line on the model. Our caster is excellent at hiding these in the seams of trousers, armbands and various other locations, but sometimes you can’t hide them, especially on smooth areas like cloaks and skin. A soft needle file or a gentle scrape with the back of a scalpel will remove these quickly and easily without any fuss.
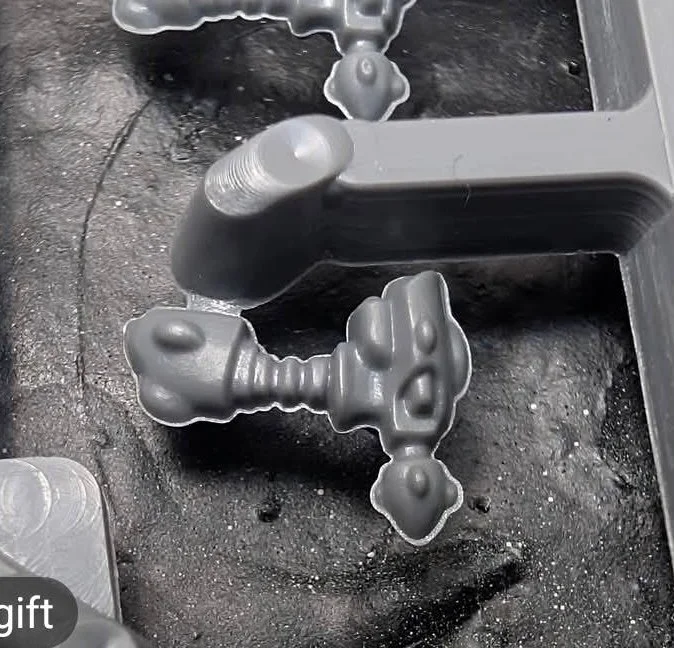
Flash (A-ah!)
Flash is where the resin has pushed further into that mould gap and started to puddle. We rarely get flash on our miniatures thankfully, but when we make extremely delicate pieces like Faerie wings or cloaks, we need to give the mould a bit more flex to avoid them miscasting. This can leave just enough room for the sneaky resin to make an escape attempt. Flash can be dealt with in exactly the same manner as mould lines, though you may need to gently break off larger pieces first. (I couldn’t find any flash on a single one of my pile of Moonstone shame, so here’s some from A.N.Other miniature company.)

Print Lines
Print lines are a leftover artefact of our 3D printed masters, essentially the build lines that the 3D printer makes as it moves up. The slower the print and the smaller the print sections, the smaller these lines will be. While we get our master printing done at an extremely high definition, with the best quality materials we can find, unfortunately the scarcity of really good quality HD printers out there means we do very occasionally find the odd print line. Barnakelle’s toe has some visible ones if you zoom in really really really REALLY close (oddly enough so does mine, which is starting some worrying conspiracy theories in my head). You can deal with these in two ways - either file them off just like a mould line, or use a little Liquid Greenstuff/filler of your choice to fill them in before painting. Often they are so small in fact that the primer will fill them in for you, so there’s no need to worry at all!
If you are unsure what something is, and whether or not you should trim it, take a look at the images on the back of the box, or in our ‘Miniatures’ menu above. It’s always best to leave something on rather than trim it and realise later it was meant to be there (the fuse in Flintlock’s mouth is often a victim of over-enthusiastic snipping).
Stage 2: Building

Tiny, tiny drops of glue…
Tom (King) and Louis (our caster) will literally spend entire afternoons working out how to break down our minis into the smallest number of pieces possible - if we can do it in one piece we will! In addition to this, they try to put in lock and key areas that are big enough to hold pieces in exactly the right position so building is as easy as we can make it. (We’ve recently changed how the Jackalope’s antlers attach so that it’s a little easier.)
You are going to need superglue to stick our minis together. Any store bought superglue will work, I like Gorilla Glue gel as it gives me a bit of working time, Tom prefers the cheapest glue with the thinnest nozzle he can find. (Suzie tends to use glue milked from the tear ducts of dying goddesses but I find the tariffs on that are insane at the moment.)
Where possible build from the lowest part up, (base > legs> torso > head > sticky-out bits) and let the pieces rest to dry without you holding them, as you are definitely more shaky than you think you are. If you find parts aren’t sticking well use a knife or file to slightly abrade the areas you are sticking together and try again - remember less glue is better than more!


If the bits just do not want to stick together you may need something else to intercede, a very small ball of Green Stuff dropped between them (like grain of sand size) can often do the trick. If you don’t have any Green Stuff, the tiniest fragment of kitchen towel/loo roll dropped in can have the same effect.
On some minis you may want to leave off some bits so you can paint the model more easily before attaching them - Serif’s or Eric’s shield, heads if you want to really push your face painting, that sort of thing. These are called sub-assemblies and can be very useful, the key thing to bear in mind when reassembling them though it to use as little glue as possible, as too much can damage your finished paint job.
If stuff really REALLY isn’t sticking, you may have to pin. Luckily this isn’t hugely often with Moonstone (phew!) and even more luckily the models are resin not metal (bigger phew!), so drilling into them is easy enough with the right tools. You’ll need either a pin-vice type hand drill or a Dremel type modelling drill for the drilling:
Drill a hole in the thickest part of the mini that touches the piece you are attaching, it only needs to be about 2-3mm deep so don’t go digging for victory here.
Mark the point on the separate piece that matches the drilled hole, and drill another hole to match the one on the miniature - again keep it shallow, 2-3mm at most.
Snip off a small straight section of paper clip and superglue it into the hole on the mini, leaving 2-3mm sticking out of the hole - this is the ‘pin’.
Check that when you place the hole in the separate piece on the pin it matches exactly where you want it to go, including that it isn’t too long (making the piece ‘hover’ slightly).
Superglue all that lot together - you shouldn’t need much glue at all at this point.


I generally suggest leaving glued models for at least an hour before spraying with primer, if the superglue isn’t cured the primer can make it brittle. If you are undercoating by hand I’d leave it for at least a couple of hours as there are few things in our hobby more painful than getting one of your favourite brushes covered in superglue and irretrievably destroyed!
At this point you should have a fully assembled miniature ready to paint! (Or play with unpainted, if you like that sort of thing.) For the next step we have a whole host of community painting tutorials way better than anything I could do, you can find them on YouTube, here on our website, and on our social channels.
See you across the table
Mick :)